Creating your first E&I Plan
We recommend that you go through the Setup Environment first and make sure you have the required permissions for performing the operations we're going to do in this tutorial.
- Routine Inspection List
- Inspection
- Local Routine Inspection List
- E&I Plan
- Inspection Task
In order to create your first E&I Plan, let's start by creating an Routine Inspection List
Creating an Routine Inspection List
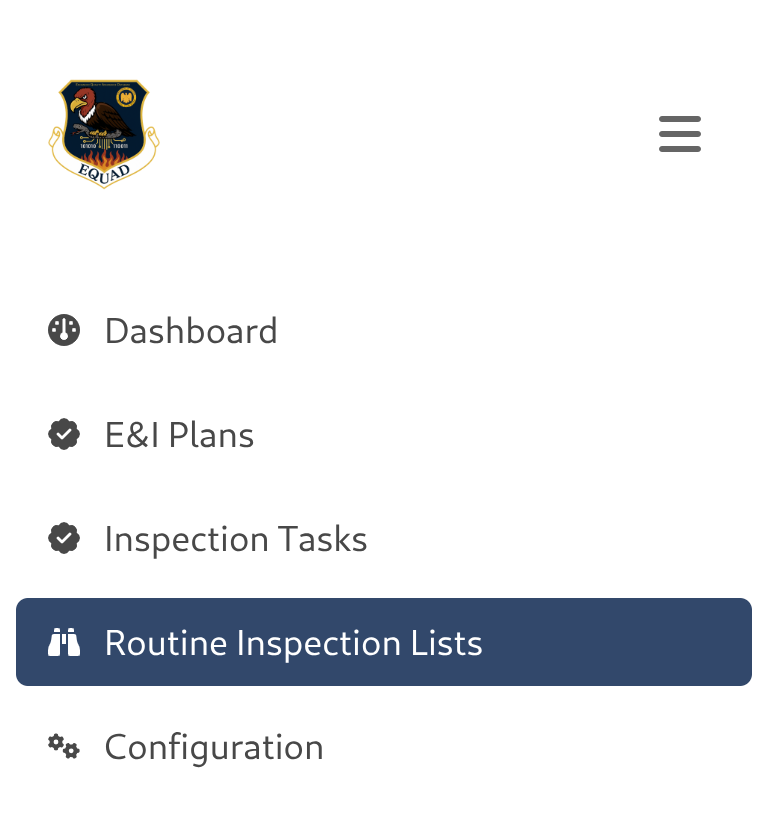
for starters, let's go to Routine Inspection List Index by opening the side menu and click on the corresponding option.
now let's open a new E&I Plan
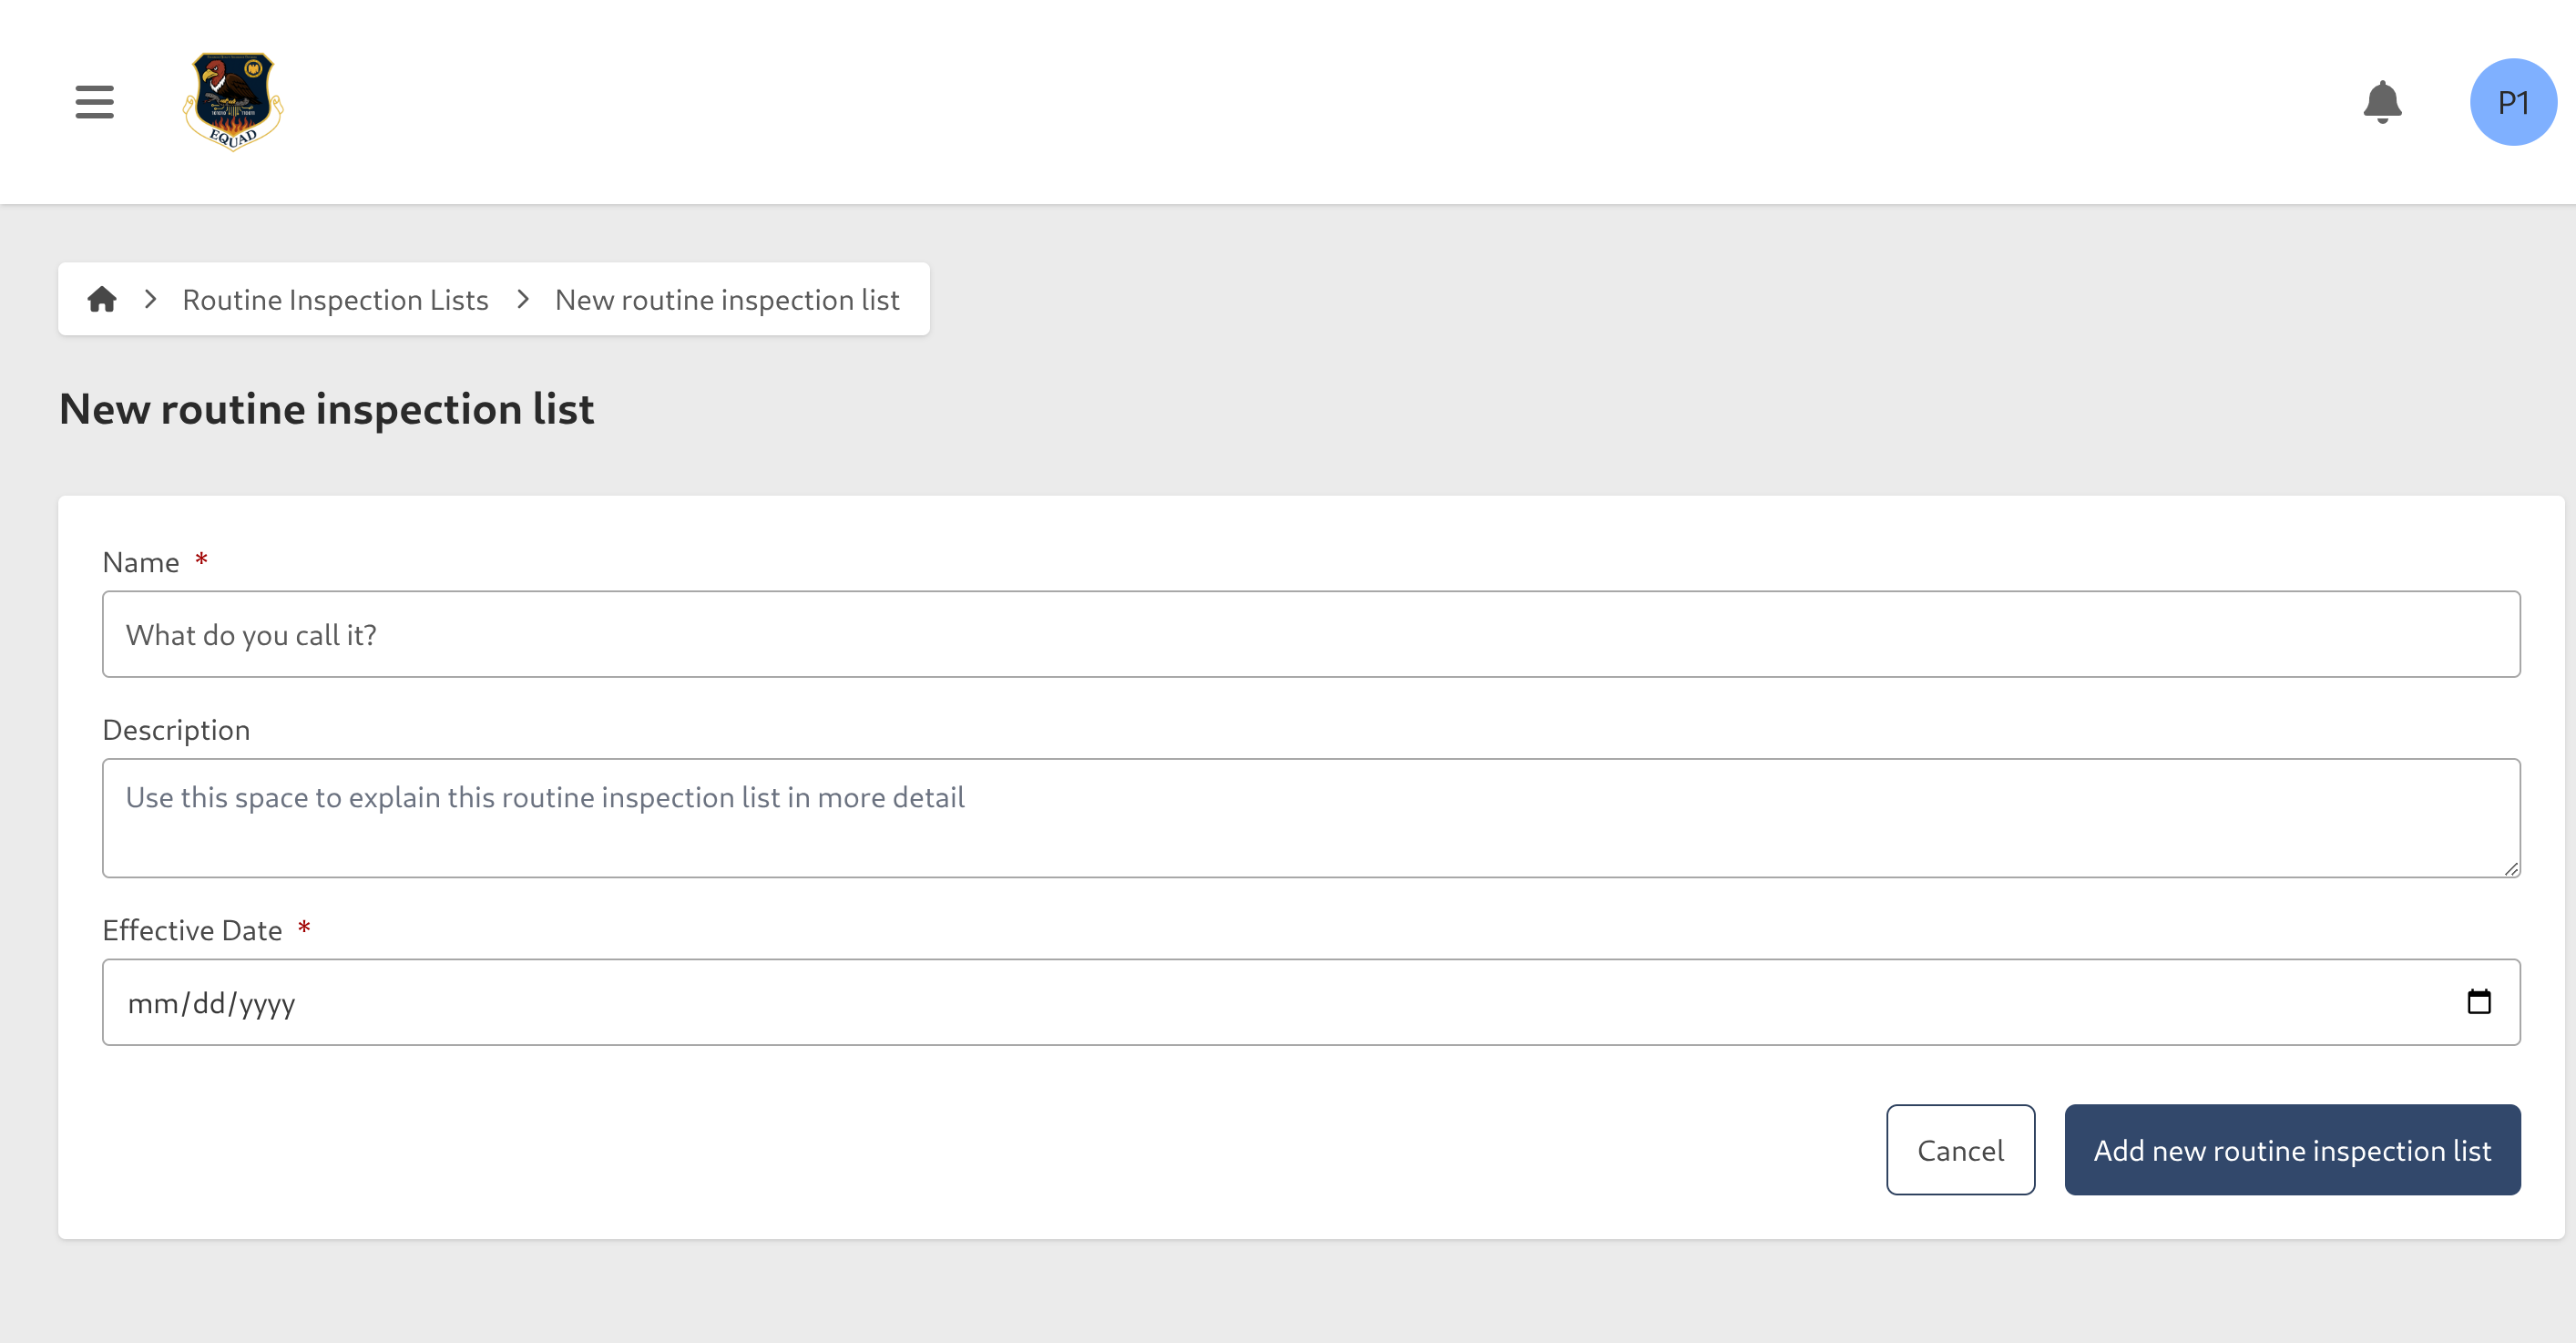
once inside, we're going to have the following form
fill in the form with the relevant information, make sure the date is in the future!
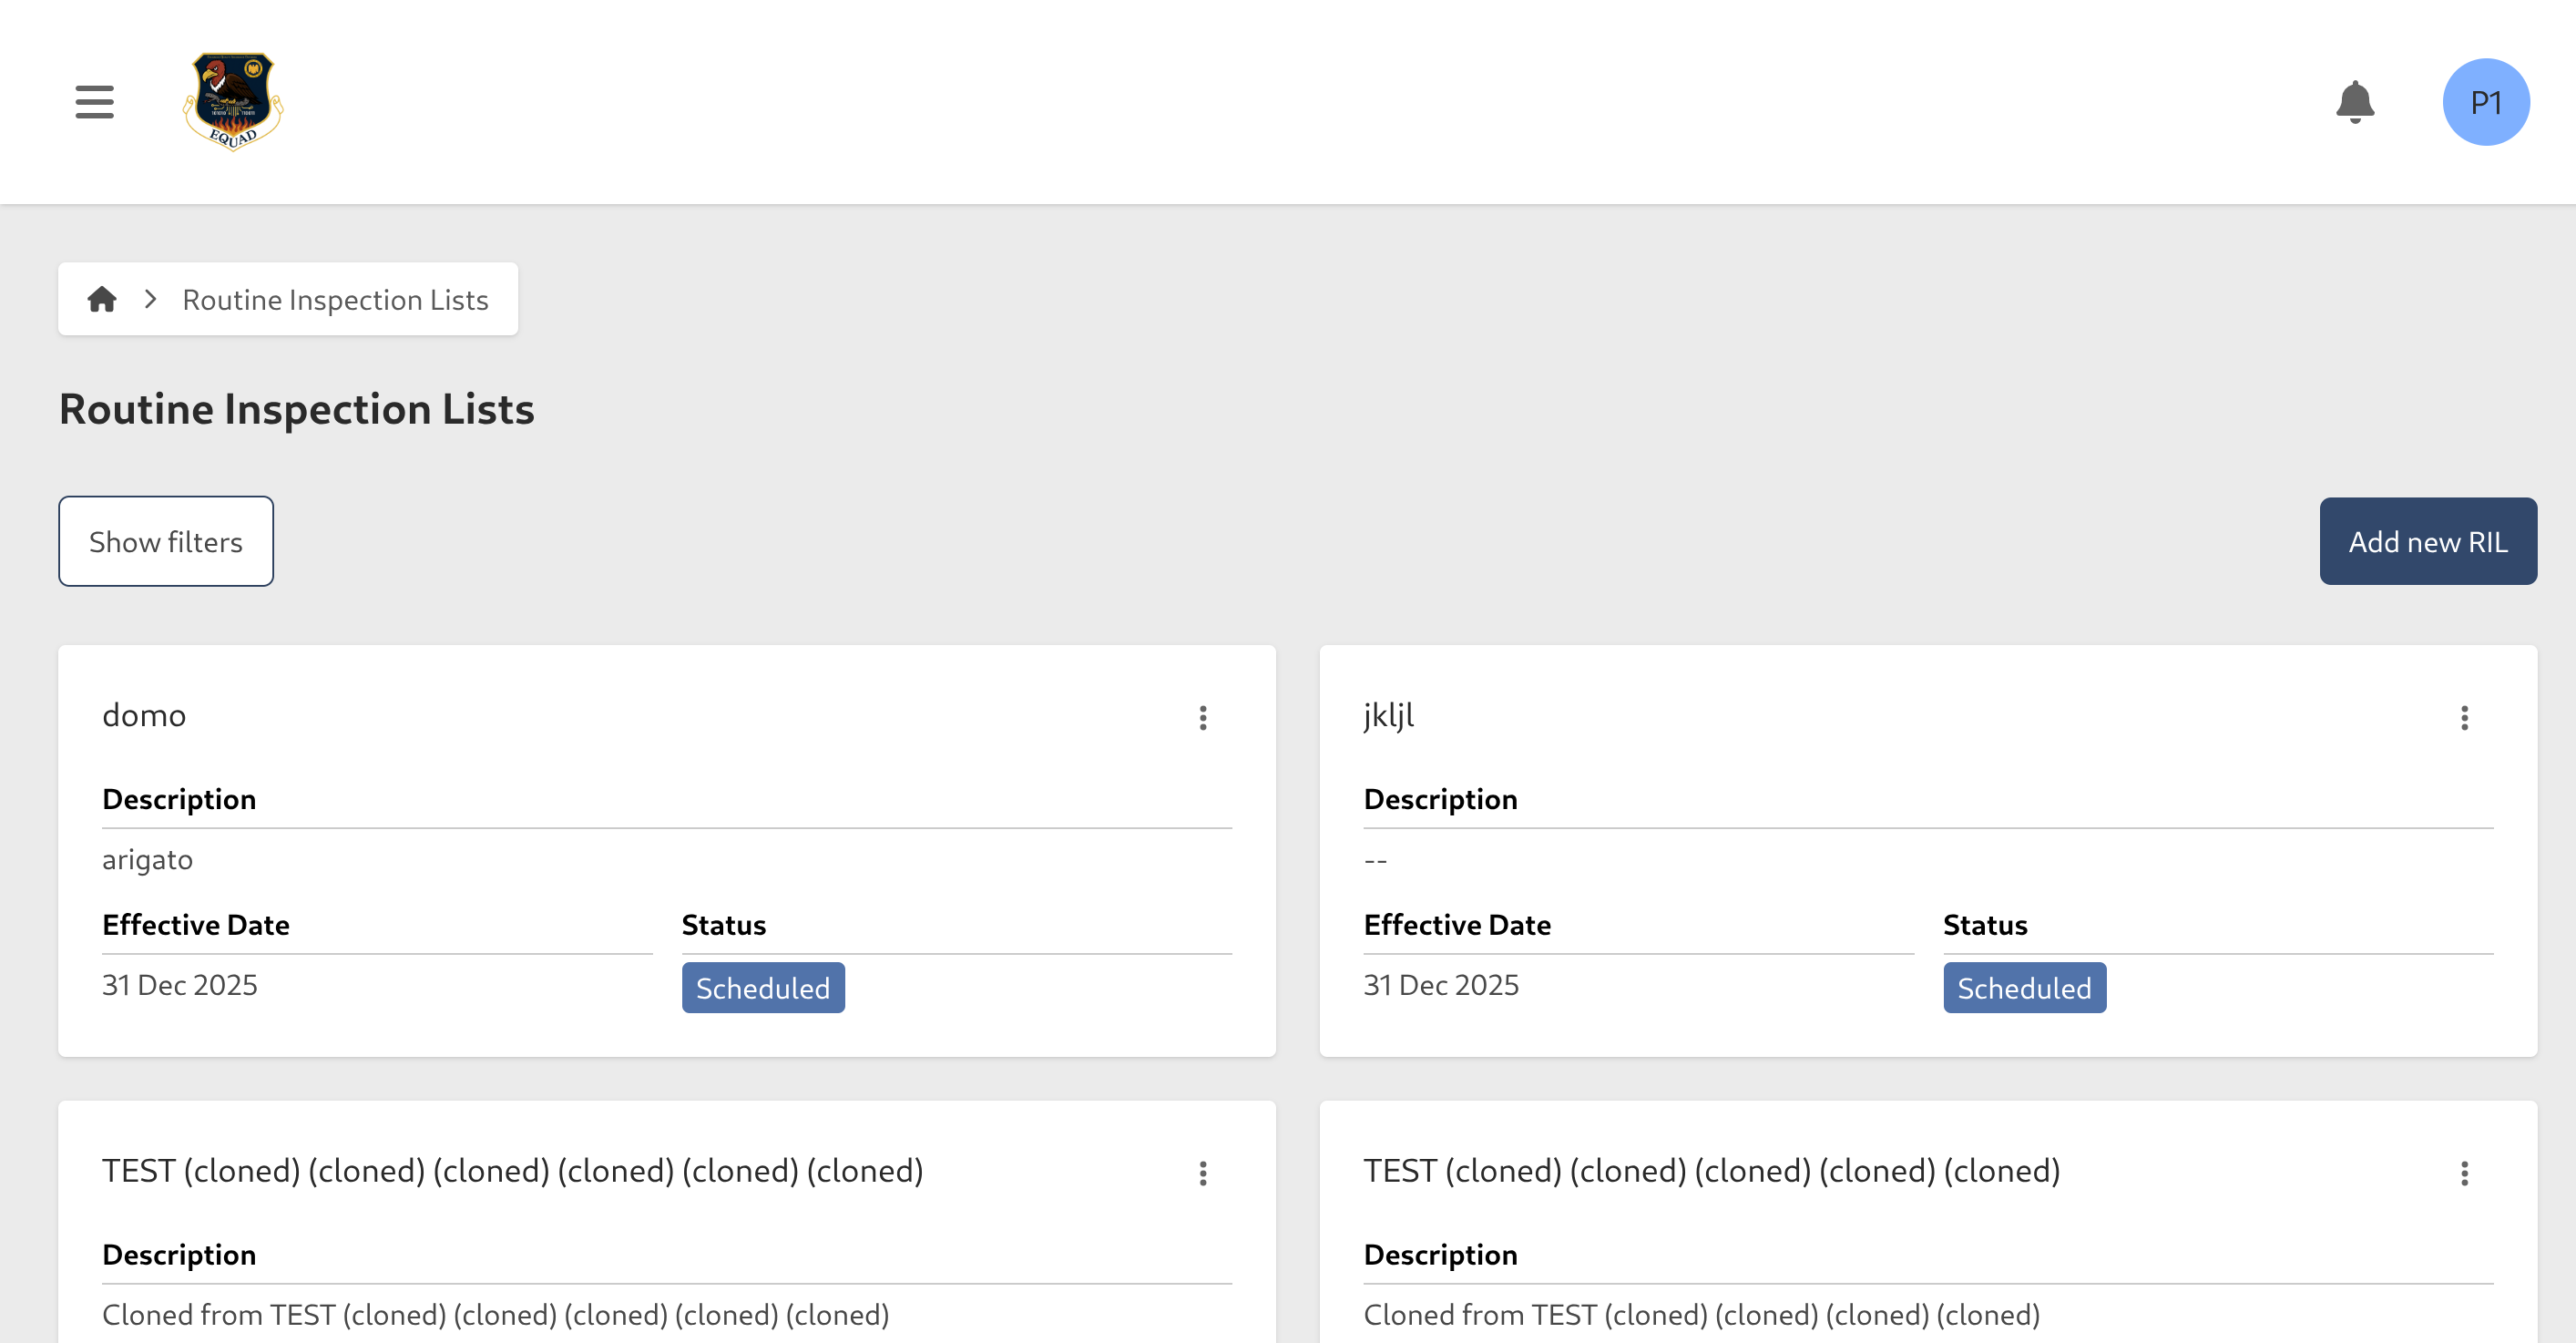
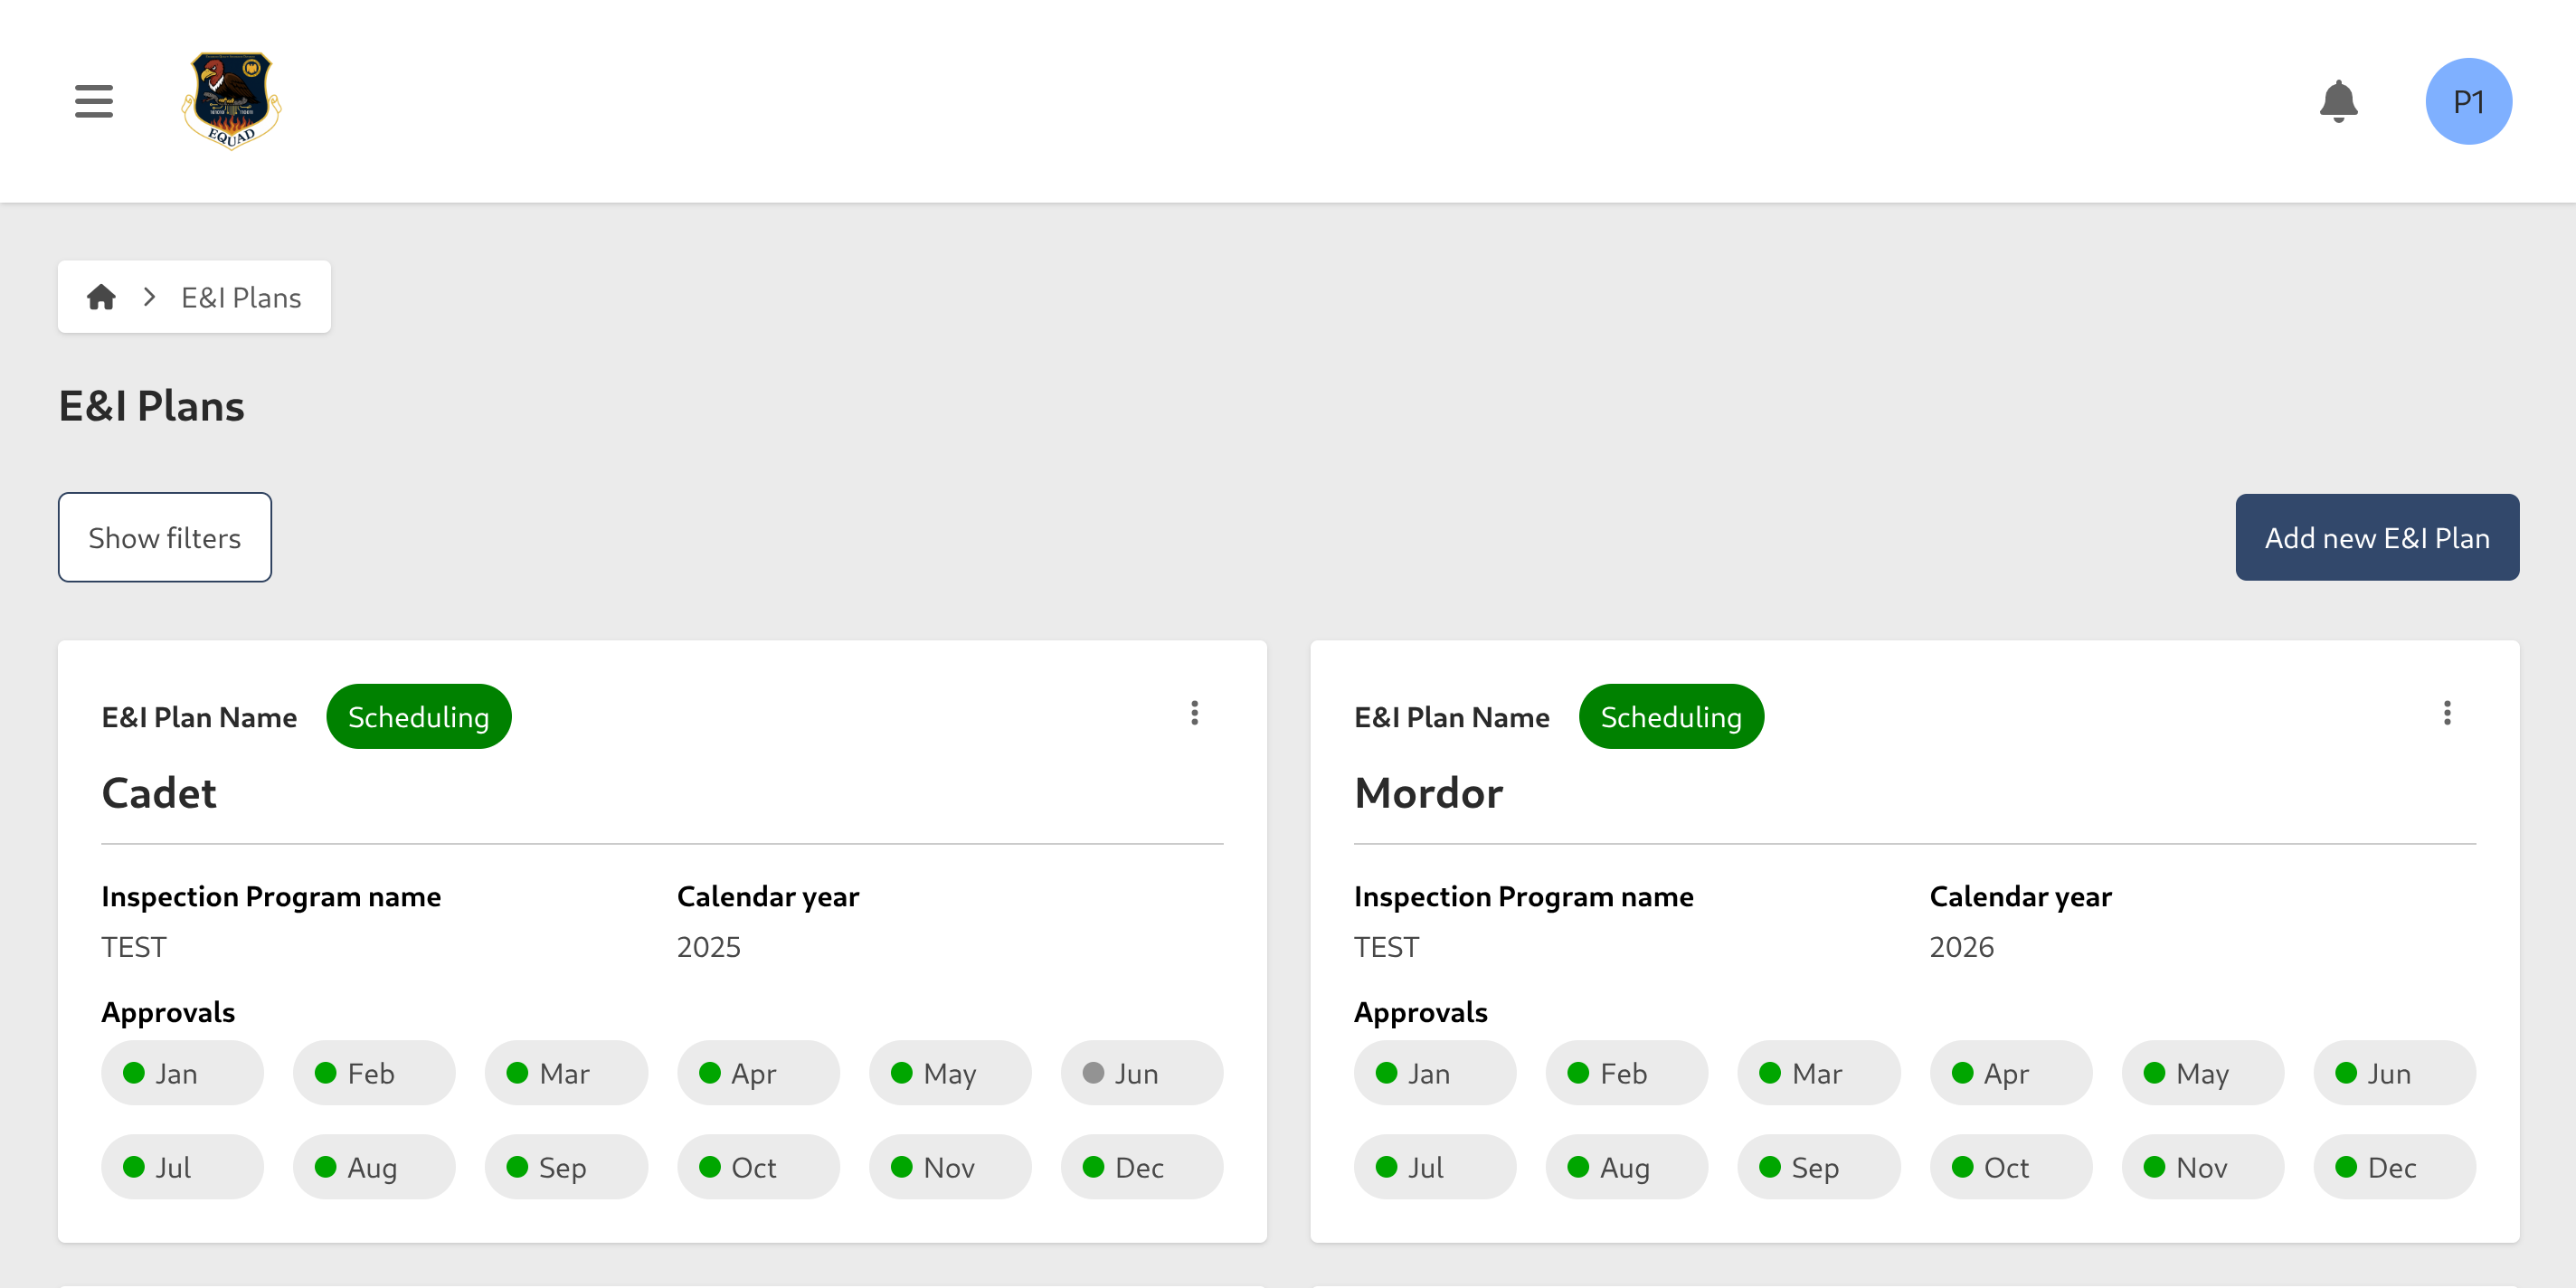
Save it and we'll return to the Index Page, notice that now we have a new Routine Inspection List with status Draft, everytime we create a new Routine Inspection List, that will be the initial status.
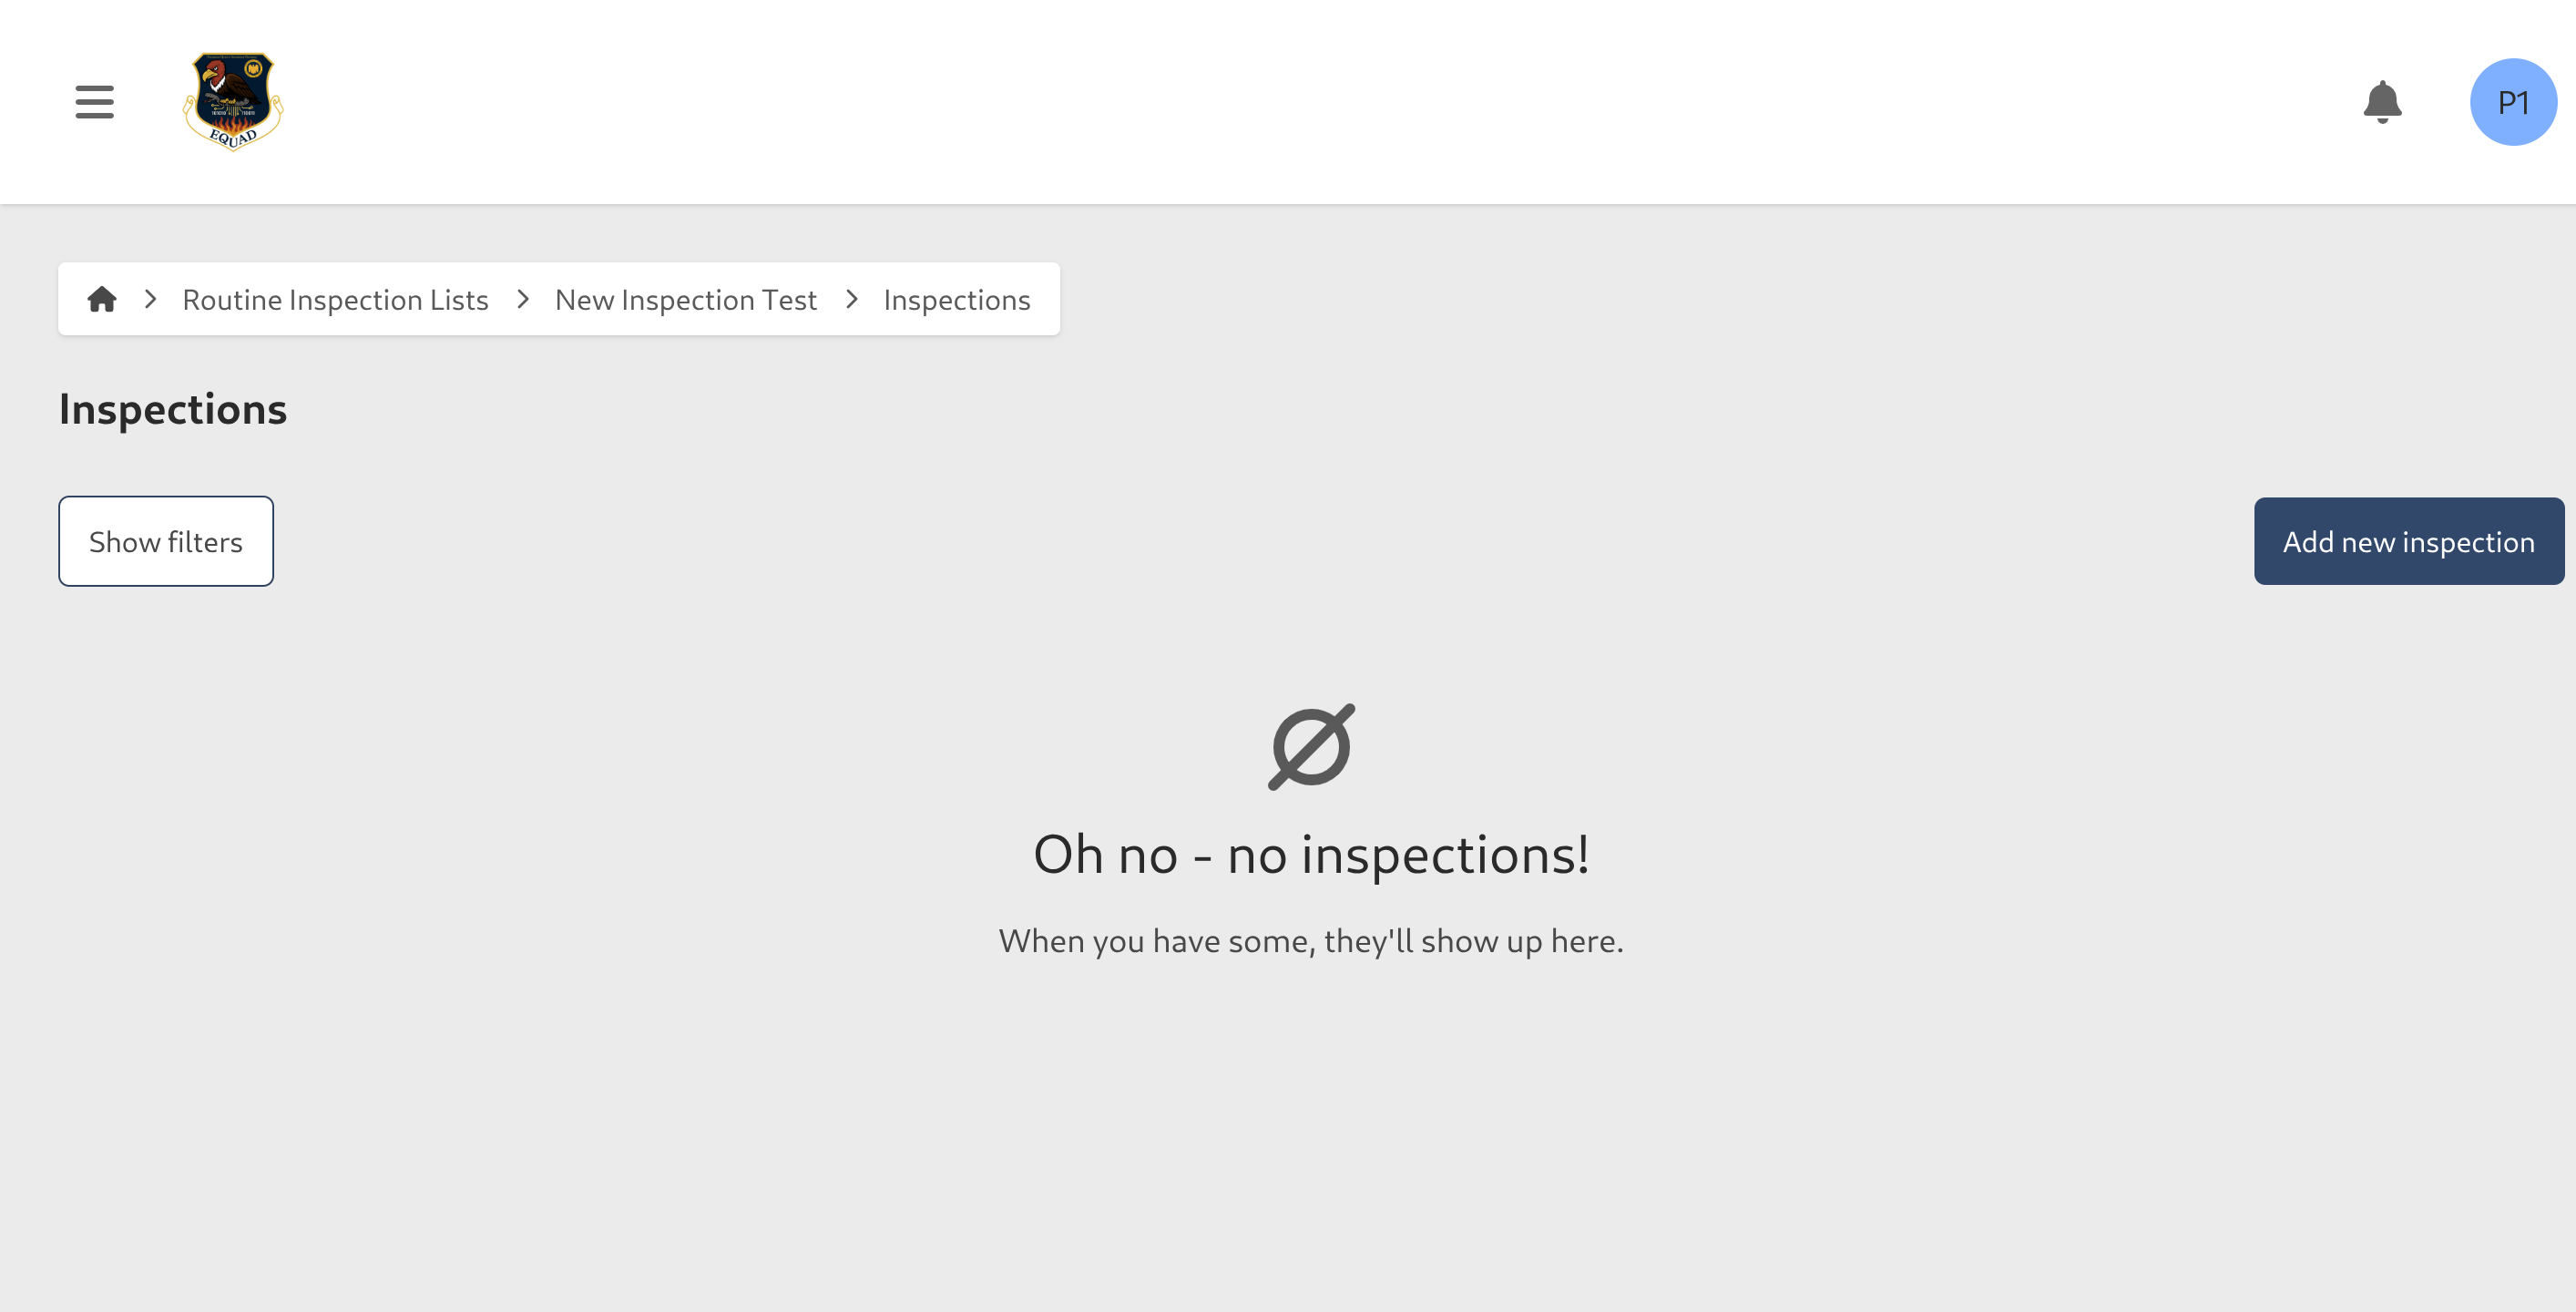
now open the contextual menu of our newly created Routine Inspection List and go to View Inspection we'll be greeeted with a message telling us we don't have any Inspections yet, let's create one
fill in the following form, here's a reminder that if you get stuck at any point of the process due to a selector not having any option, then you need to create them first in Configuration
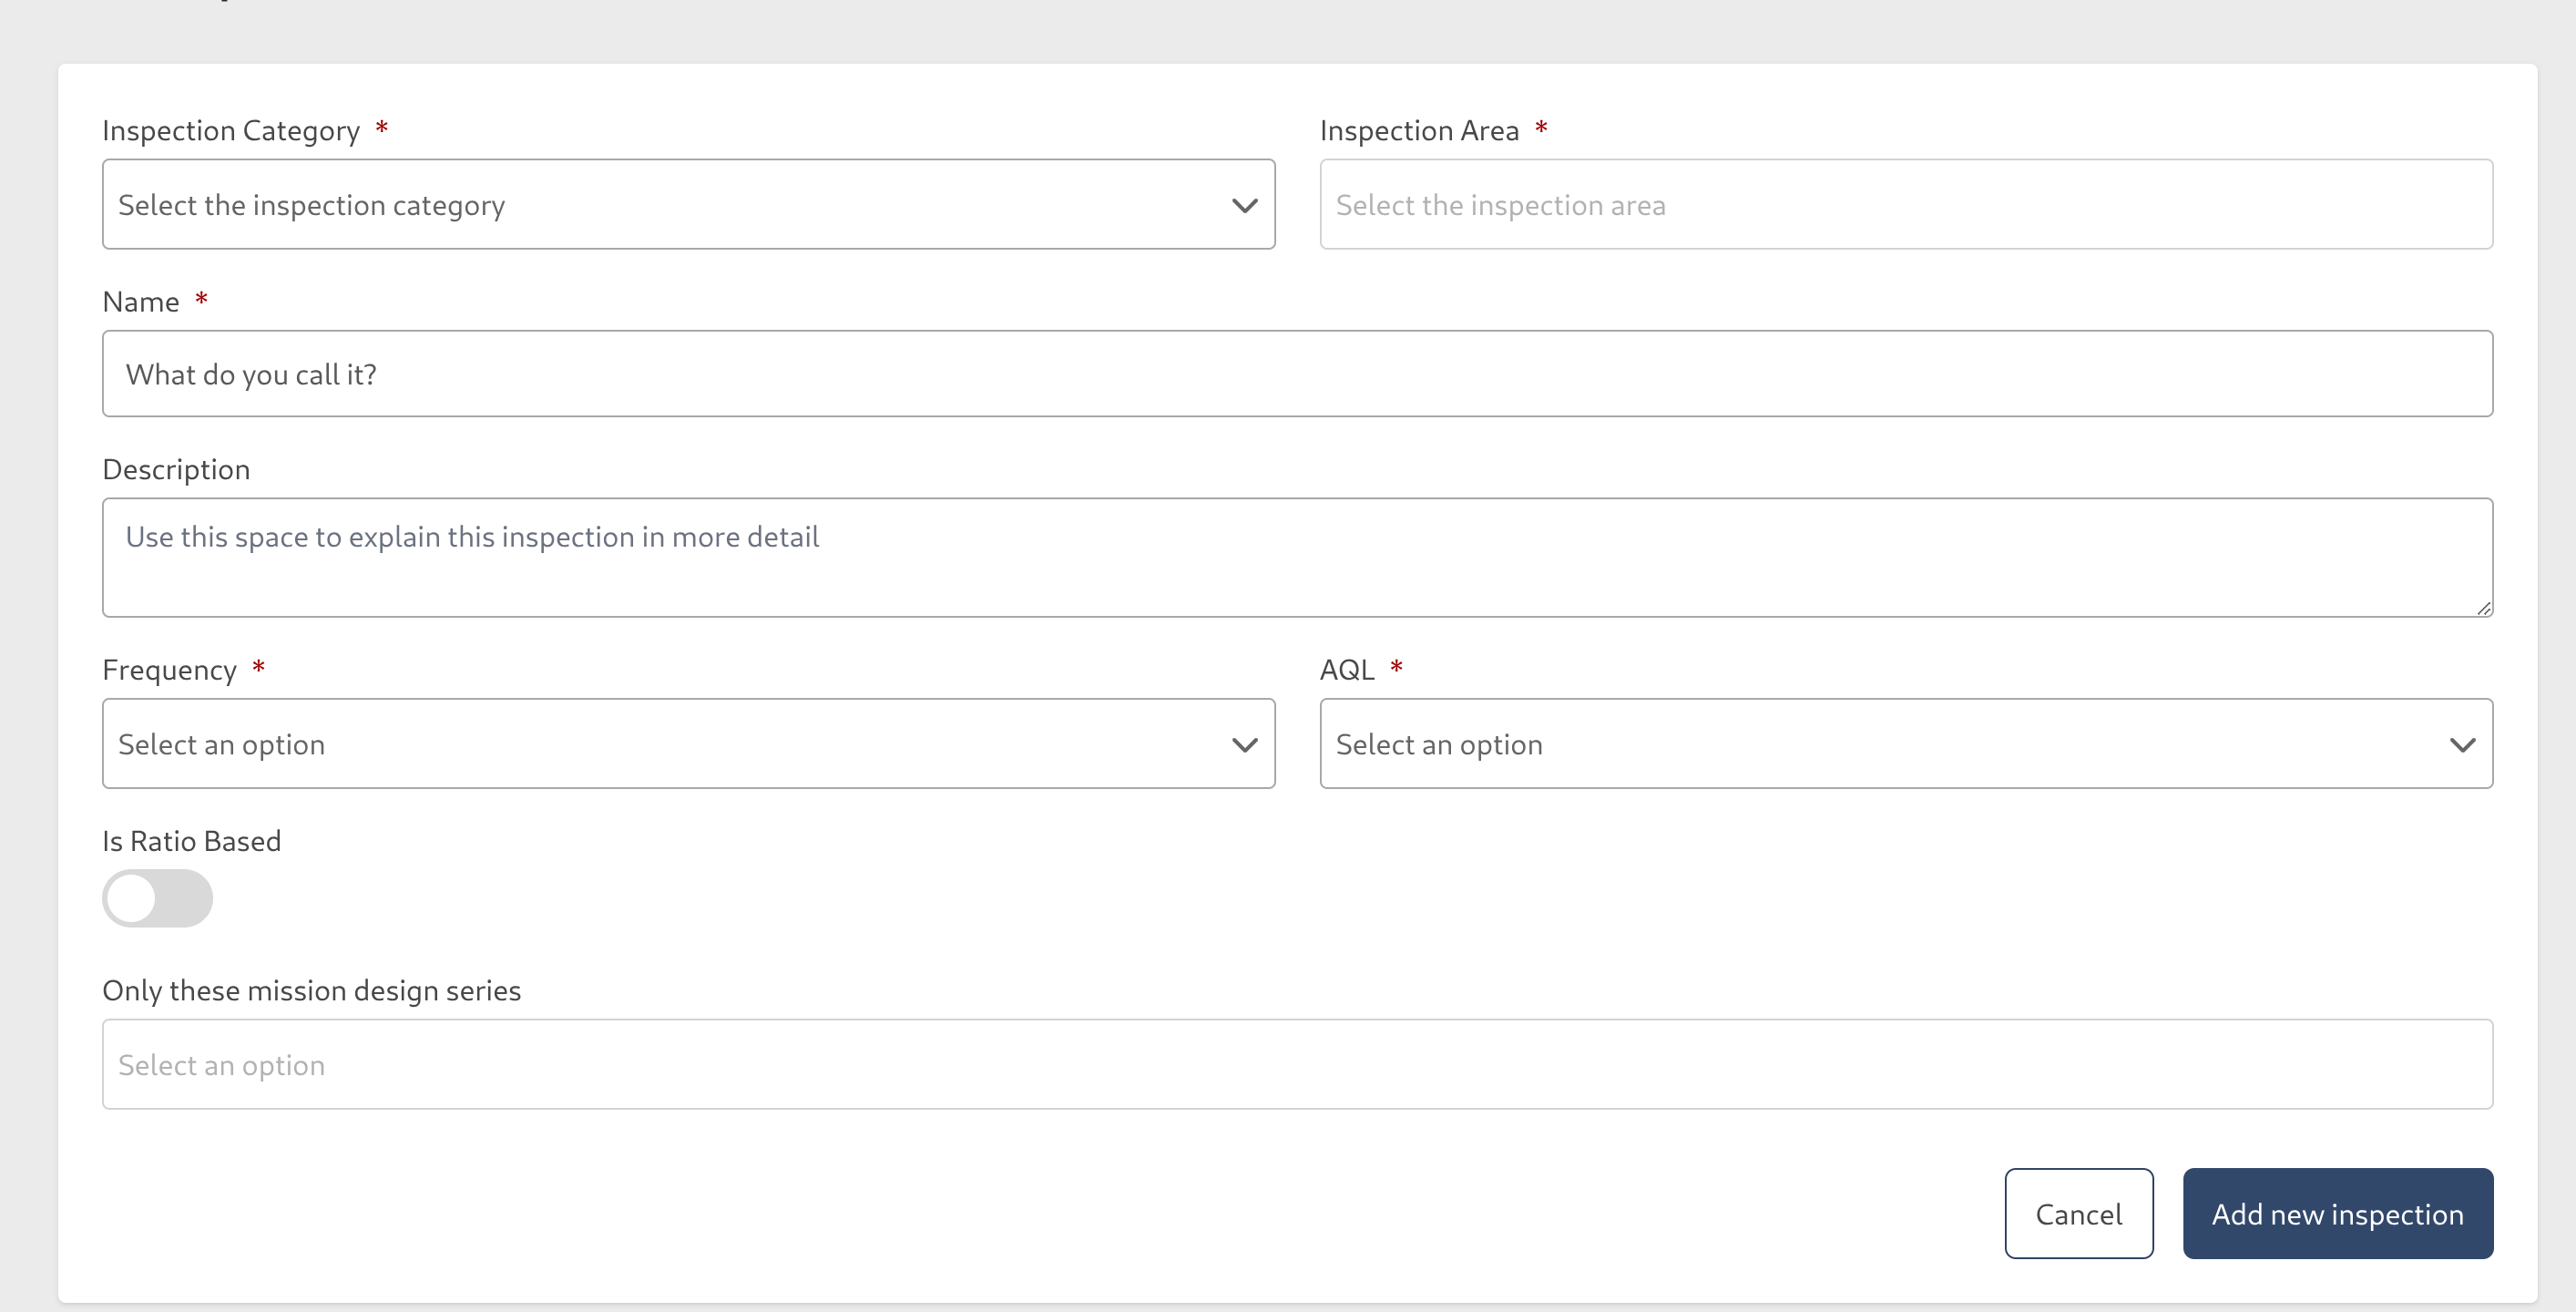
Once you're done click on Save, and we'll return to the Inspections index page, now we have the minimum requirement for creating our E&I Plan
E&I Plan
You can go to Inspection Plan via the side menu
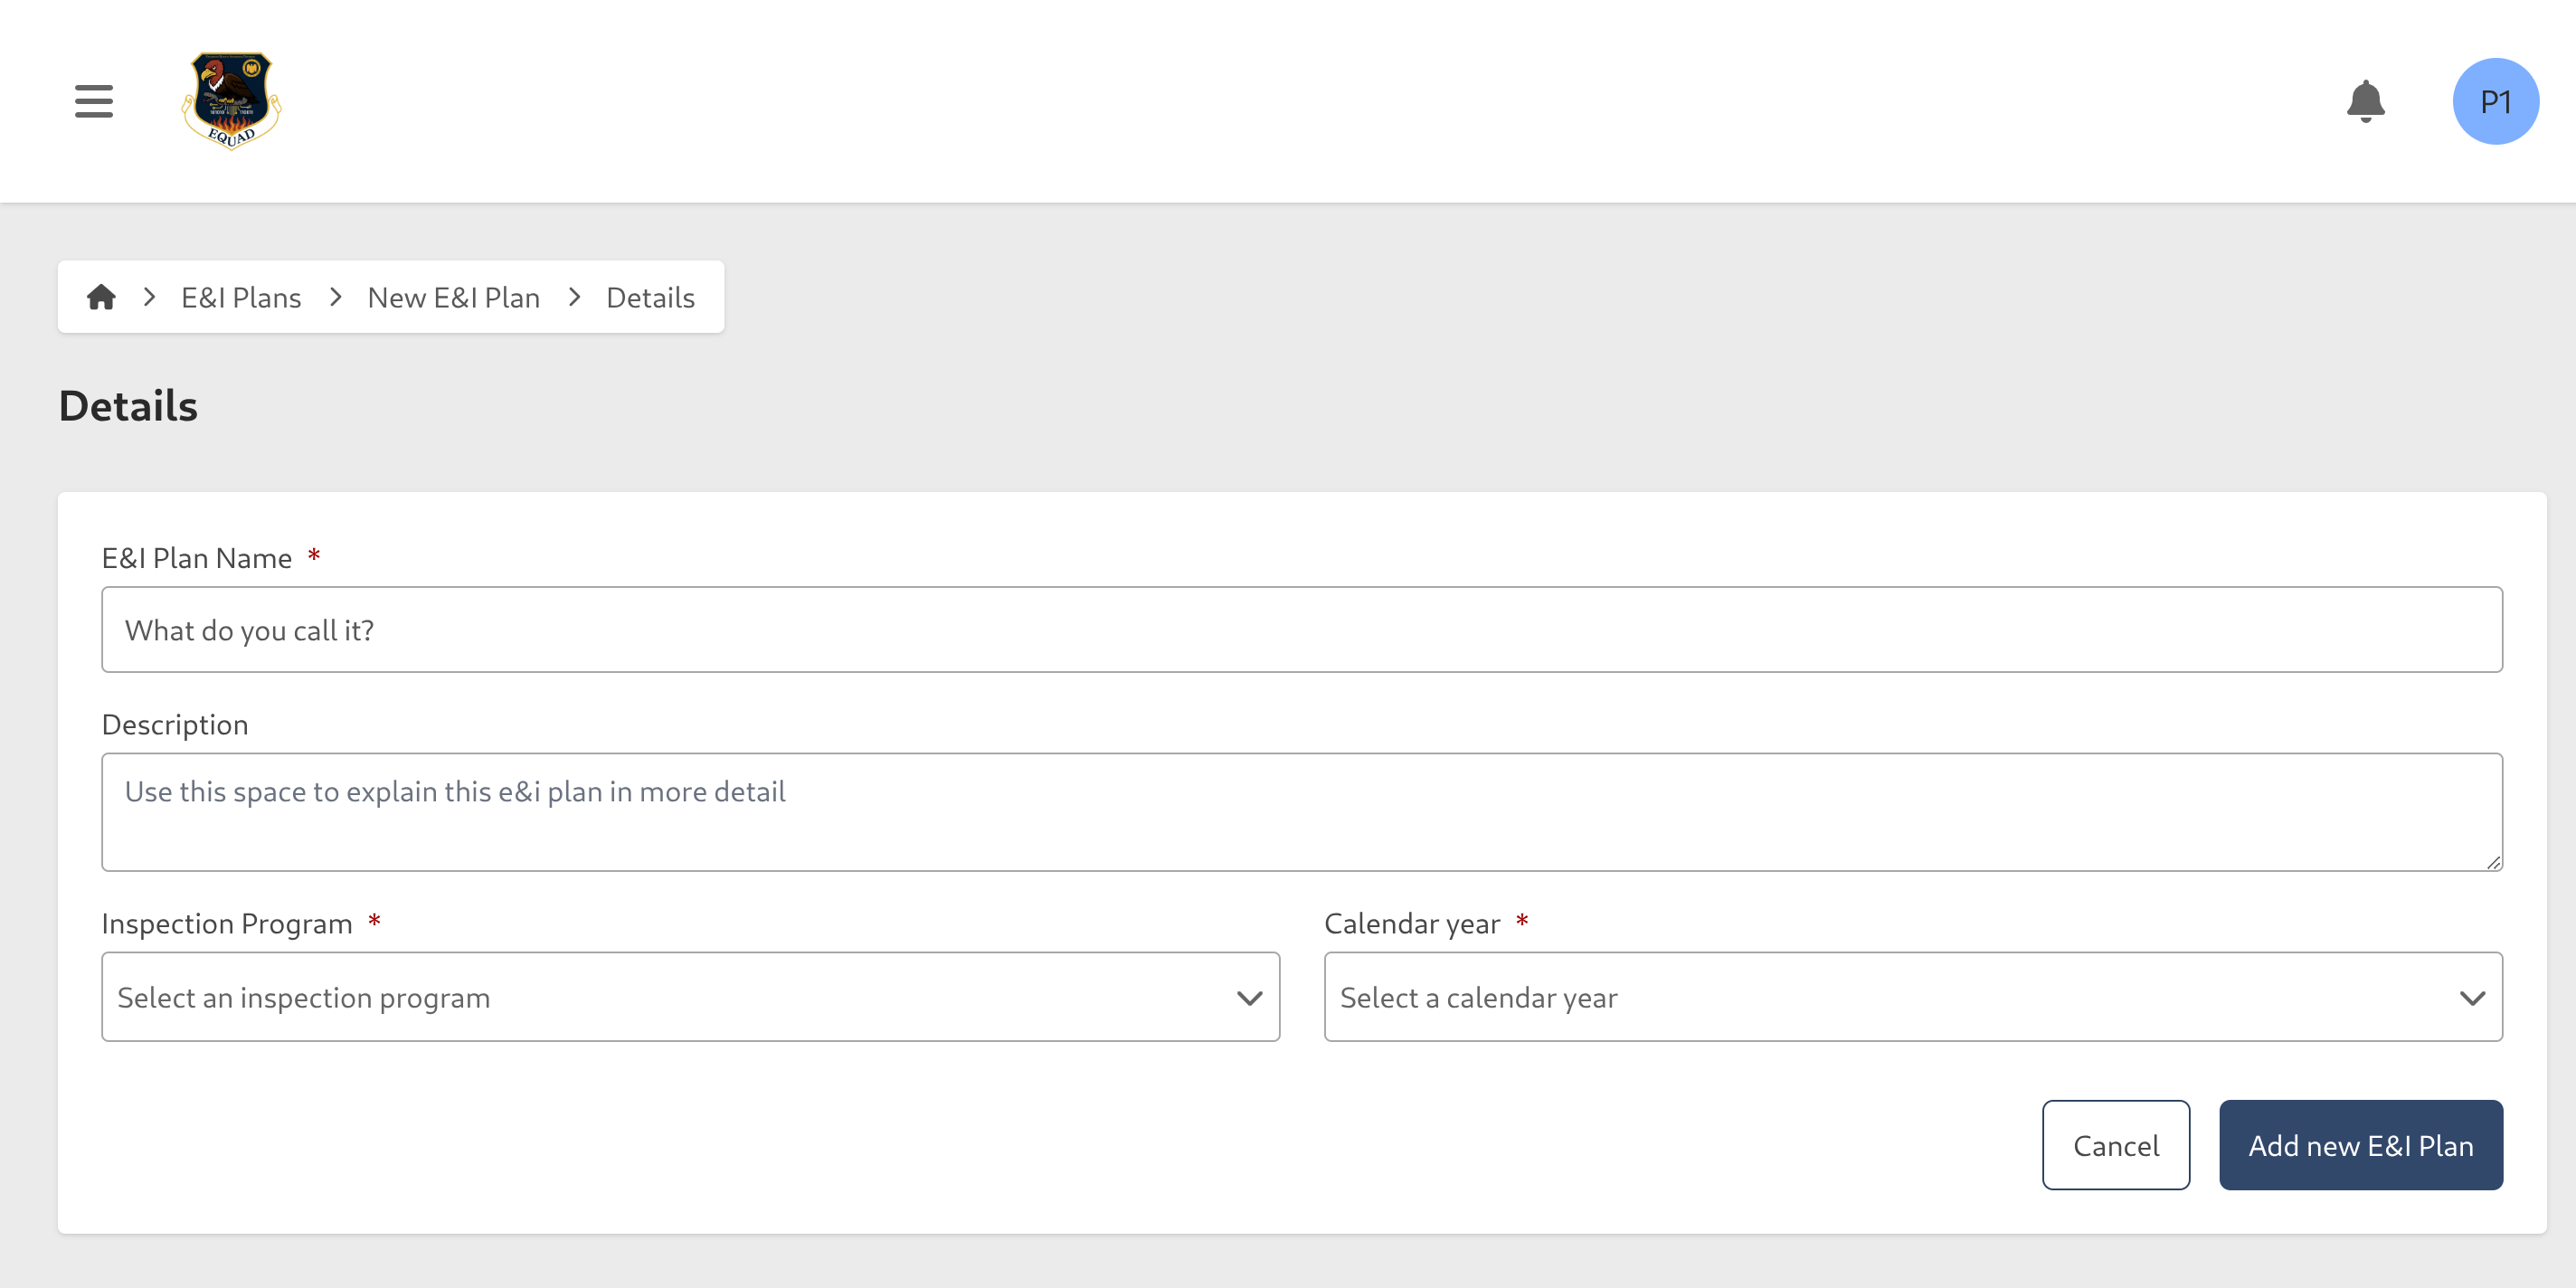
and let's start creating a new E&I Plan
fill in the information requested, the E&I Plan duration covers an entire calendar year, during this process you can create an E&I Plan for only the current or the next year.
Once we Save the changes, the app will move you to the next step (the system will proceed to create the Inspection Requirement from the selected Routine Inspection List, so it can take a while depending on how many Inspection Task it had, please be patient)
Inspection Requirement

by default the Frequency for each tasks will be created as Monthly, you cannot change that at this point, but the default frequency can be changed in Wing Configuration
In this new step, you'll see we have generated a list of Inspection Requirements, for each one, we need to set our desired AQL for the requirement (or leave it as it is) and set which Shops will be performing each task
by default you will need to assign each task to at least one Shop, but if you don't want that, in the Wing Configuration you can change that by toggling the following option

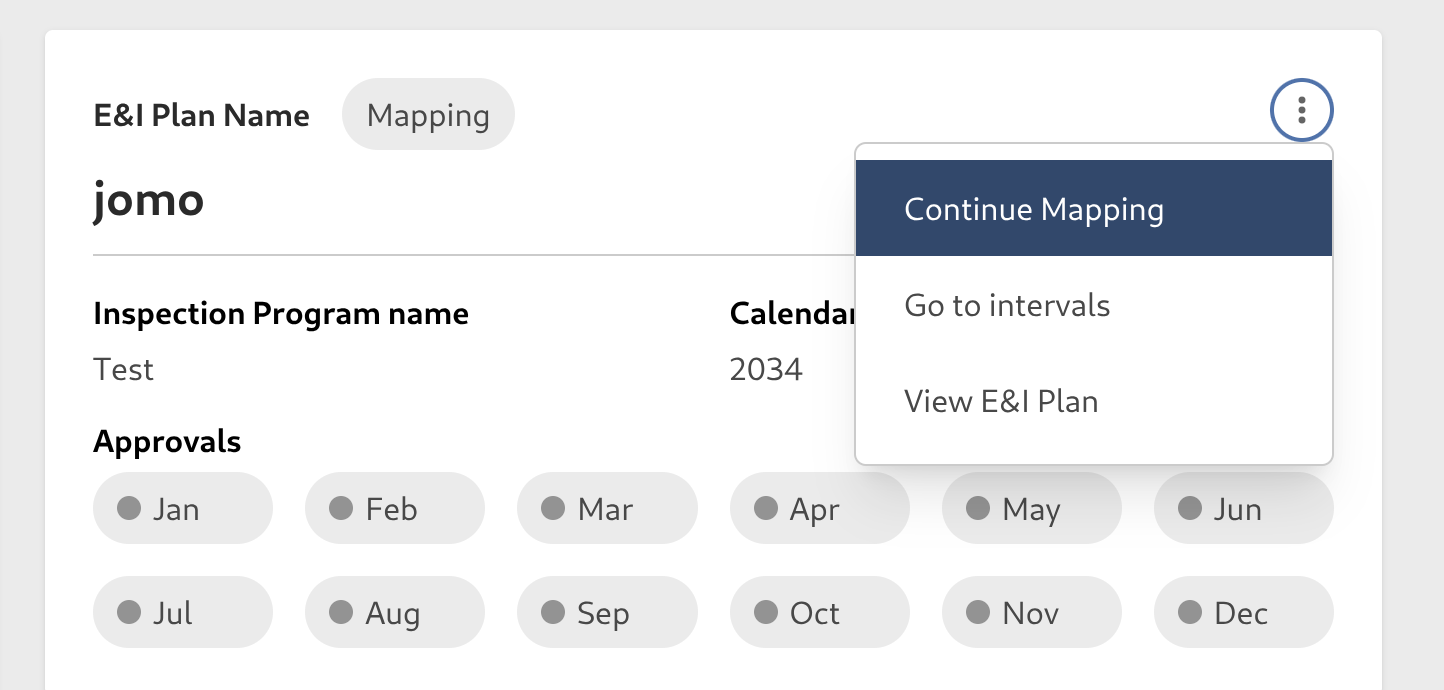
depending on the number of Inspections, the list of Inspection Requirements you need to set can be huge and impossible to be completed in one day, don't worry! every change you make in here will be automatically saved, you can close this page and return the next day to continue from where you left, so take your time! Here's how you return to the page again (this option will dissappear once you complete this step and proceed to the next one)
After you complete setting the Inspection each Shop will work on, press on the Generate button (this button will be greyed out until all the Inspection are set to Ready, we have filters to help you identify which )
The Generate action, just like the first step, can take a while to generate the Inspections depending on the number of tasks assigned to each Shop, and we'll me moved to the next step
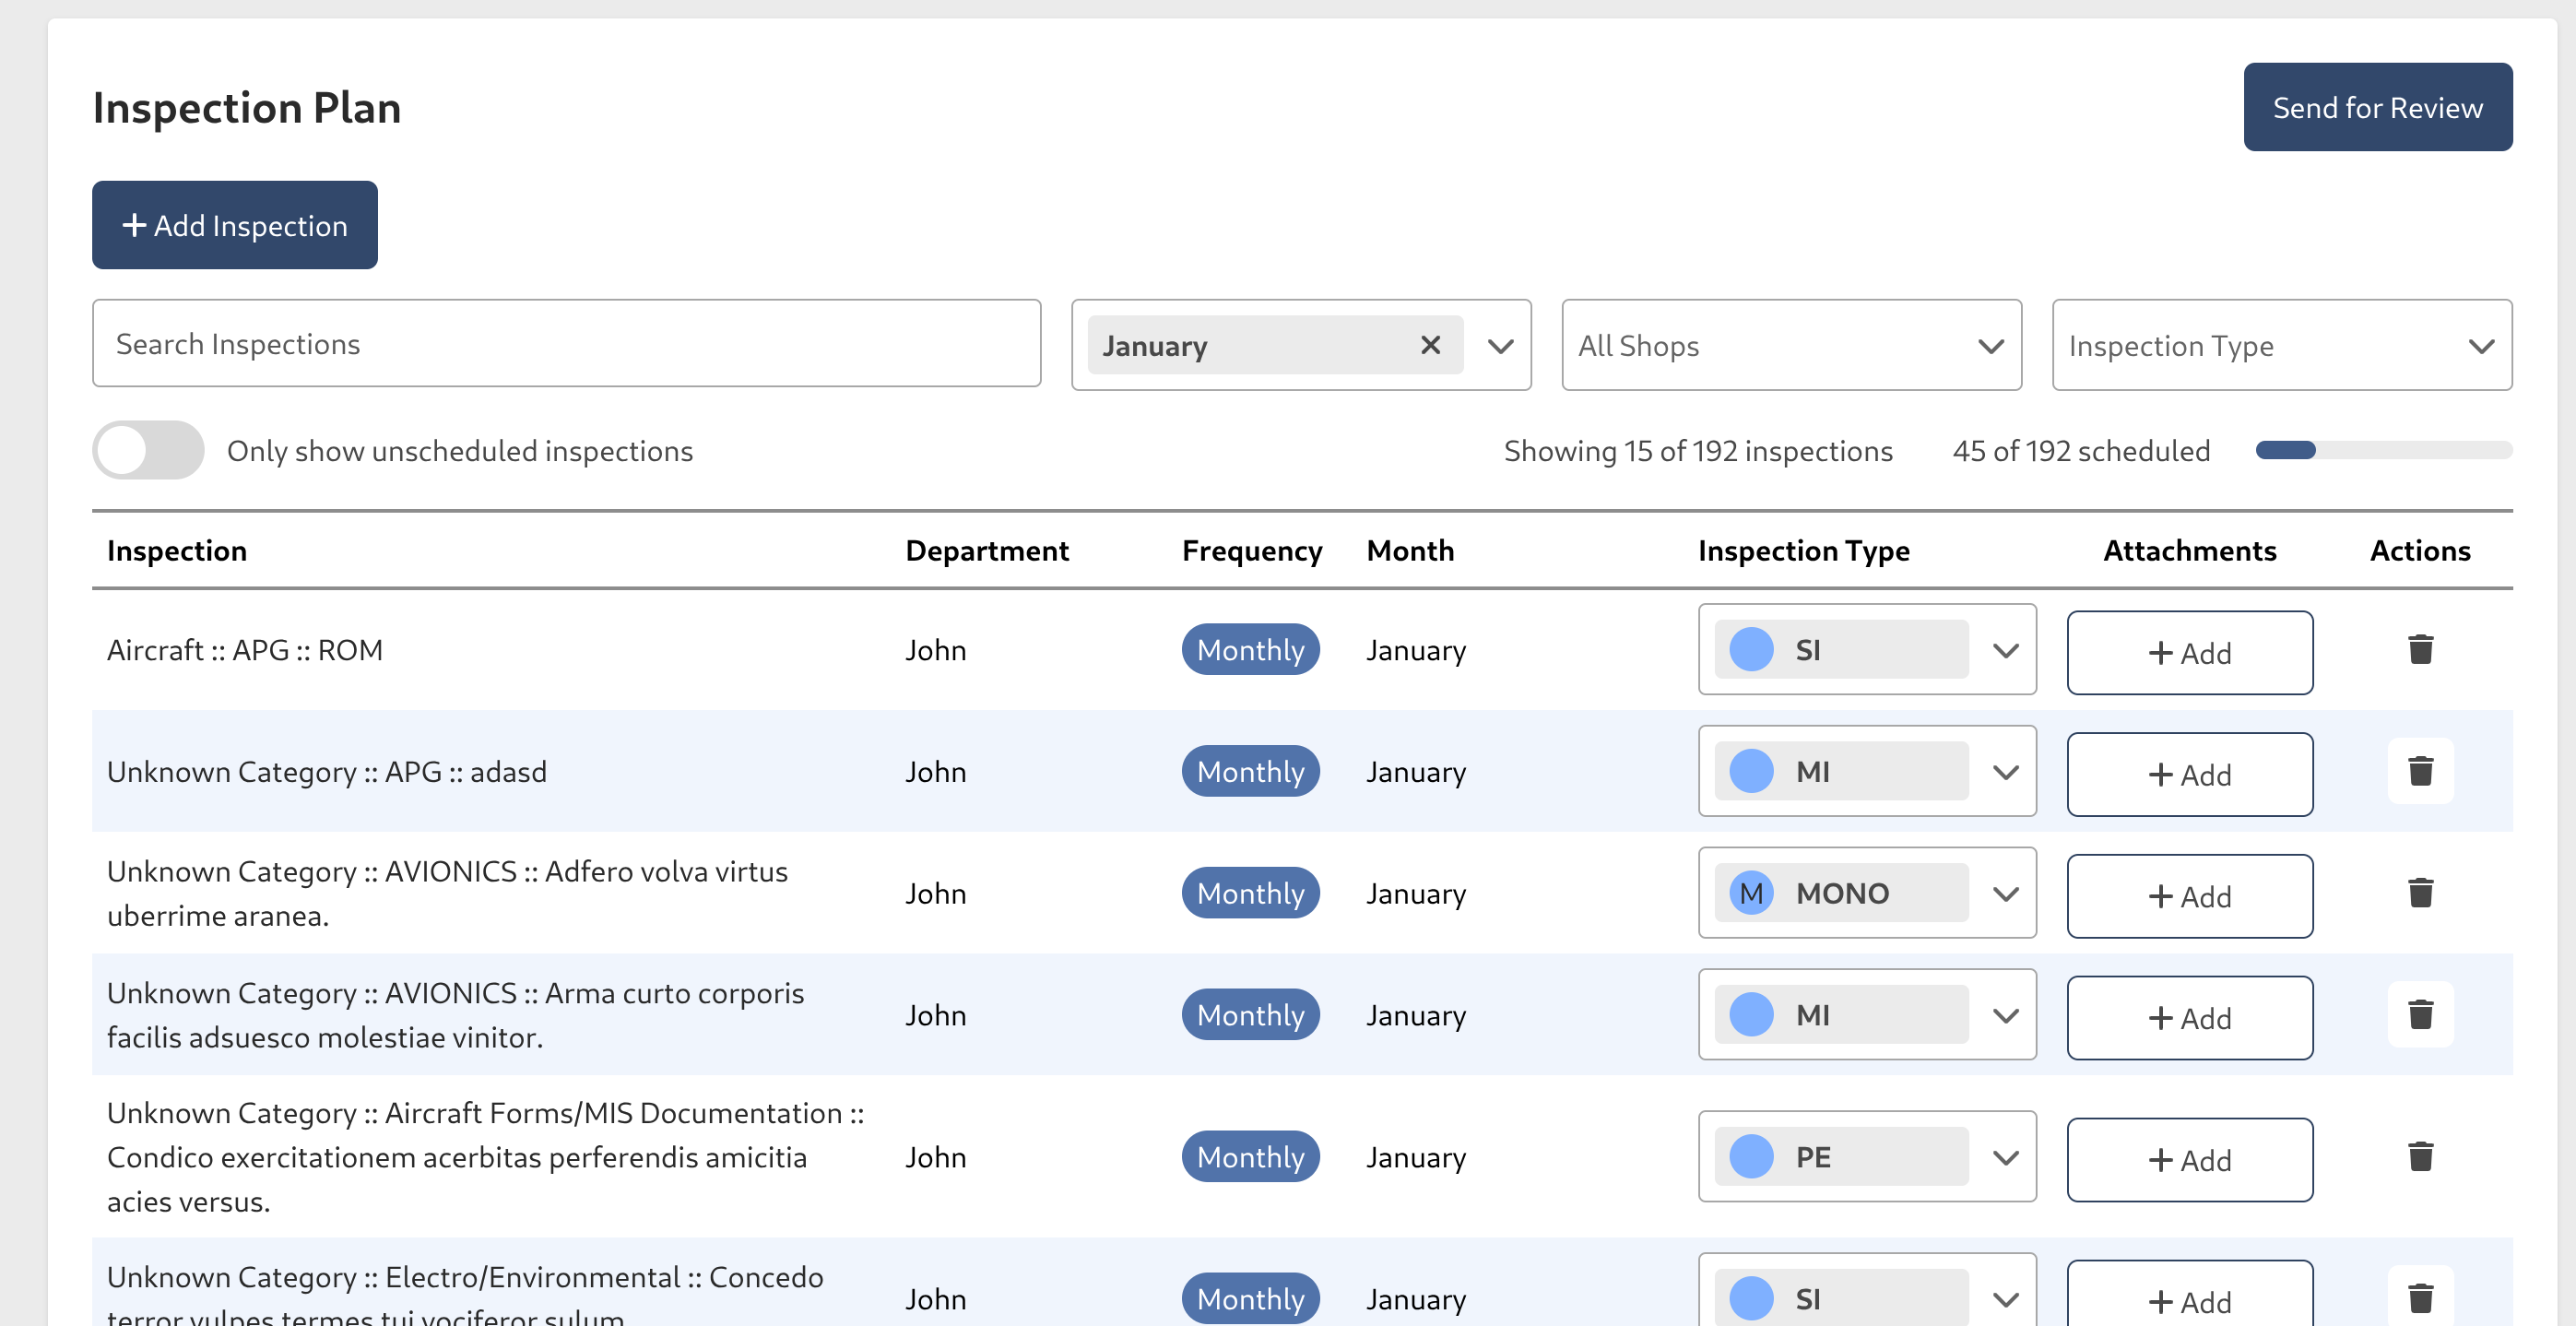
in here, now we'll be presented with a list of Inspections generated for each assigned Shop, let's start by planning the Inspections for the first month January, select the Inspection Type and if it's needed, you can add one attachment to each task
Inspection Task
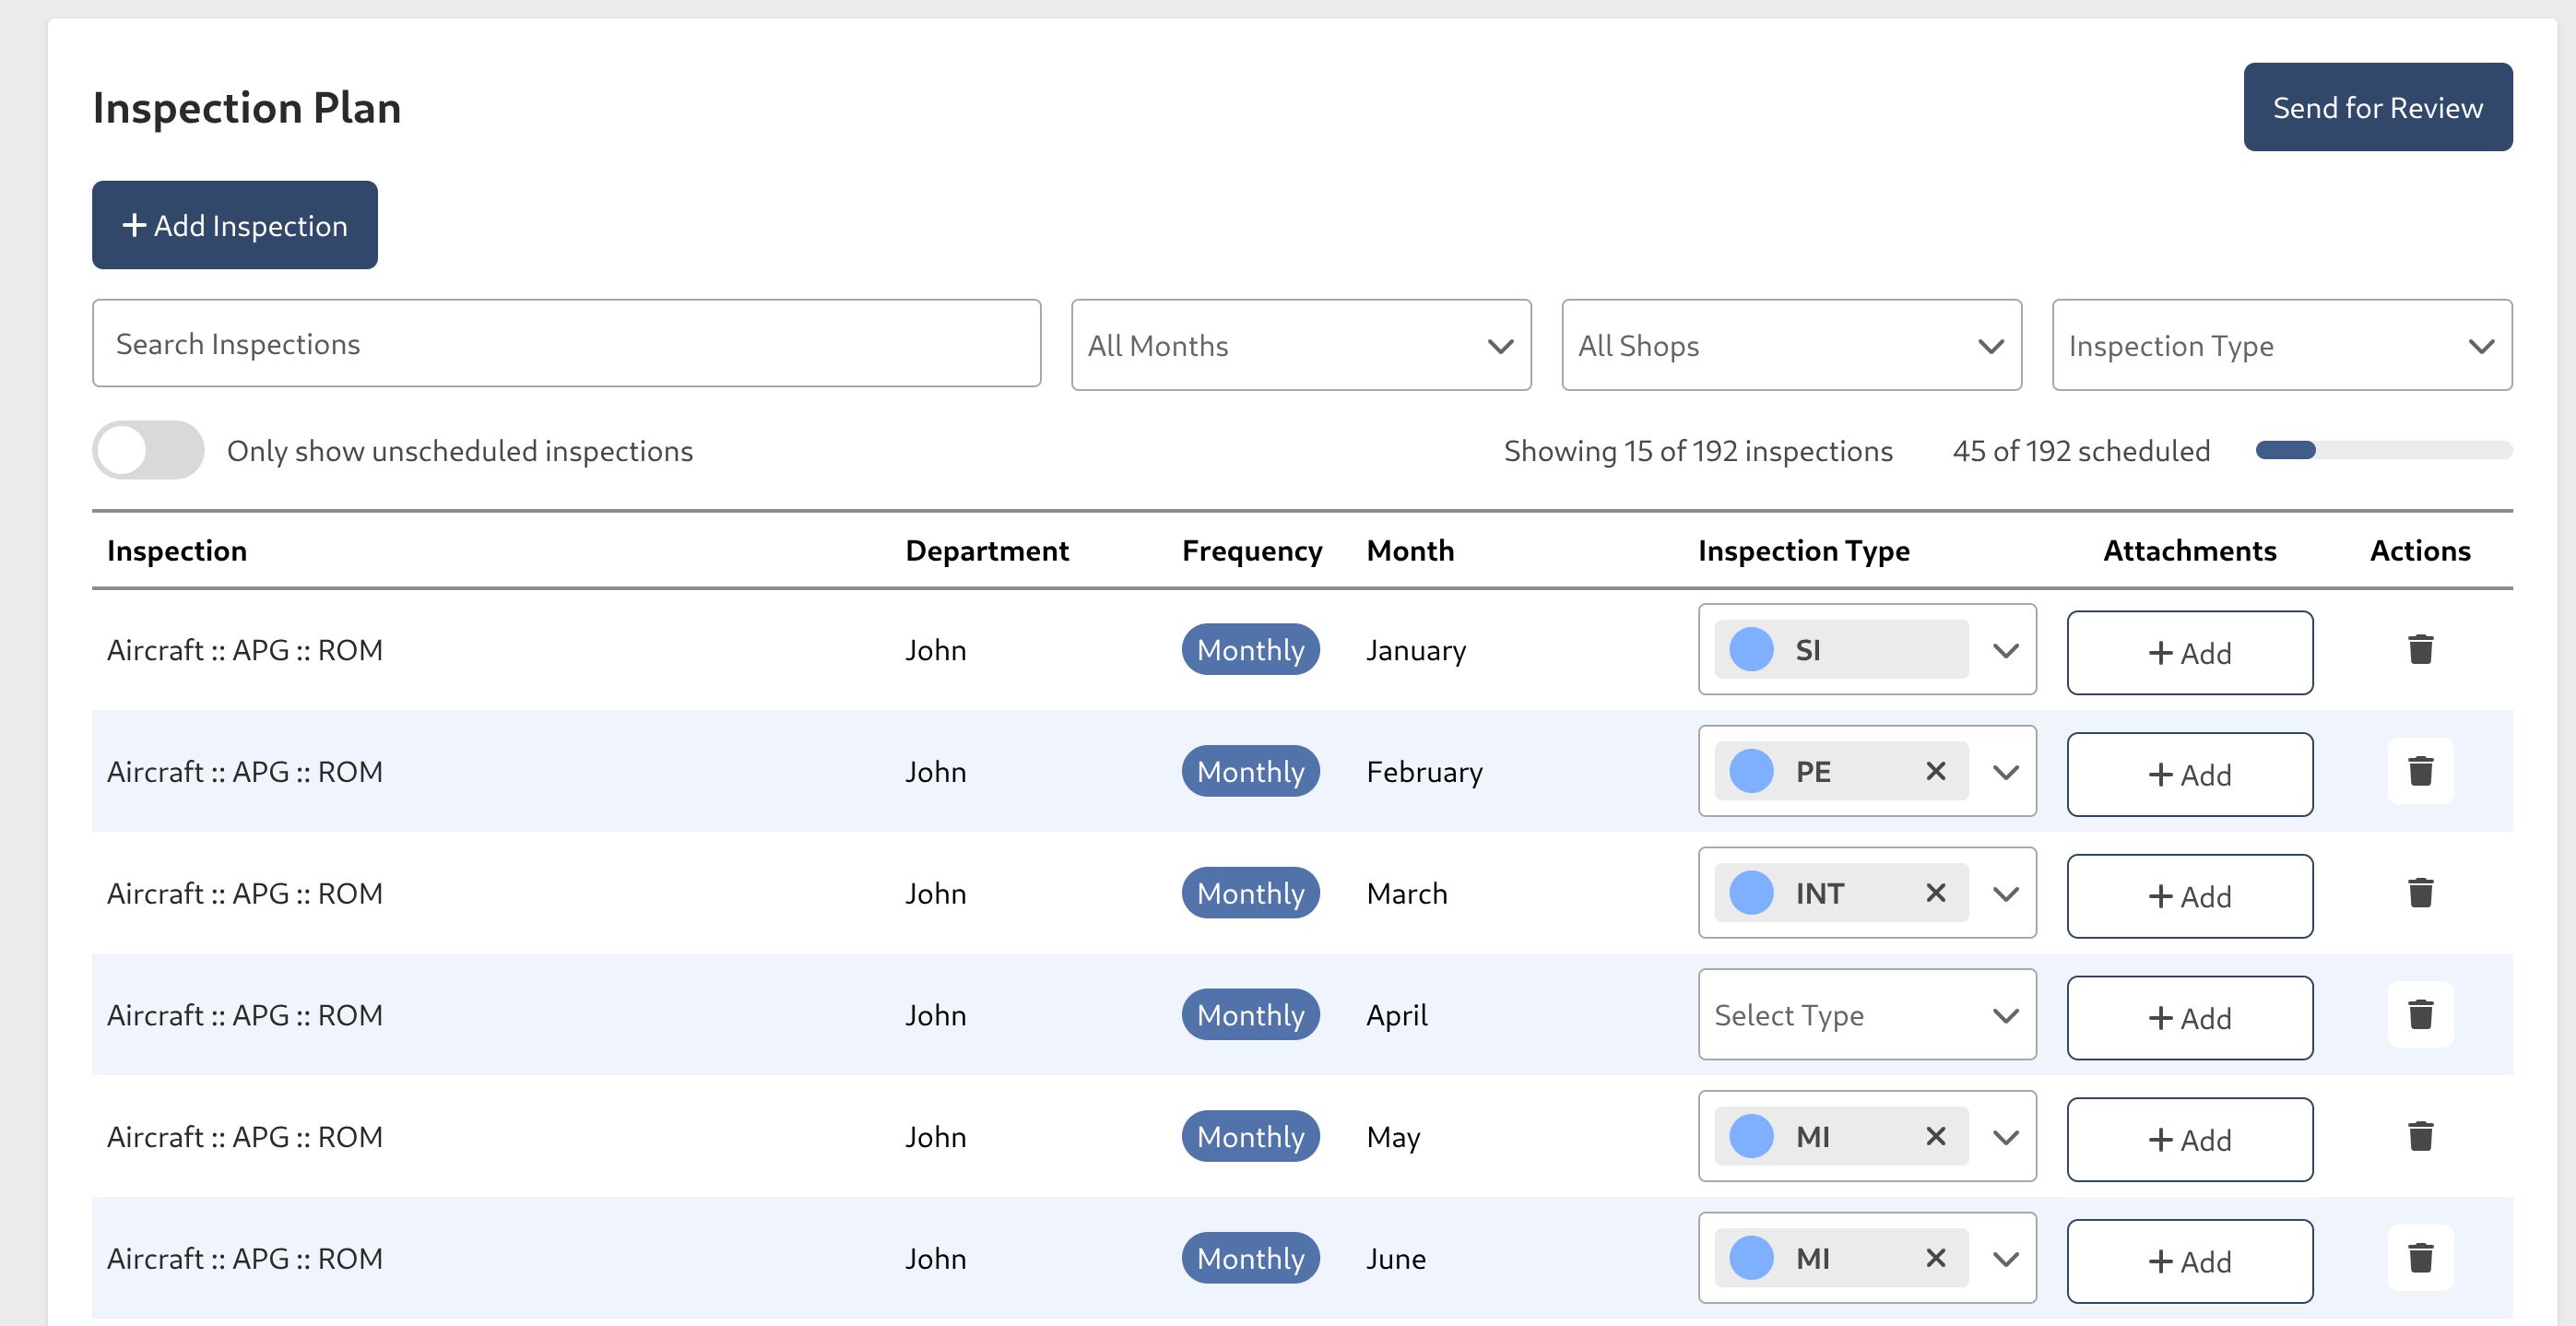
We recommend fully using the filter controls to filter by month, this will help you work in a more organized way
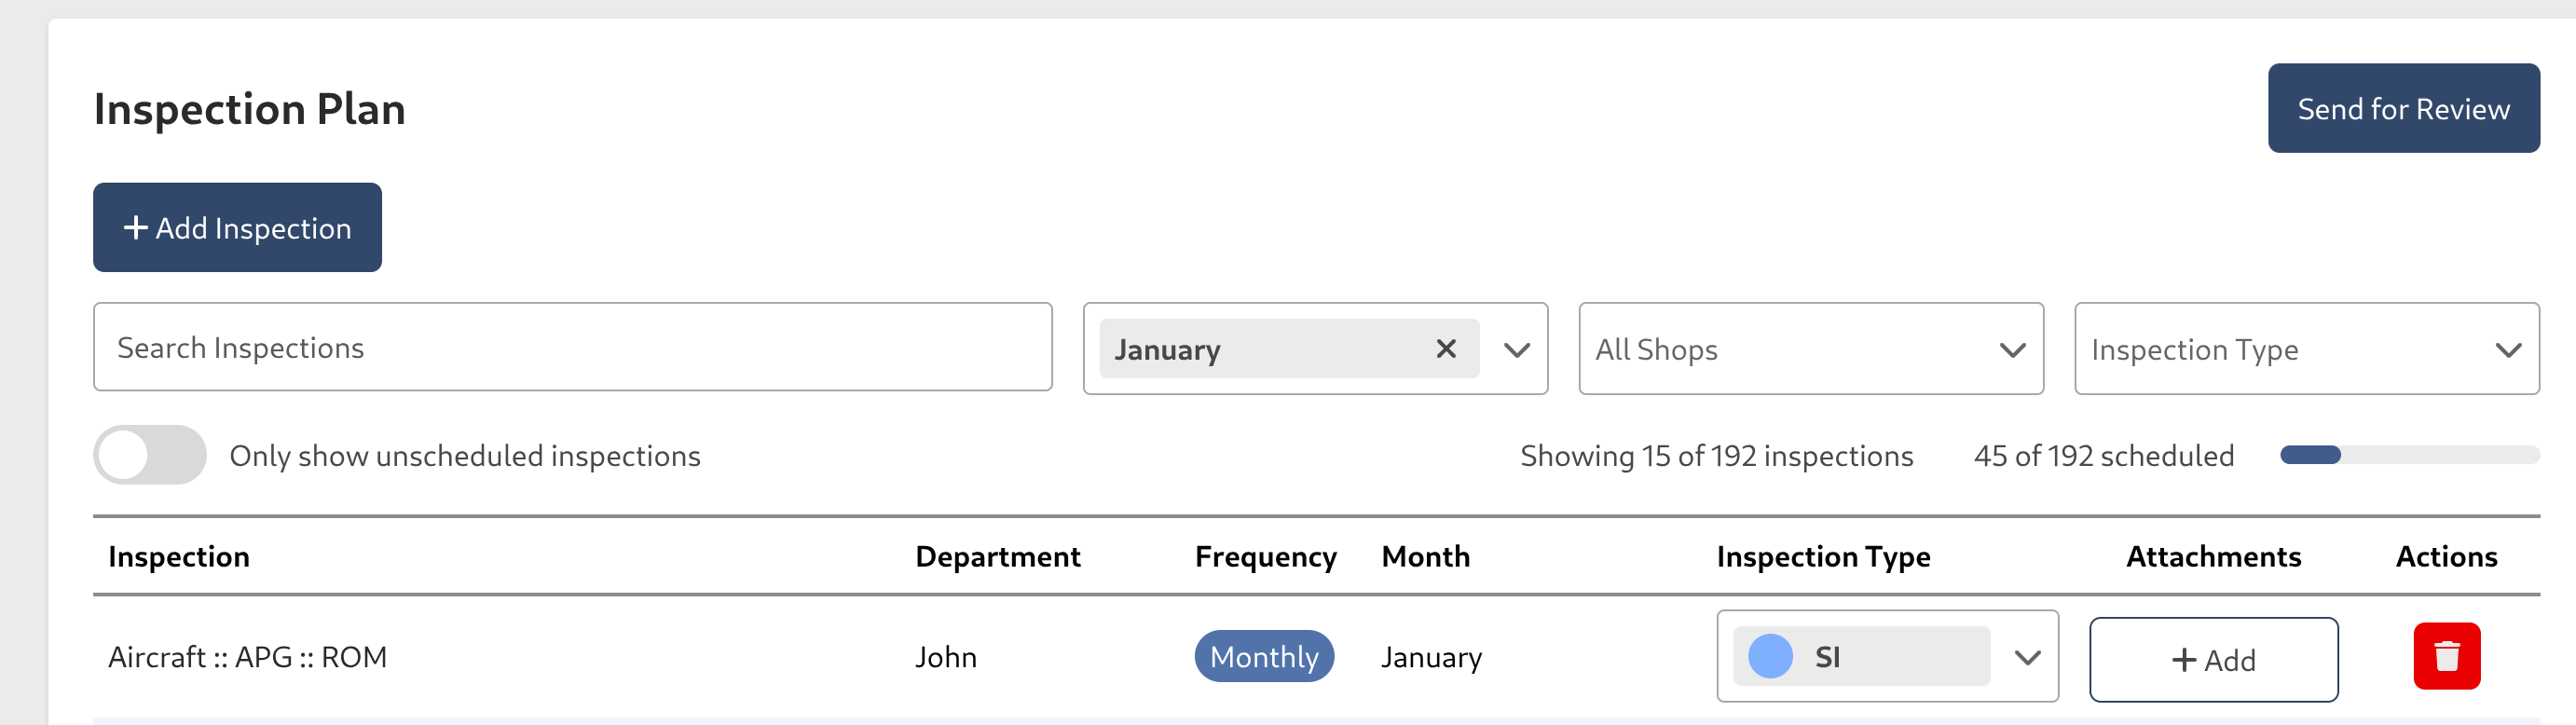
if there's a task that you consider does not apply to a Shop anymore, you can remove it by pressing the delete button
Once you finish setting the information required for each task of the interval, press the Send For Review button, it will show up a new modal with a summary of the inspection plan tasks of the interval, if everything is ok, proceed to press Send For Review.
If you haven't finished setting all the tasks on the interval, the modal will have a warning and will grey out the button
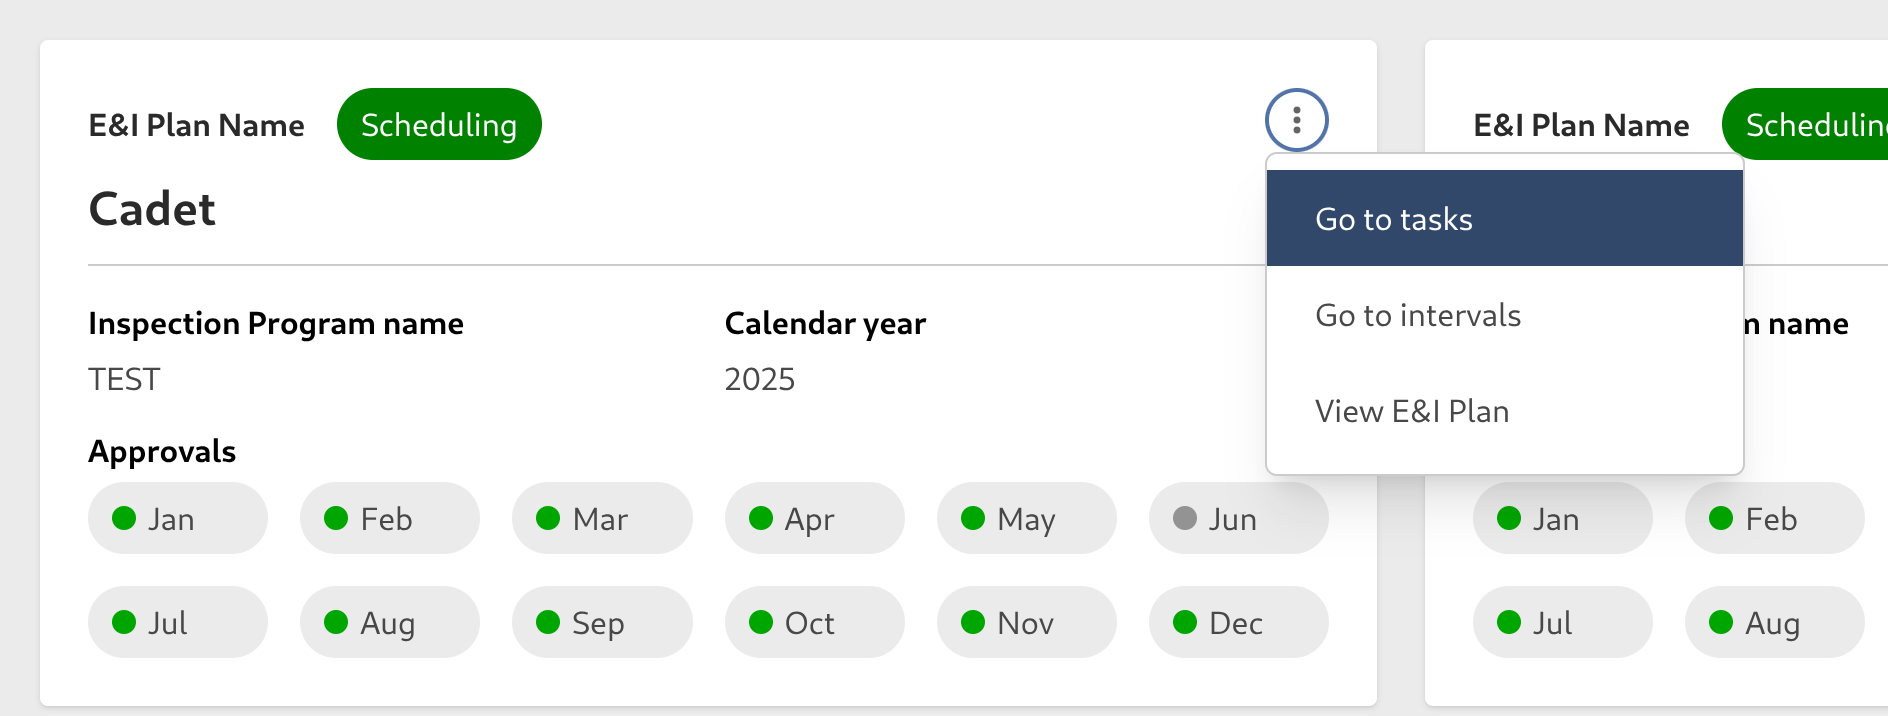
Additionally, notice that you can continue working on the Inspection Task via the contextual menu option
Interval Review
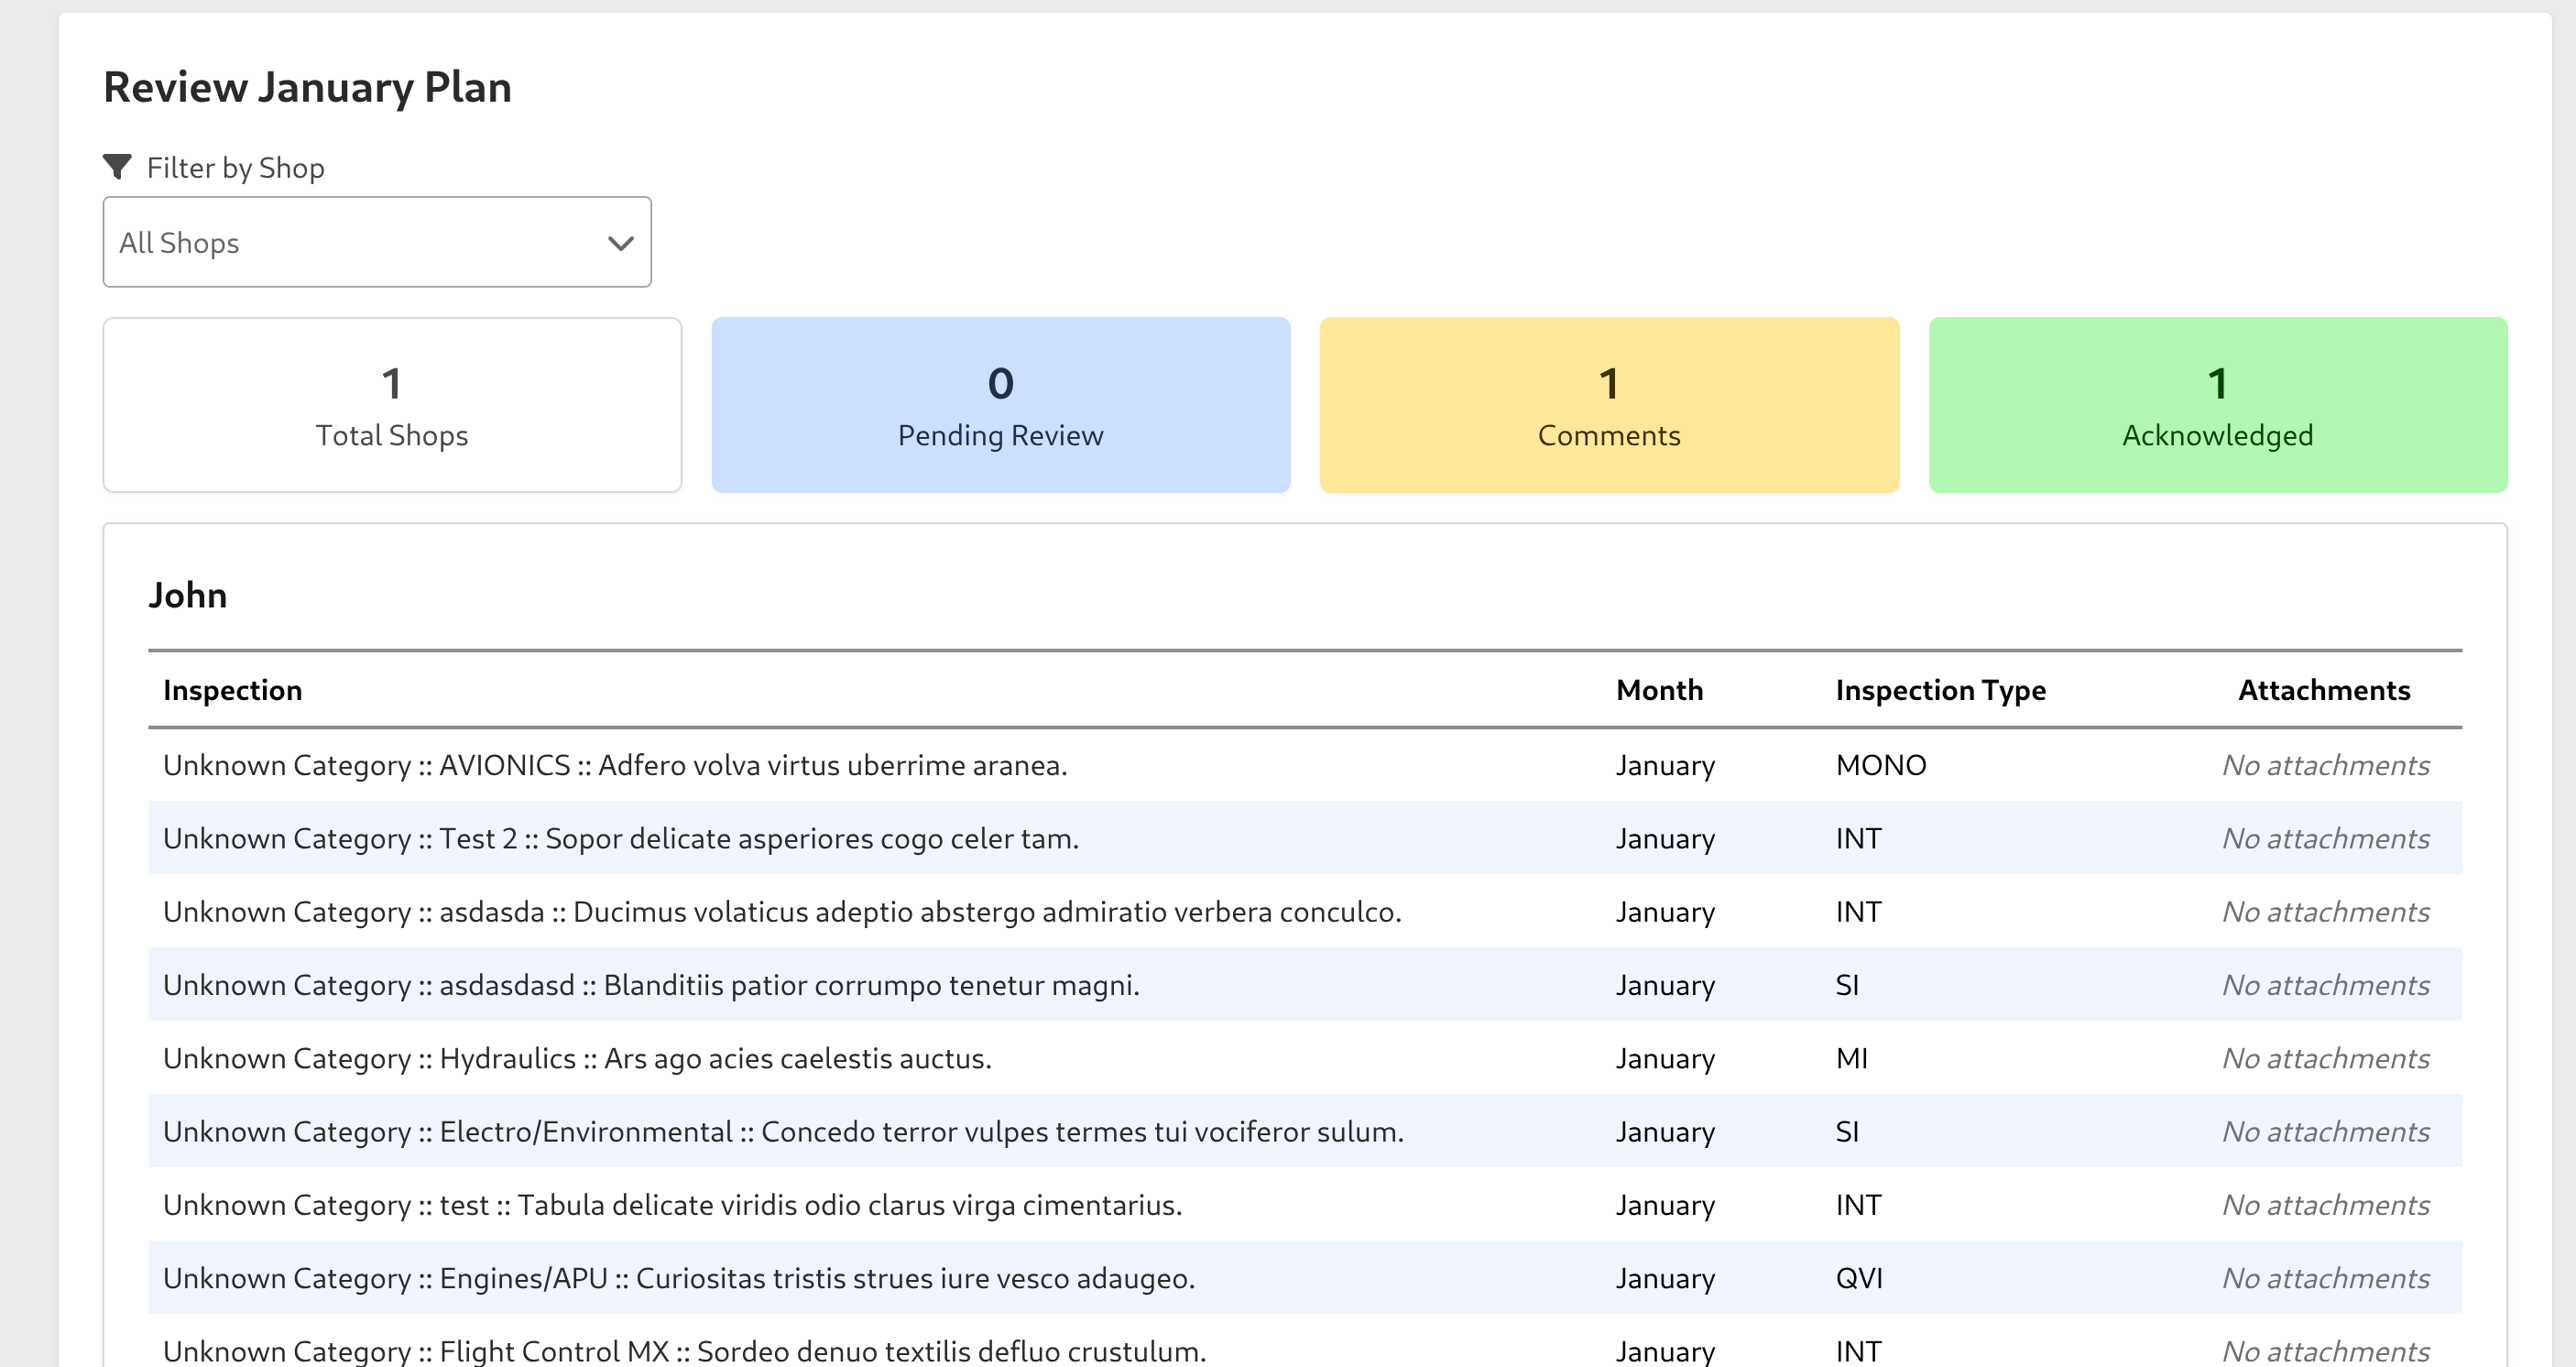
After the Interval is sent for review, we'll be redirected to this new page, and all the users from the assigned Shops will receive a notification about the review process, in this part the users will be able to view the summary of tasks for each Shop and if everything is ok, they will need to click on the Acknowledge button
The users who can acknowledge in this process will be those who have a specific Role, it can be set in the Wing Configuration, this will be applied by default for all the Shops, or by the shop configuration if you want another Role for specific Shops