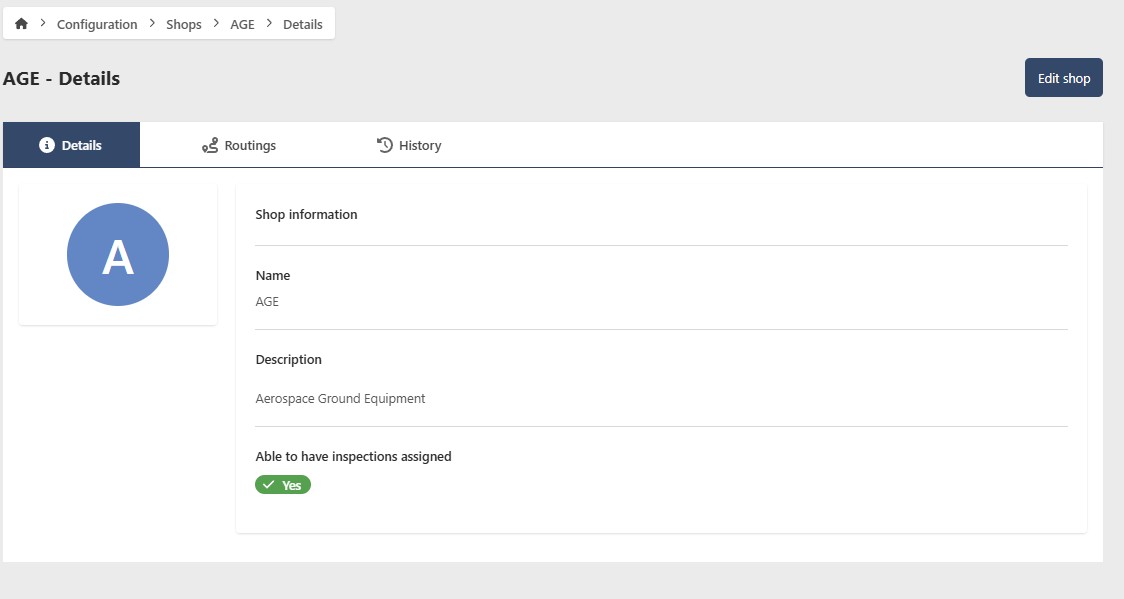
Edit Shop Details
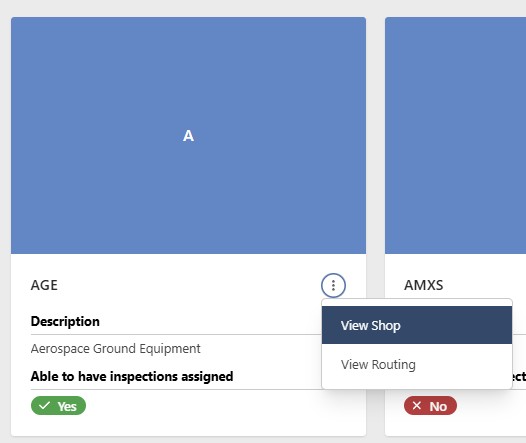
To update a Shop, first locate it on the Shop configuration screen. Click View Shop in the contextual menu of the Shop you want to update. Use the filter option at the top of the page to search for and find the Shop more easily
The instructions below assume you have an Access Role that allows you to perform these actions. If you aren't able to follow the instructions as written, please check with your Admin to make sure you have the correct access.
Select the Edit Shop button.
- Name (required) - Enter the name of the Shop
- Description (optional) - Provide an optional description for the Shop, including any relevant details
- Parent Shop (optional) - Assigning a Parent Shop is optional but preferred, as it's used for routing and notification purposes
- Able to have inspections assigned - You can toggle whether a Shop will have inspections assigned to it. Using the example above, shops like Hydraulics, which likely require inspections, contrast with Shops like Accessories, which probably do not. Generally, inspections are not assigned to Shops that solely exist for management positions
- Update Image (optional) - While a default image is automatically generated, users have the option to upload a different one
The Parent Shop functions like a chain of command, where the new Shop will report to it. For example, if you create a Shop called Hydraulics, it might report to the Accessories Shop, making Accessories the Parent Shop. If a potential Parent Shop isn't listed, it means it hasn't been created yet. It's recommended to build shops from a top-down approach to avoid needing to edit Shops later to assign the correct Parent Shop. If the Parent Shop already exists, you can assign it when creating the new Shop, saving time. For instance, creating Accessories before Hydraulics allows you to assign Accessories as the parent when creating Hydraulics
When in edit mode, you can make updates similar to adding a Shop. After making the updates, click the Save Shop button.