Inspection Categories
Inspection Categories organize your inspection requirements and help target inspection mappings. Each category contains one or more Inspection Areas, which specify the items to be inspected. Think of an Inspection Area as a sub-category within a Inspection Category.
Go to Configuration > Inspection Categories to manage your Inspection Categories. You'll need the appropriate access role to add, edit, or remove an Inspection Category.
Add an Inspection Category
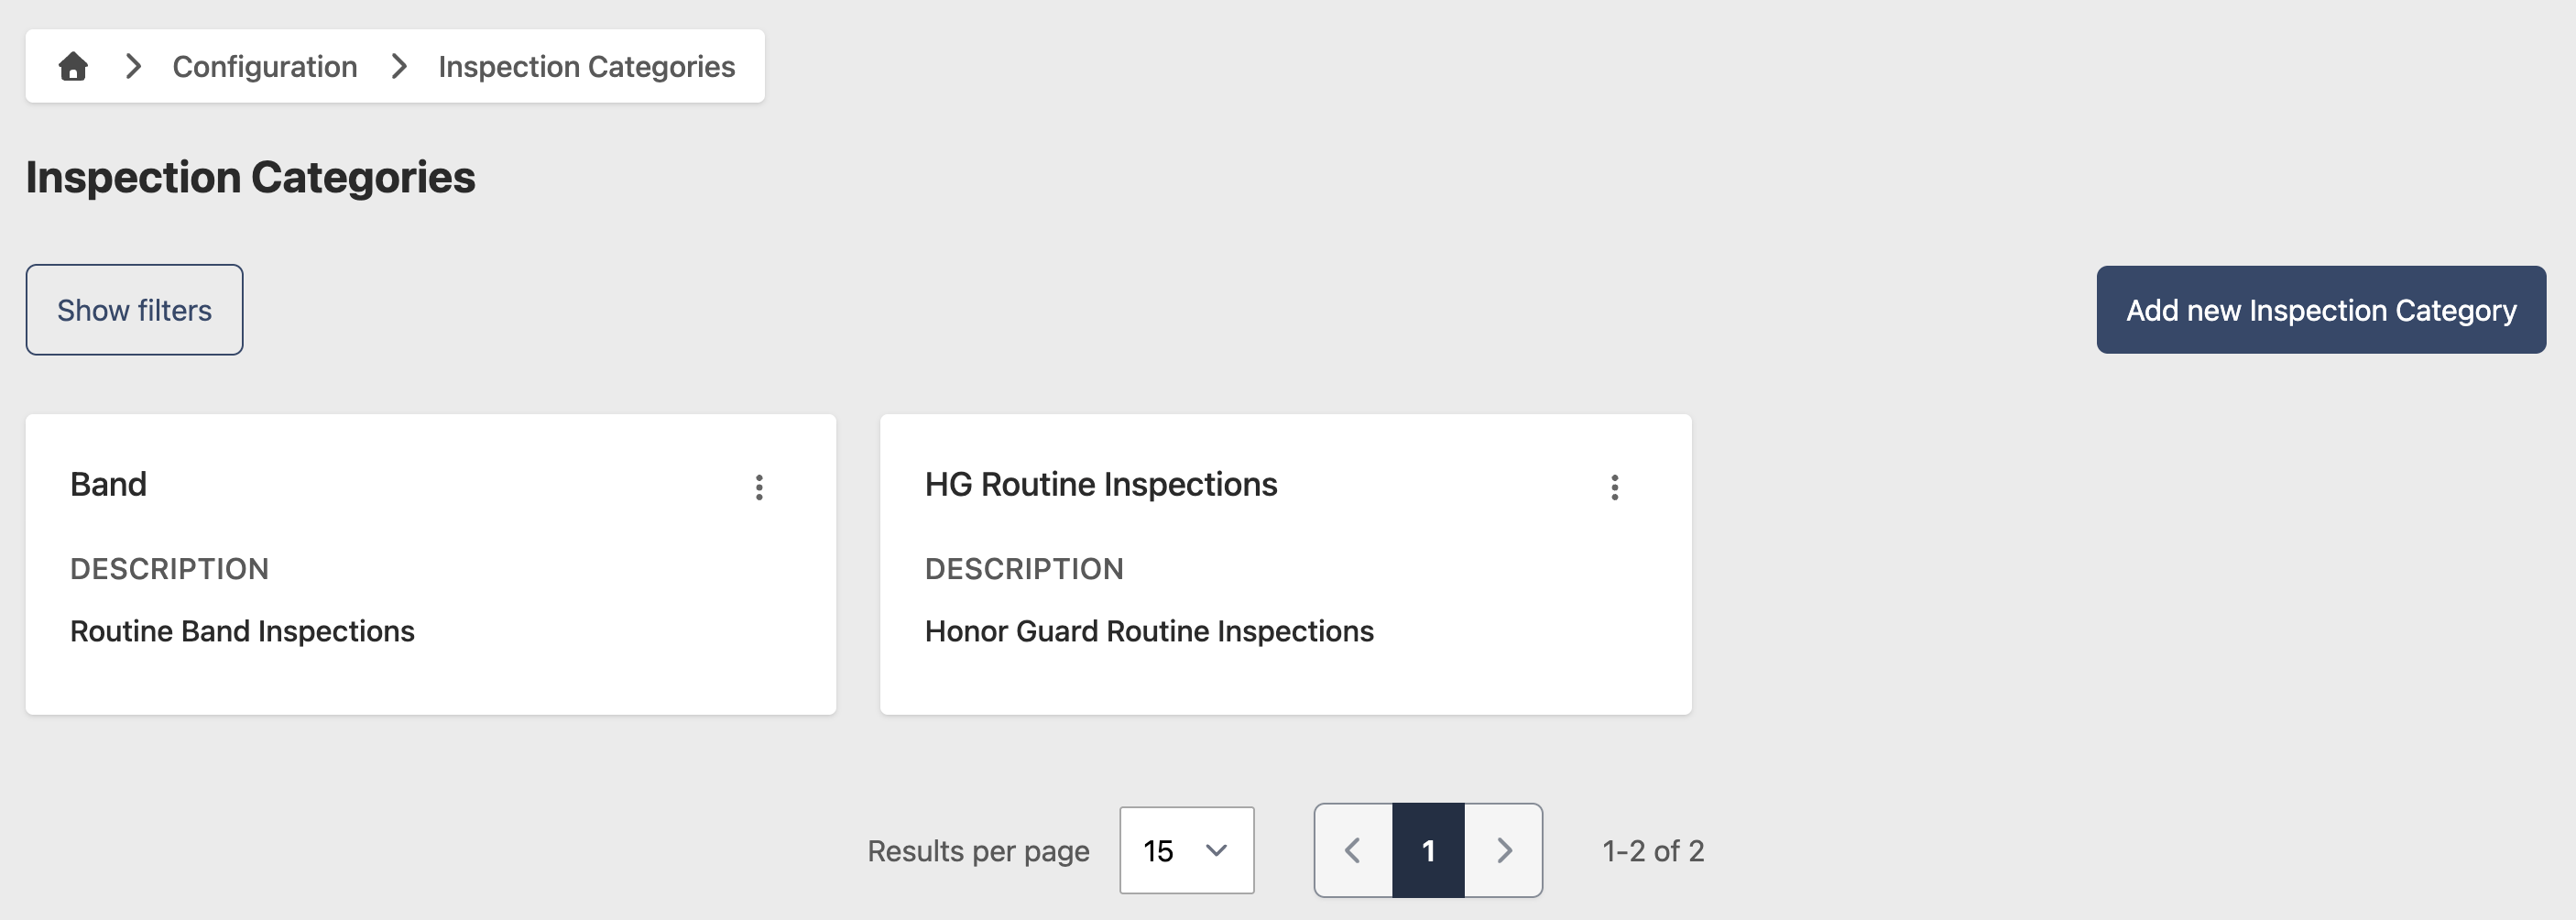
- Go to Configuration > Inspection Categories
- Click Add new Inspection Category
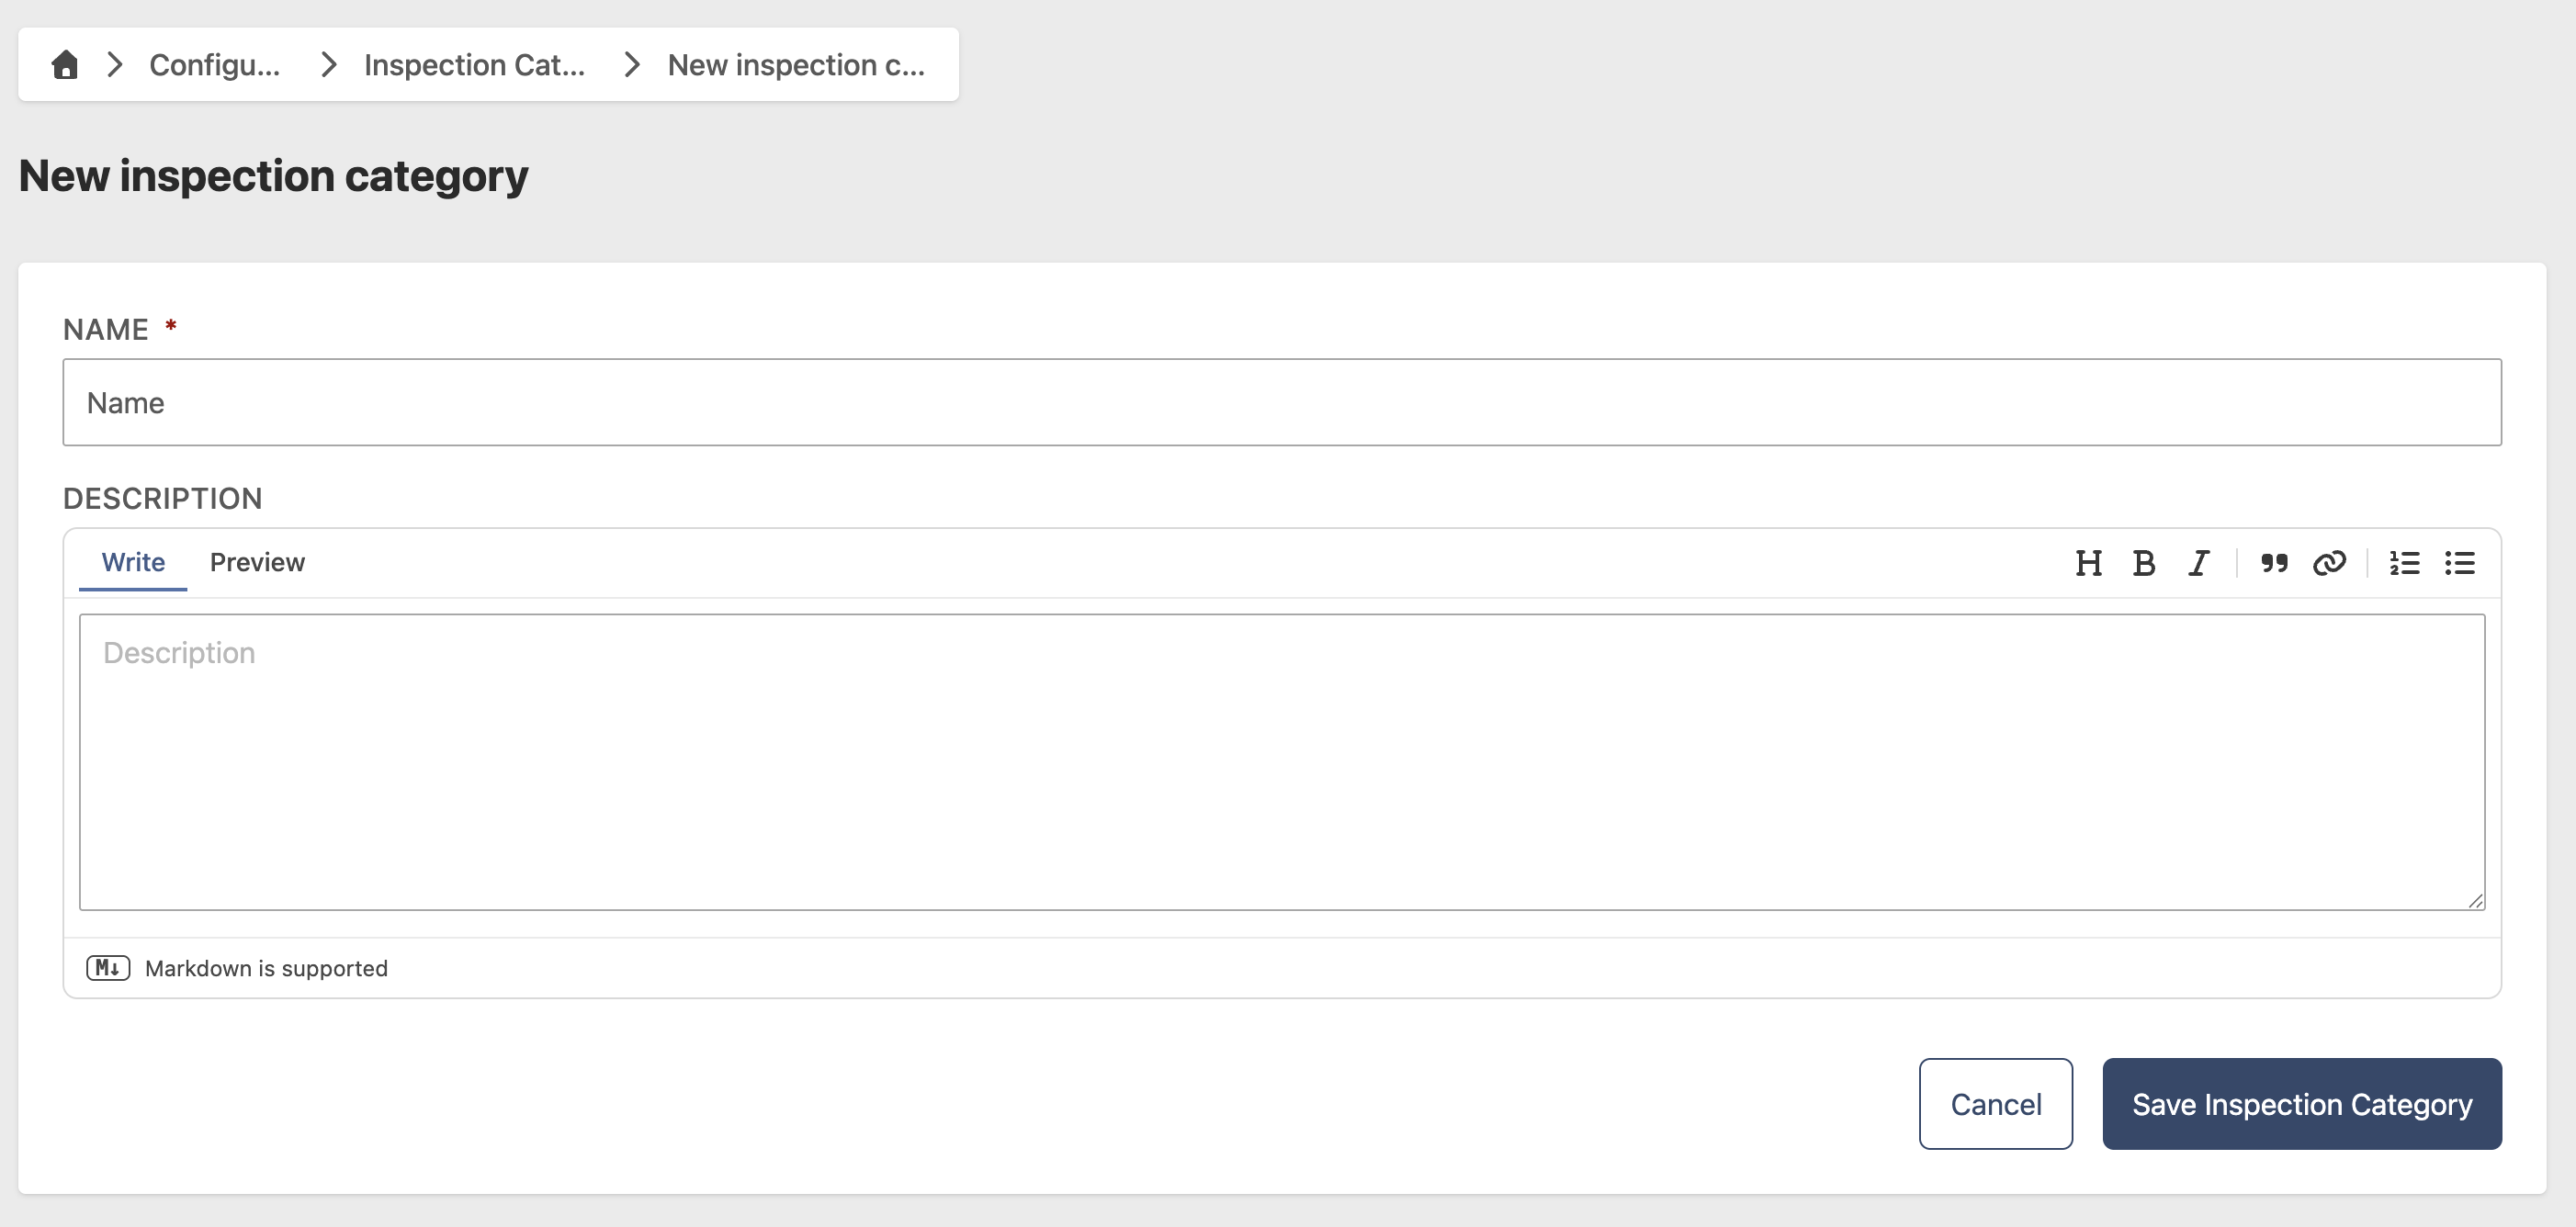
- Enter the following information:
- Name (required)
- Description (optional)
- Click Add new Inspection Category
Edit an Inspection Category
- Go to Configuration > Inspection Categories
- Click the contextual menu (⋯) next to the Inspection Category and click View Inspection Category
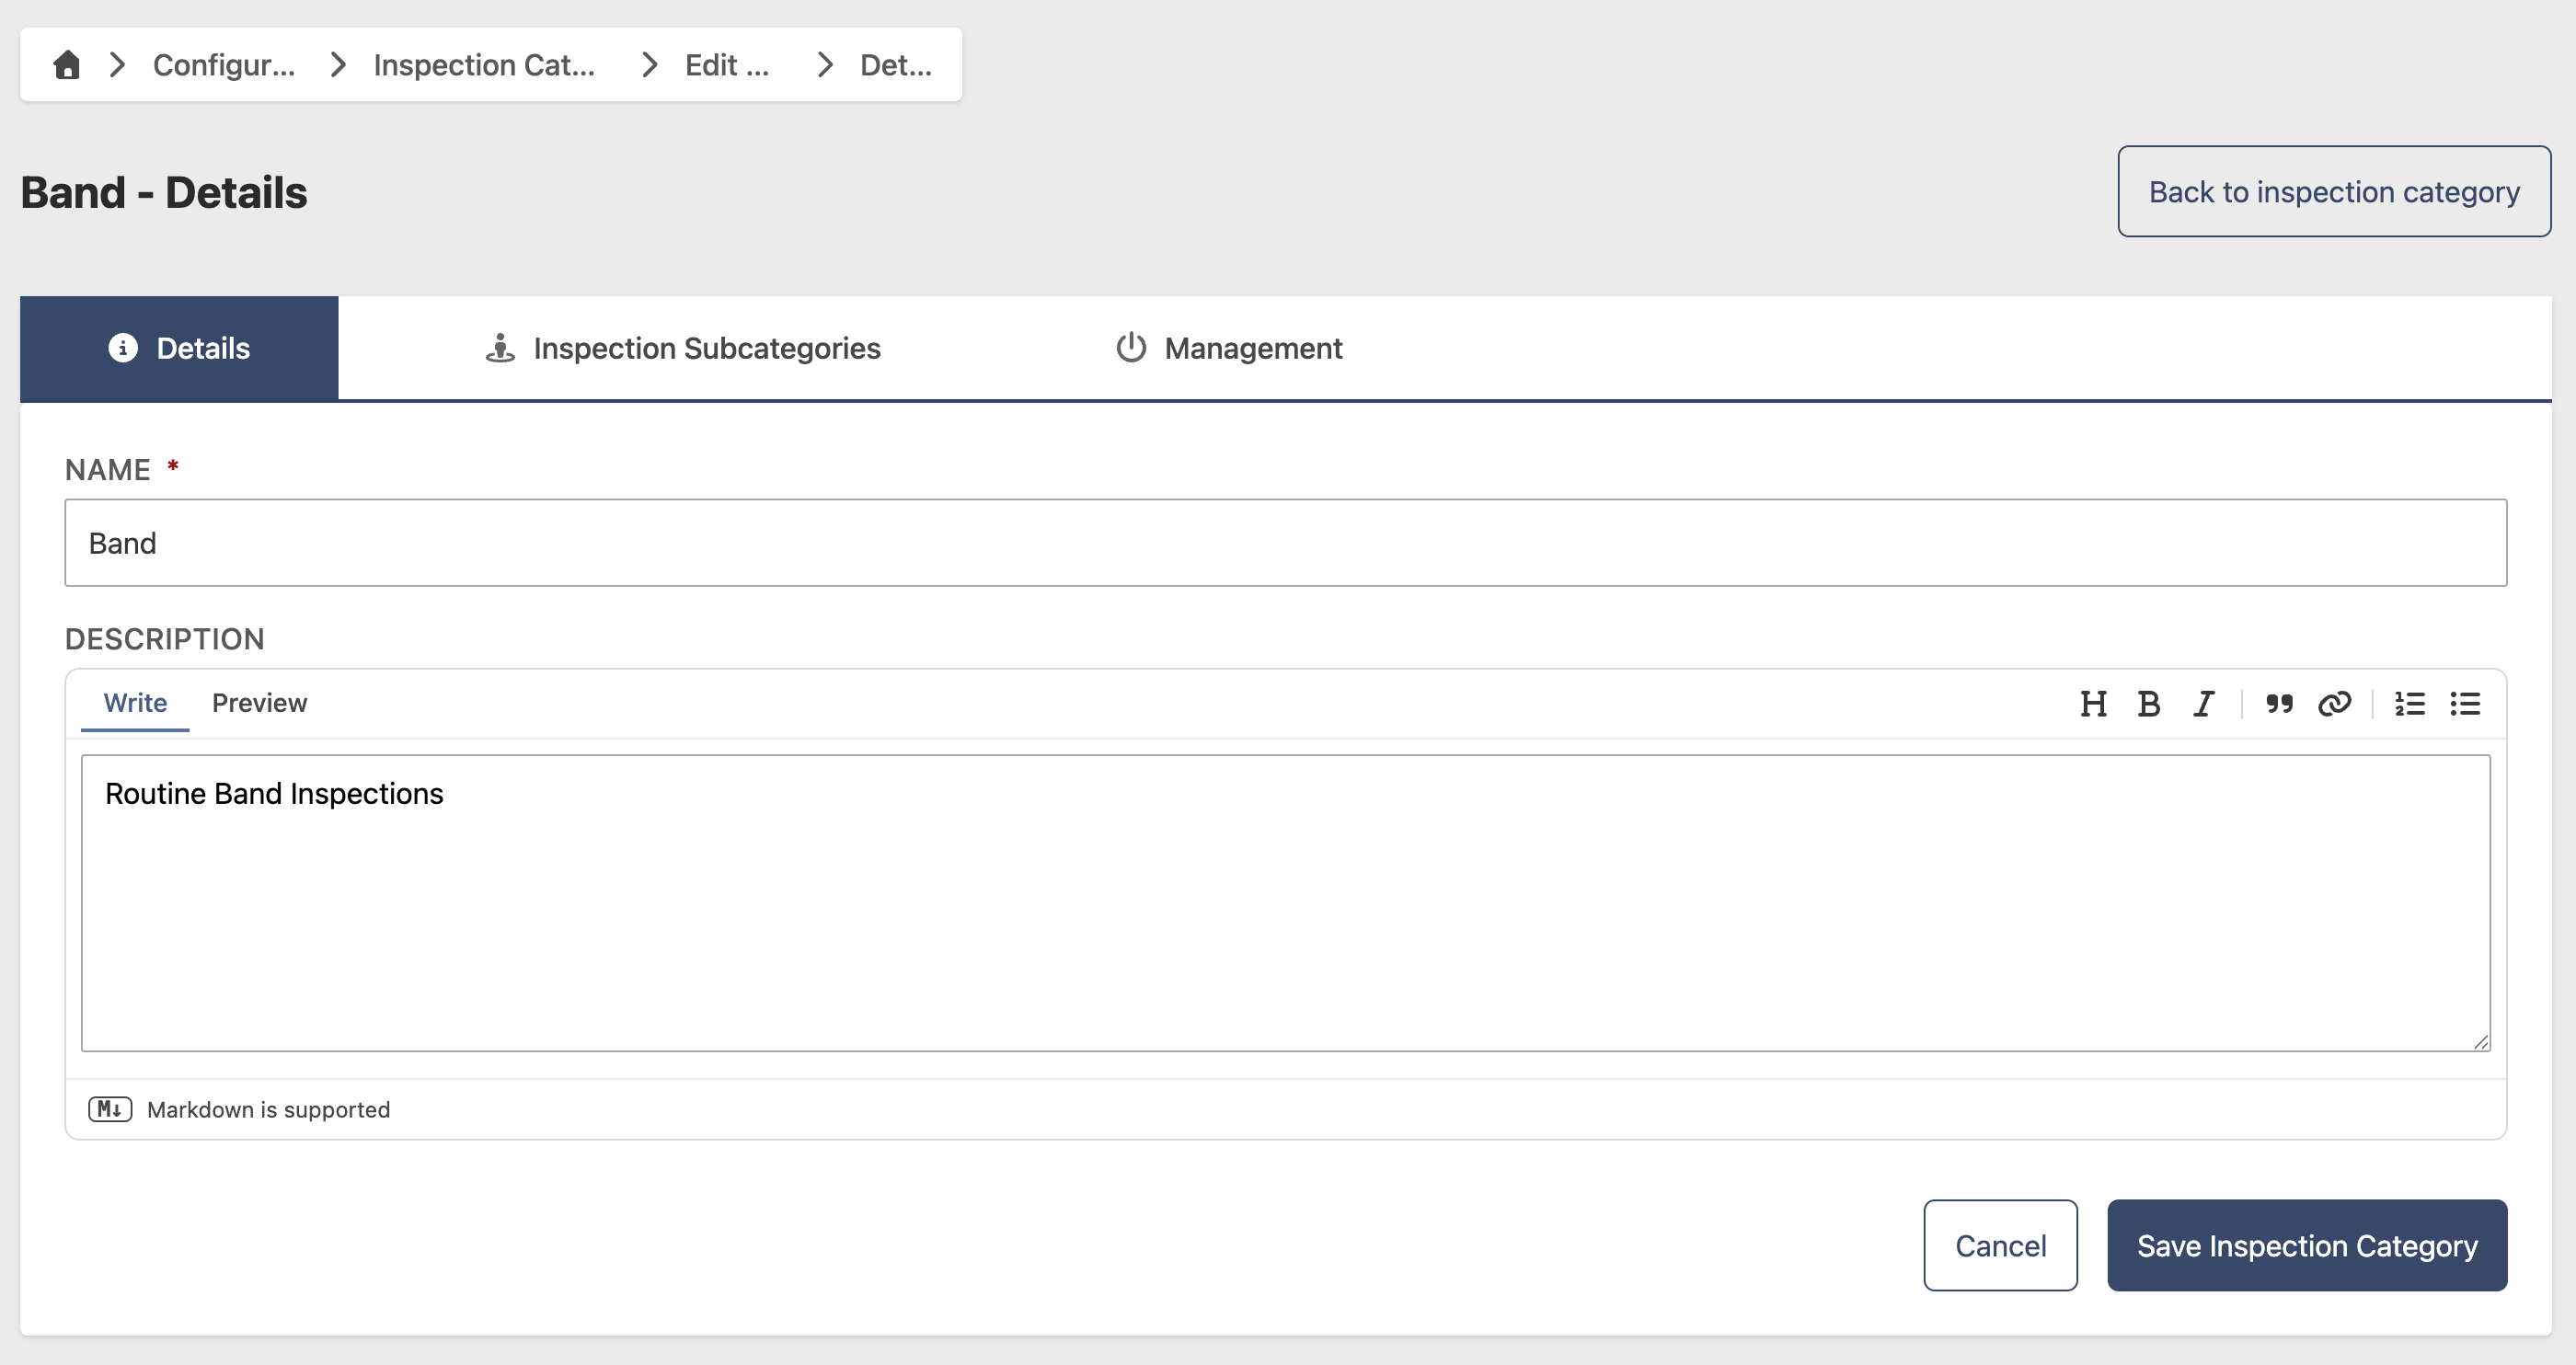
- Click Edit
- Update the following fields as needed:
- Name (required)
- Description (optional)
- Click Save Inspection Category
Remove an Inspection Category
- Go to Configuration > Inspection Categories
- Click the contextual menu (⋯) next to the Inspection Category and click View Inspection Category
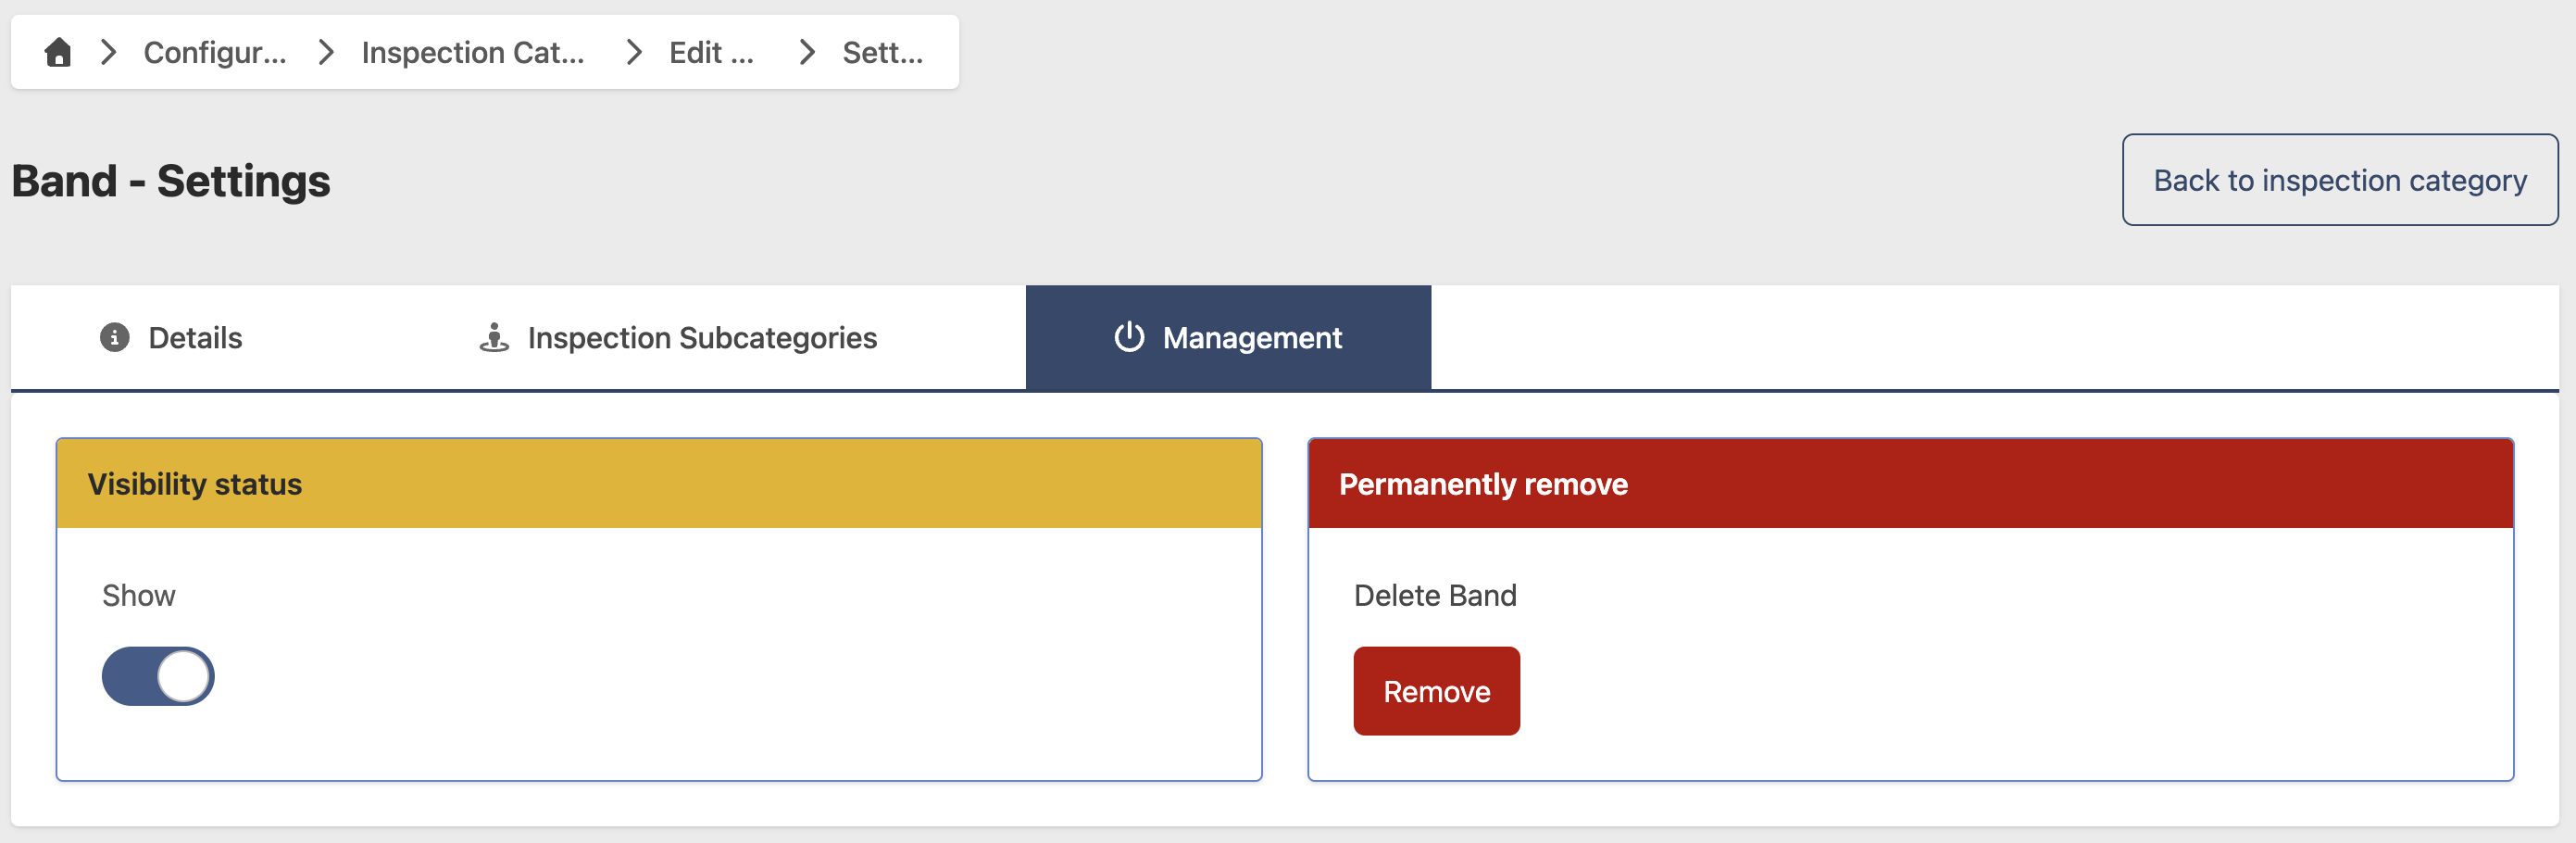
- Click Edit, then go to the Management tab
Hide an Inspection Category
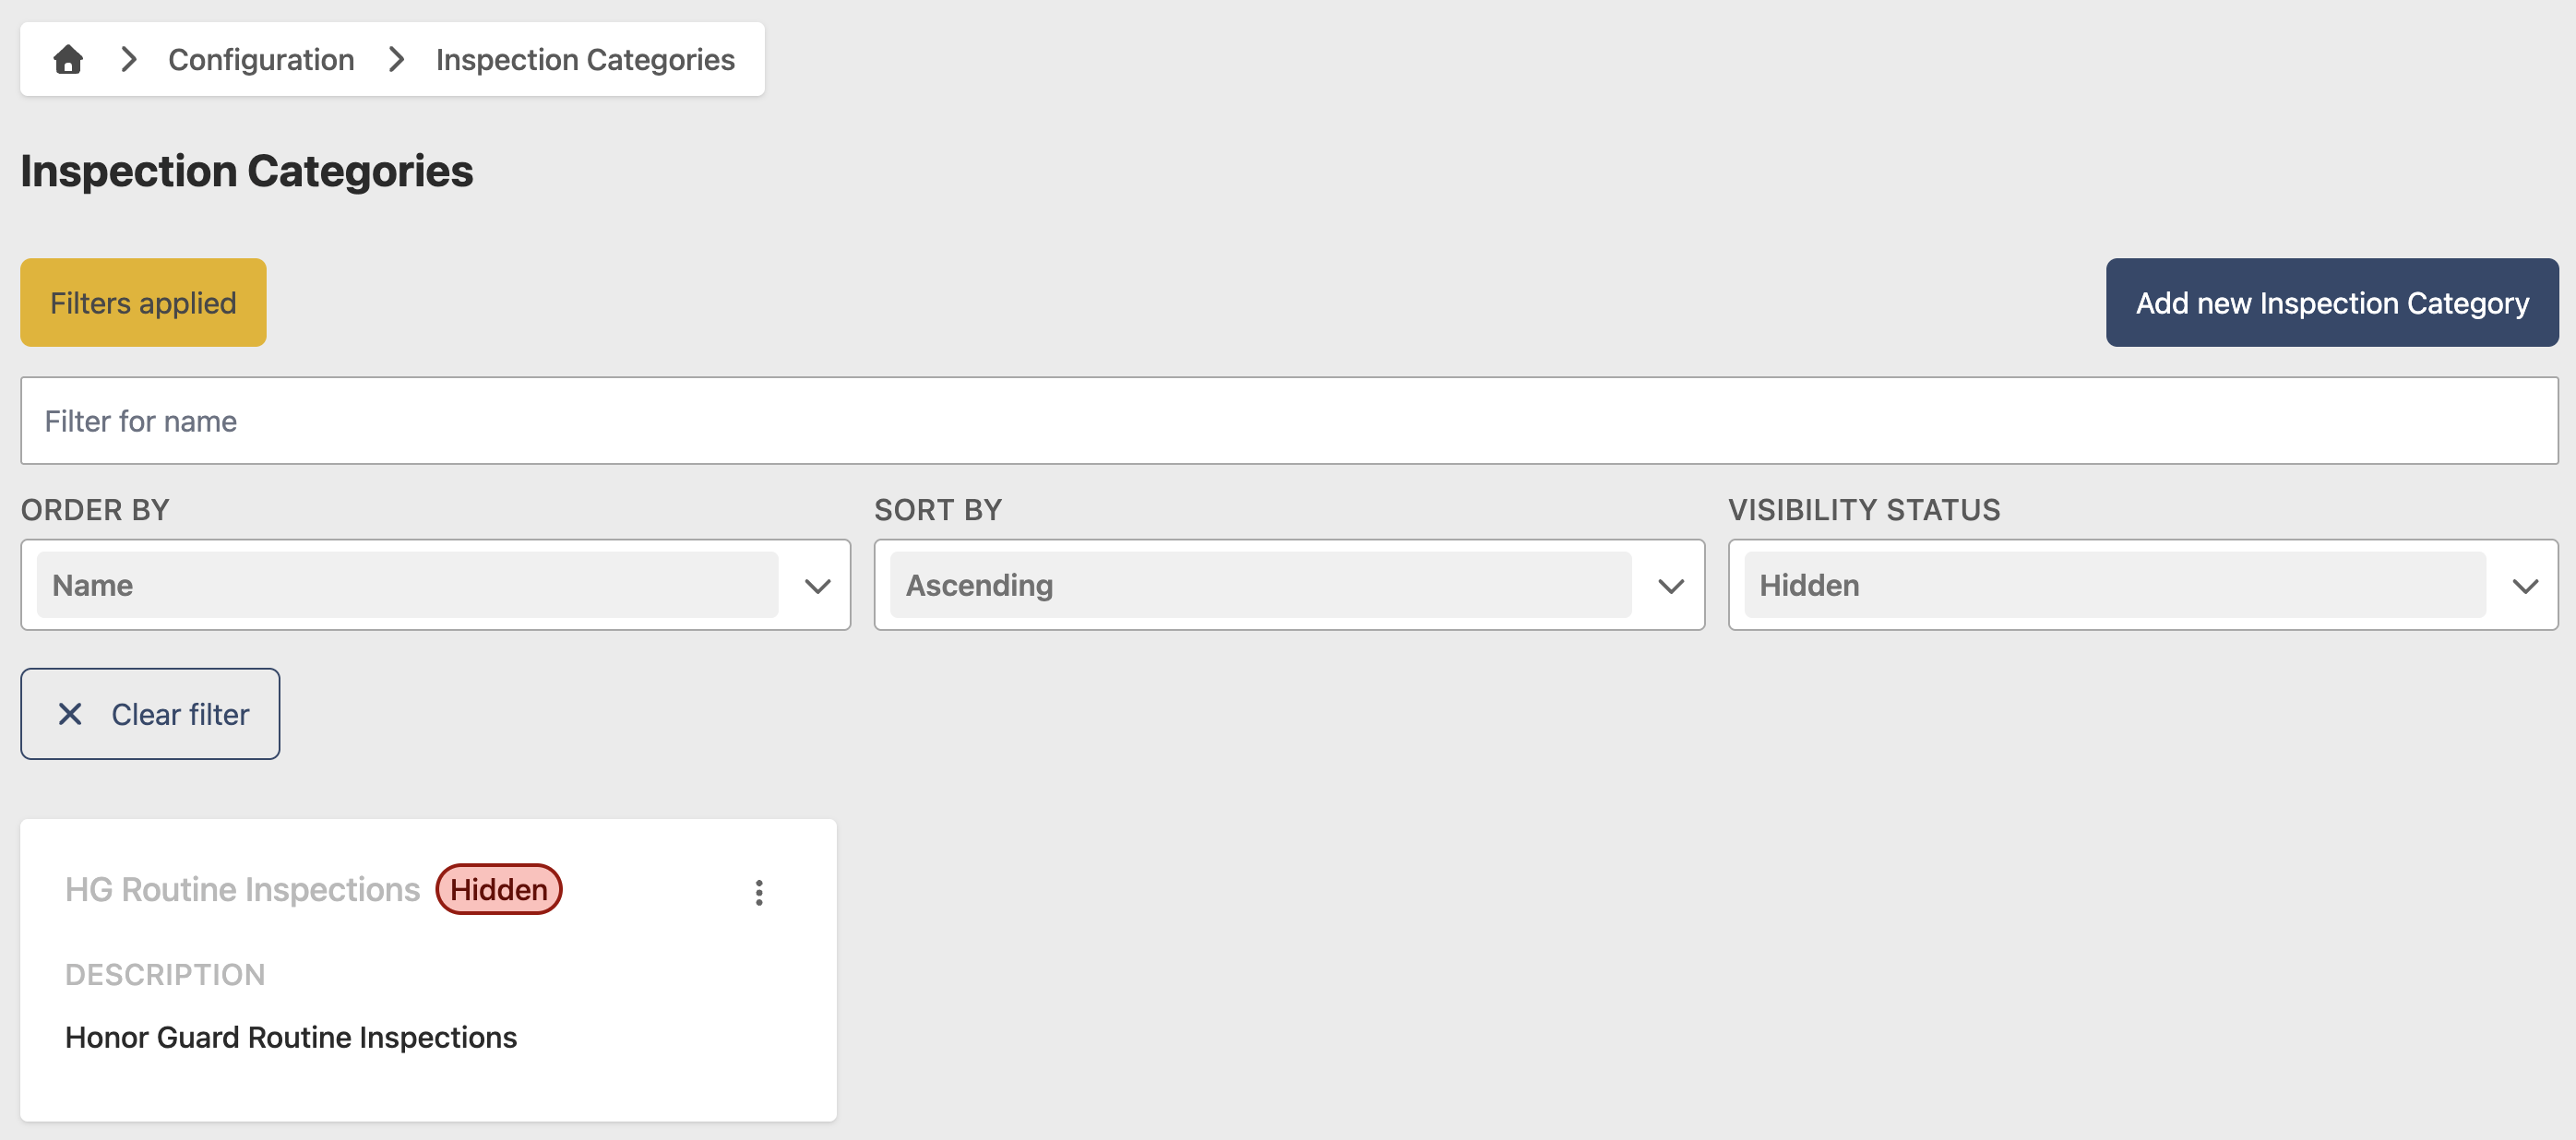
To temporarily hide an Inspection Category without deleting it, toggle Show/Hide to Hide. To restore it, filter by Hidden status, open the Inspection Category, and toggle Show/Hide back to Show.
Permanently remove an Inspection Category
This action cannot be undone. Consider hiding the Inspection Category instead if you may need it in the future.
- Click Remove
- Click Yes to confirm
Manage Inspection Areas
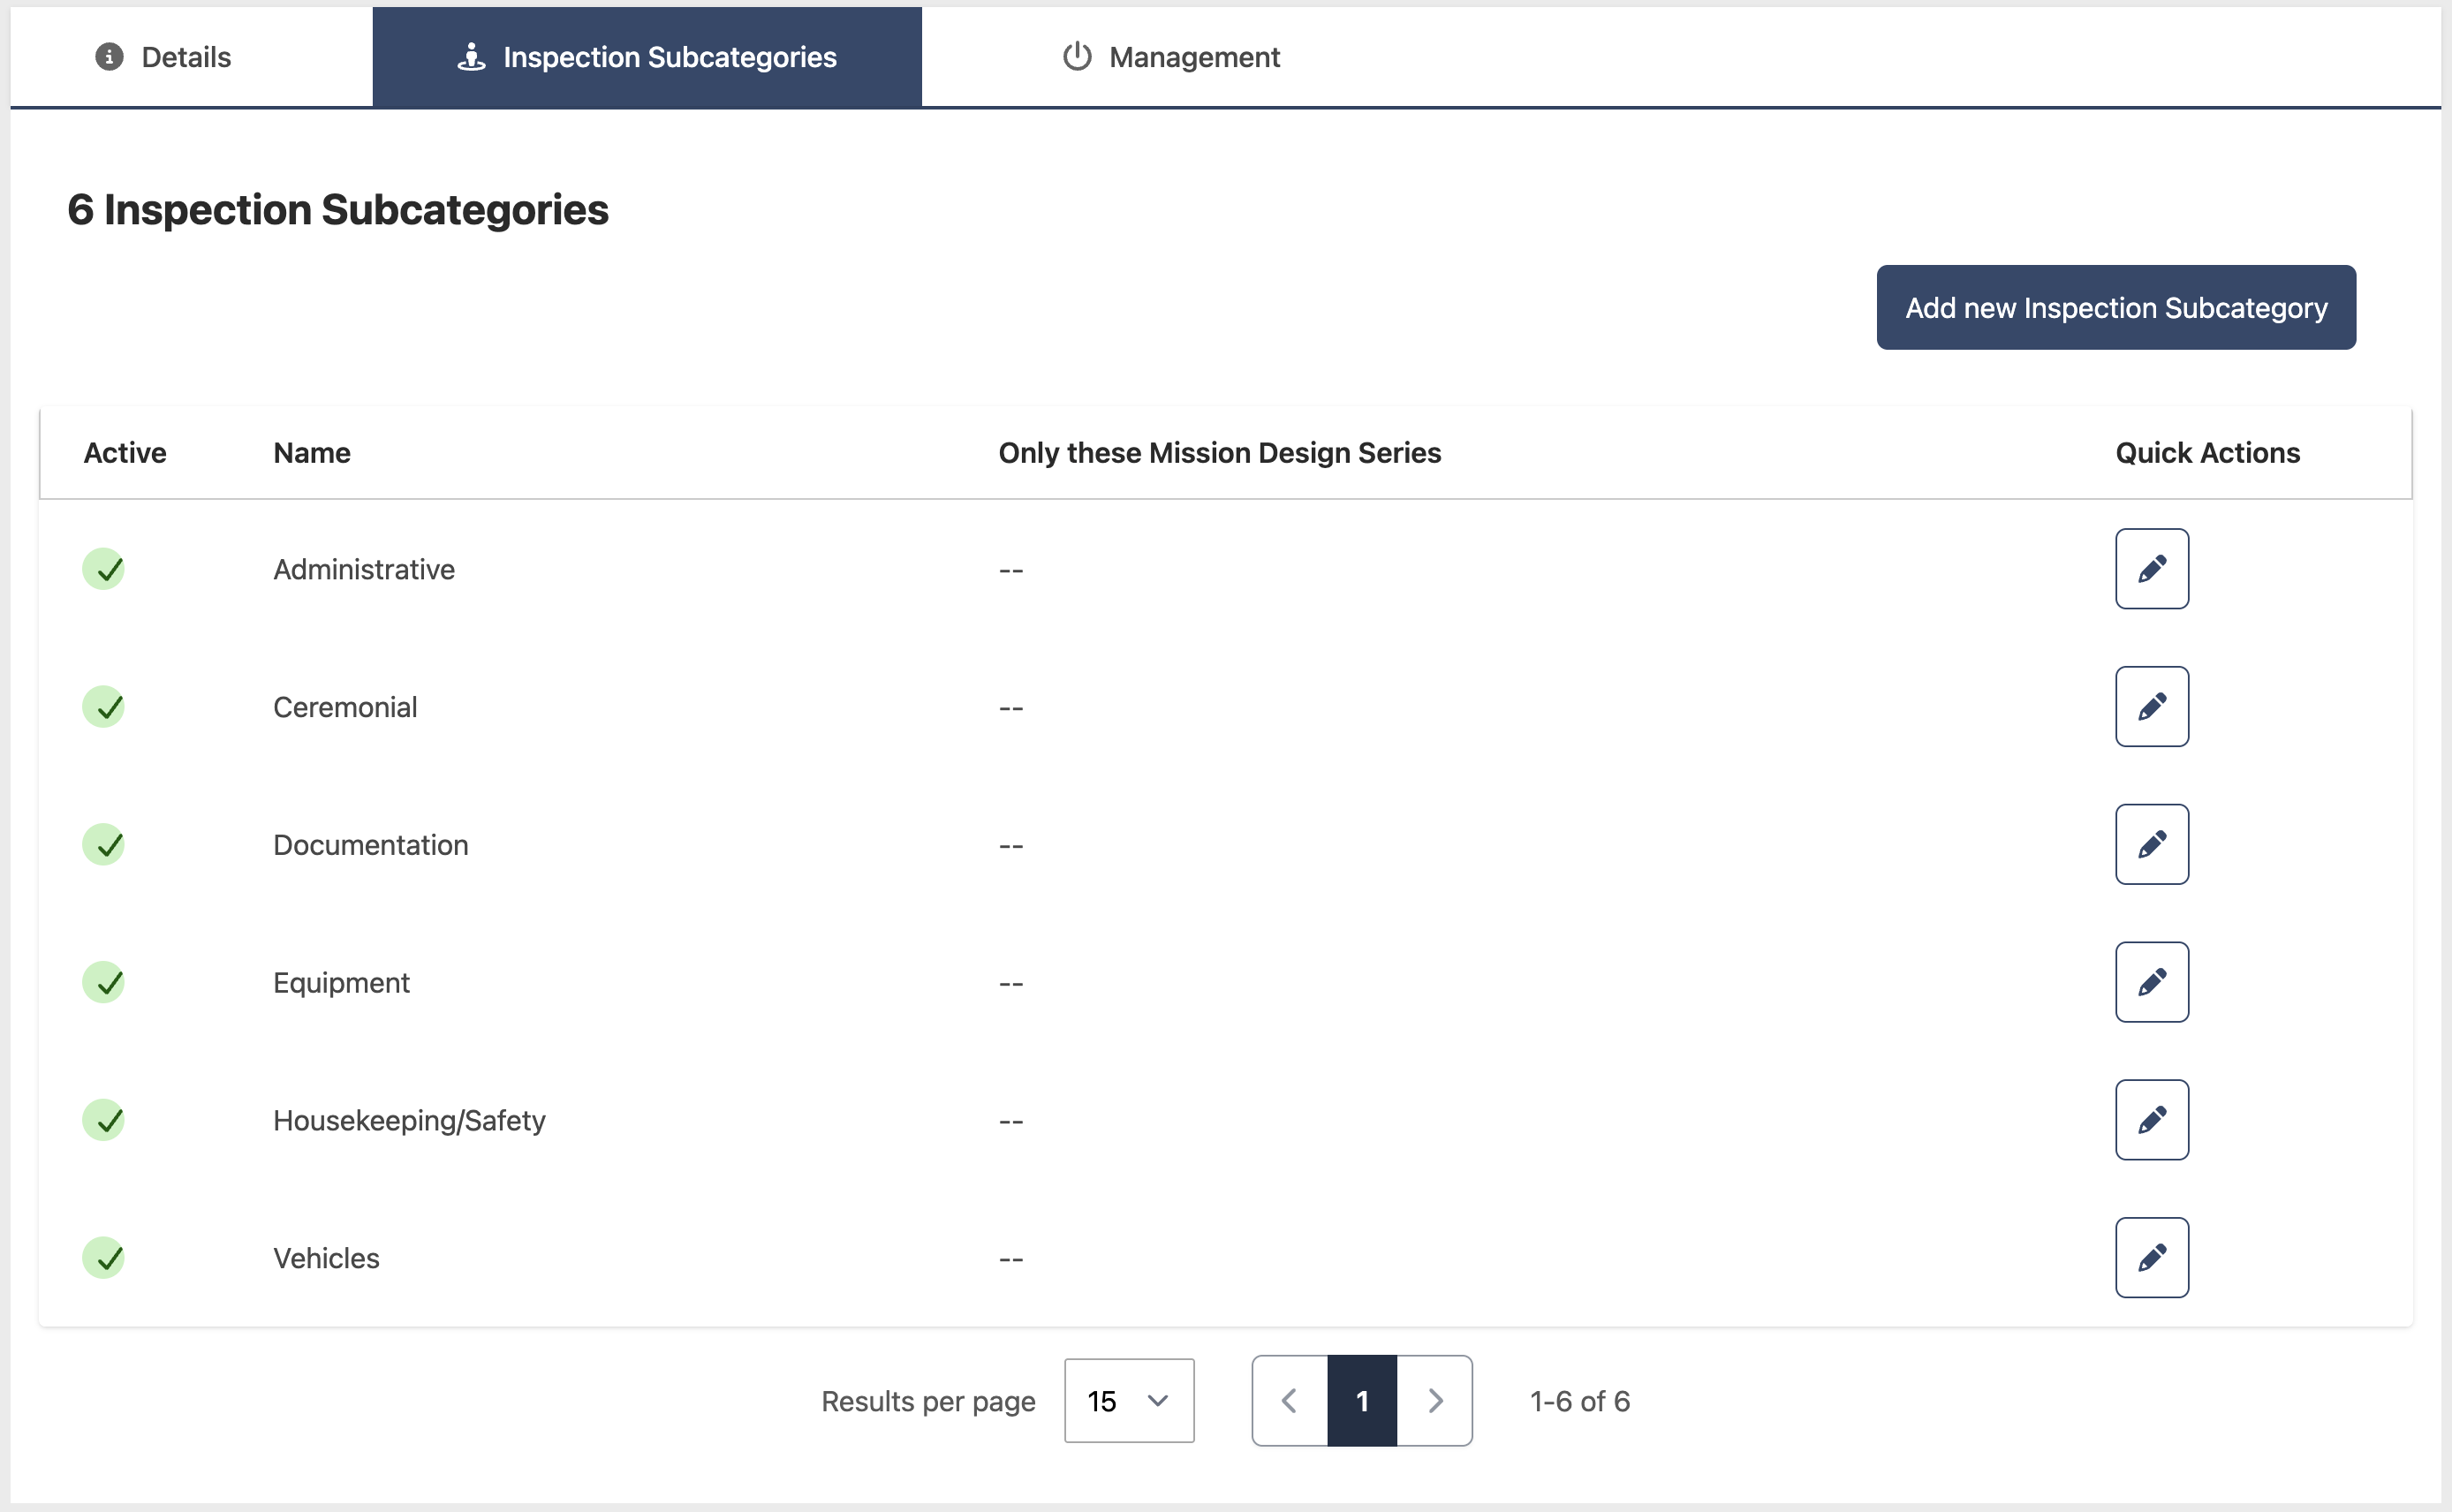
Inspection Areas are sub-categories within an Inspection Category. Each area specifies the items to be inspected within that category.
- Go to Configuration > Inspection Categories
- Click the contextual menu (⋯) next to the Inspection Category and click View Inspection Areas
Add an Inspection Area
- Click Add new Inspection Area
- Enter the following information:
- Active — enabled by default. Disable to hide the area without deleting it
- Name (required)
- Only these Mission Design Series (optional) — leave blank to apply to all MDS
- Click the checkmark to save
Edit an Inspection Area
- Click the edit button in the actions column next to the Inspection Area you want to update
- Make your changes and click the checkmark to save
Remove an Inspection Area
- Click the edit button in the actions column next to the Inspection Area you want to remove
- Click the red trash button and confirm