Finding Categories
Finding Categories classify the severity of findings documented during inspections. Common examples include CAT I Major, CAT I Minor, CAT II Major, and CAT II Minor.
Go to Configuration > Finding Categories to manage your Finding Categories. You'll need the appropriate access role to add, edit, or remove a Finding Category.
Add a Finding Category
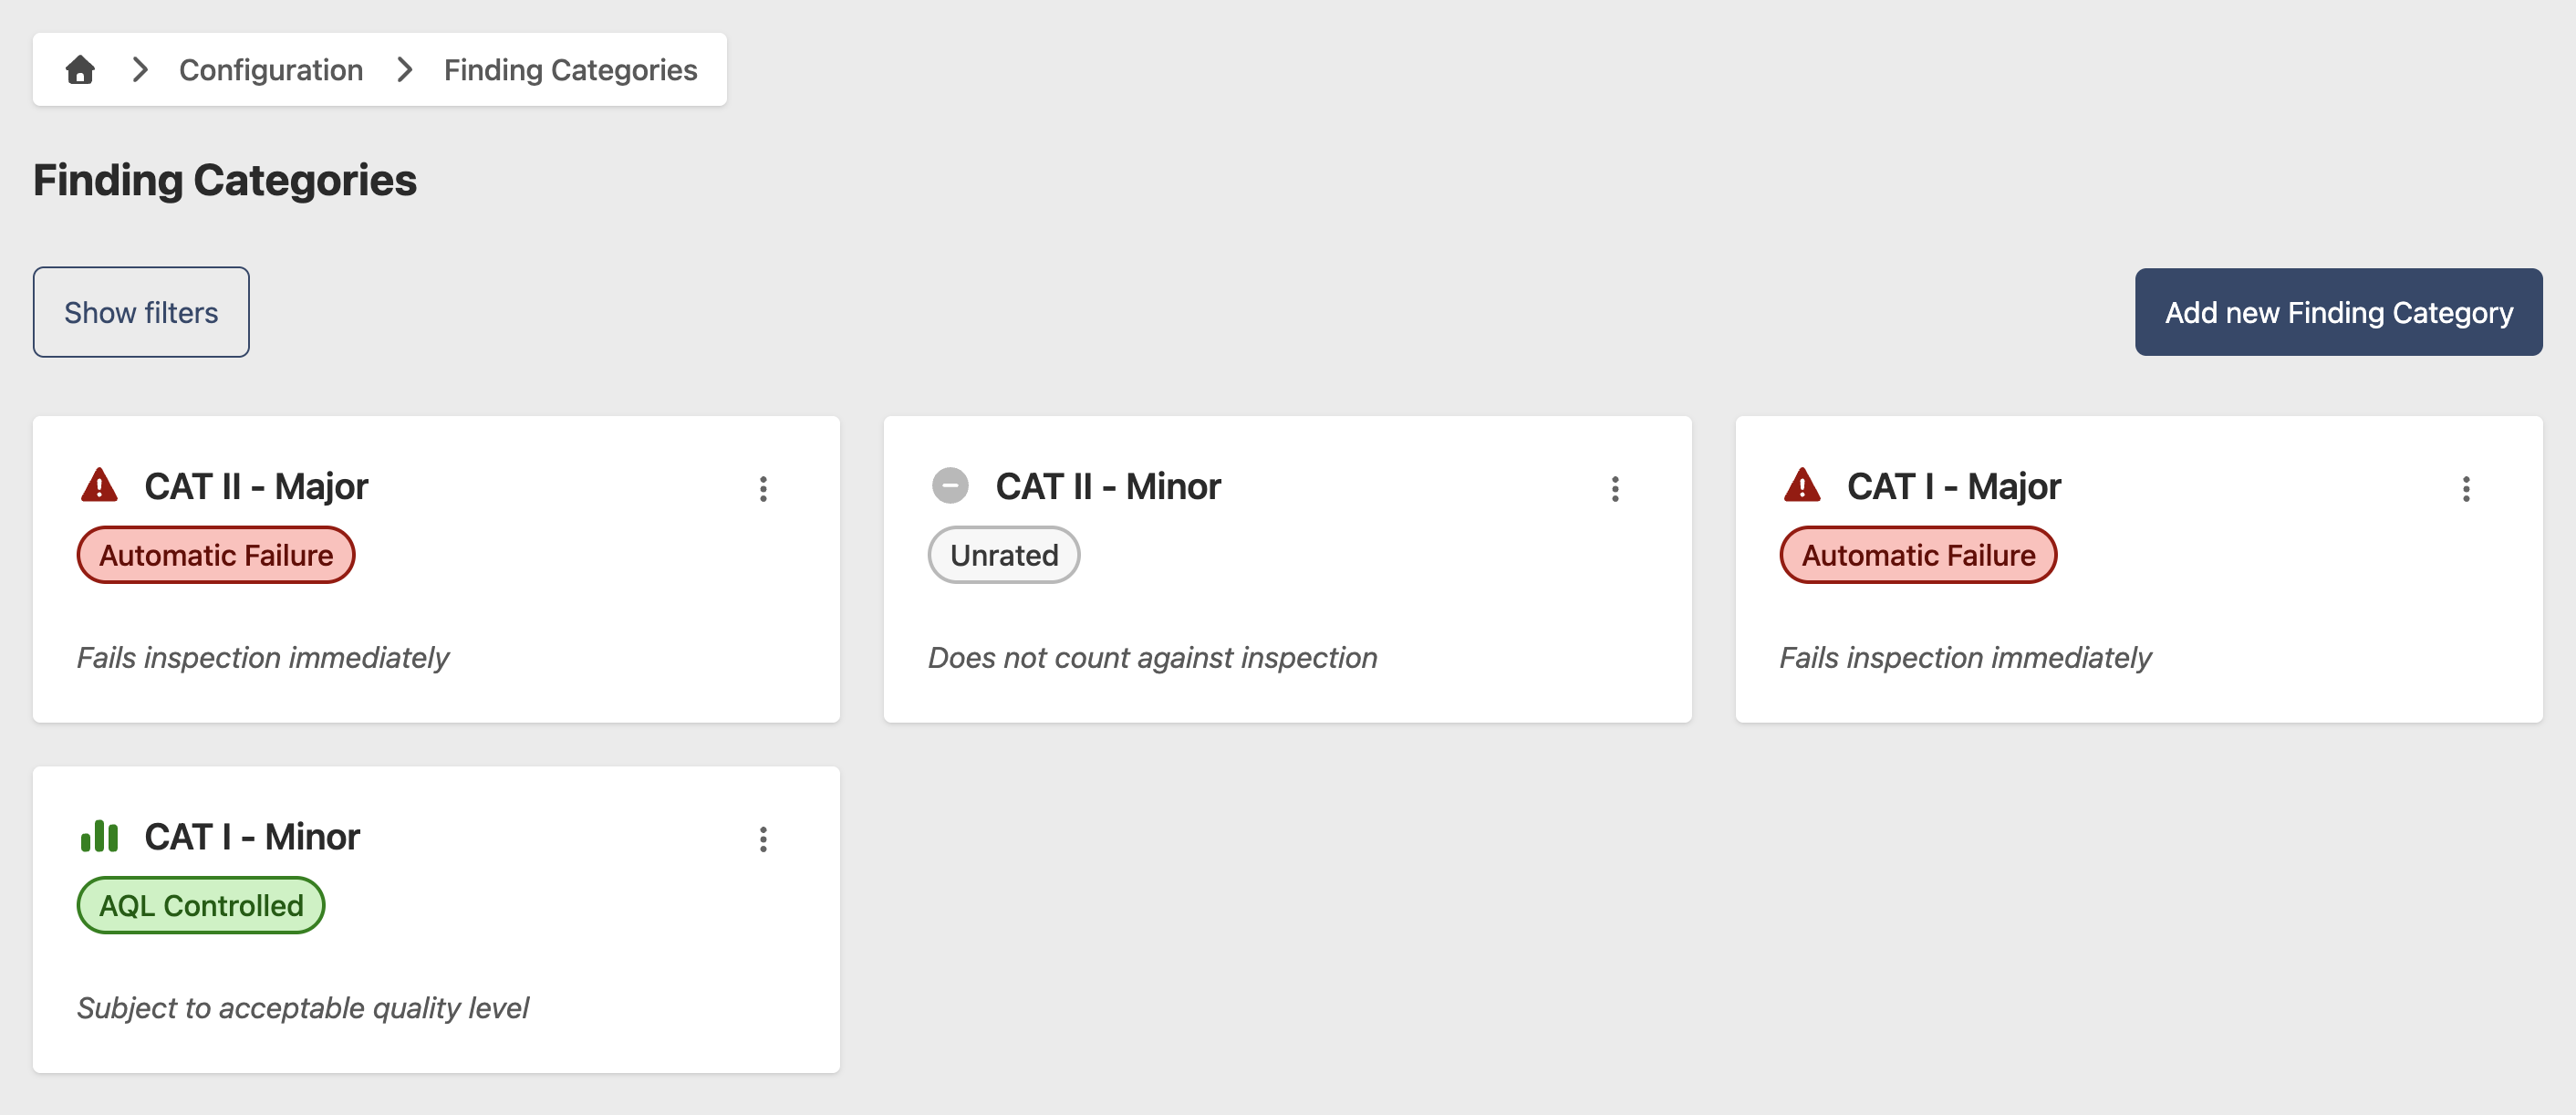
- Go to Configuration > Finding Categories
- Click Add new Finding Category
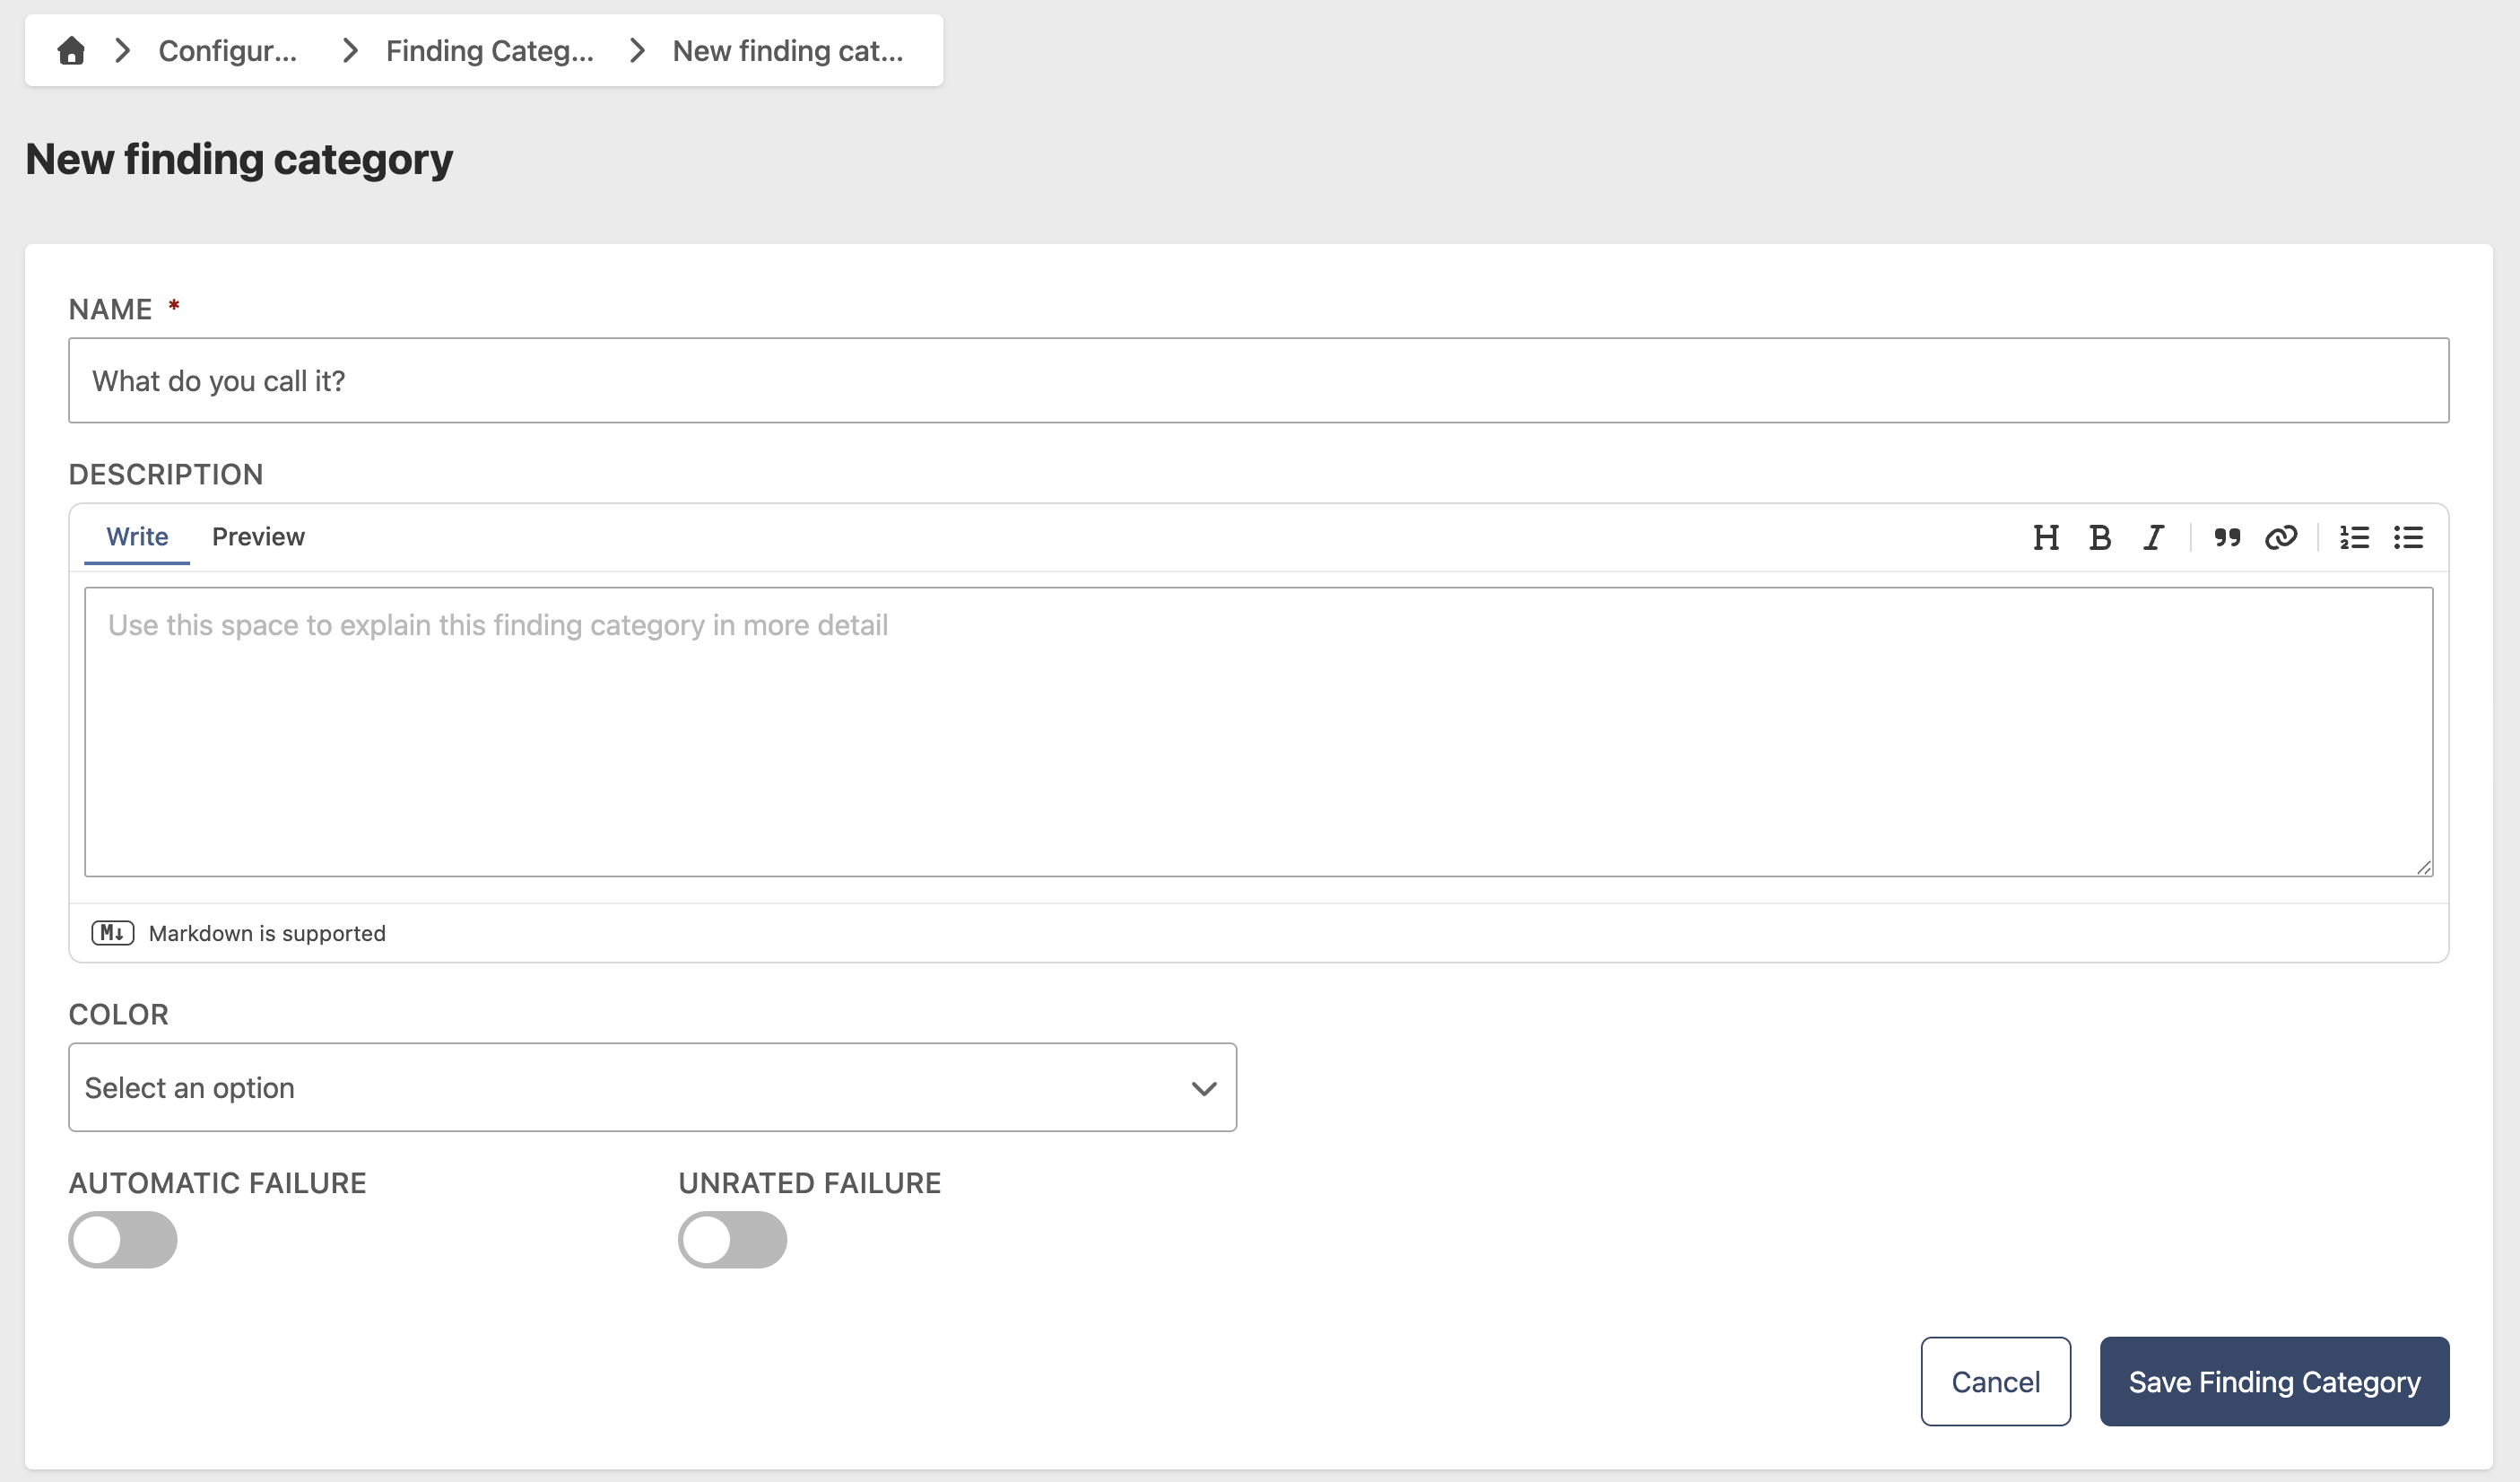
- Enter the following information:
- Name (required)
- Description (optional)
- Color (optional)
- Automatic Failure (optional) — when enabled, any finding in this category results in an automatic failure for the inspection
- Unrated Failure (optional) — when enabled, findings in this category bypass the AQL, allowing unlimited findings of this type without causing a failed inspection
- Click Add new Finding Category
Edit a Finding Category
- Go to Configuration > Finding Categories
- Click the contextual menu (⋯) next to the Finding Category and click View Finding Category
- Click Edit
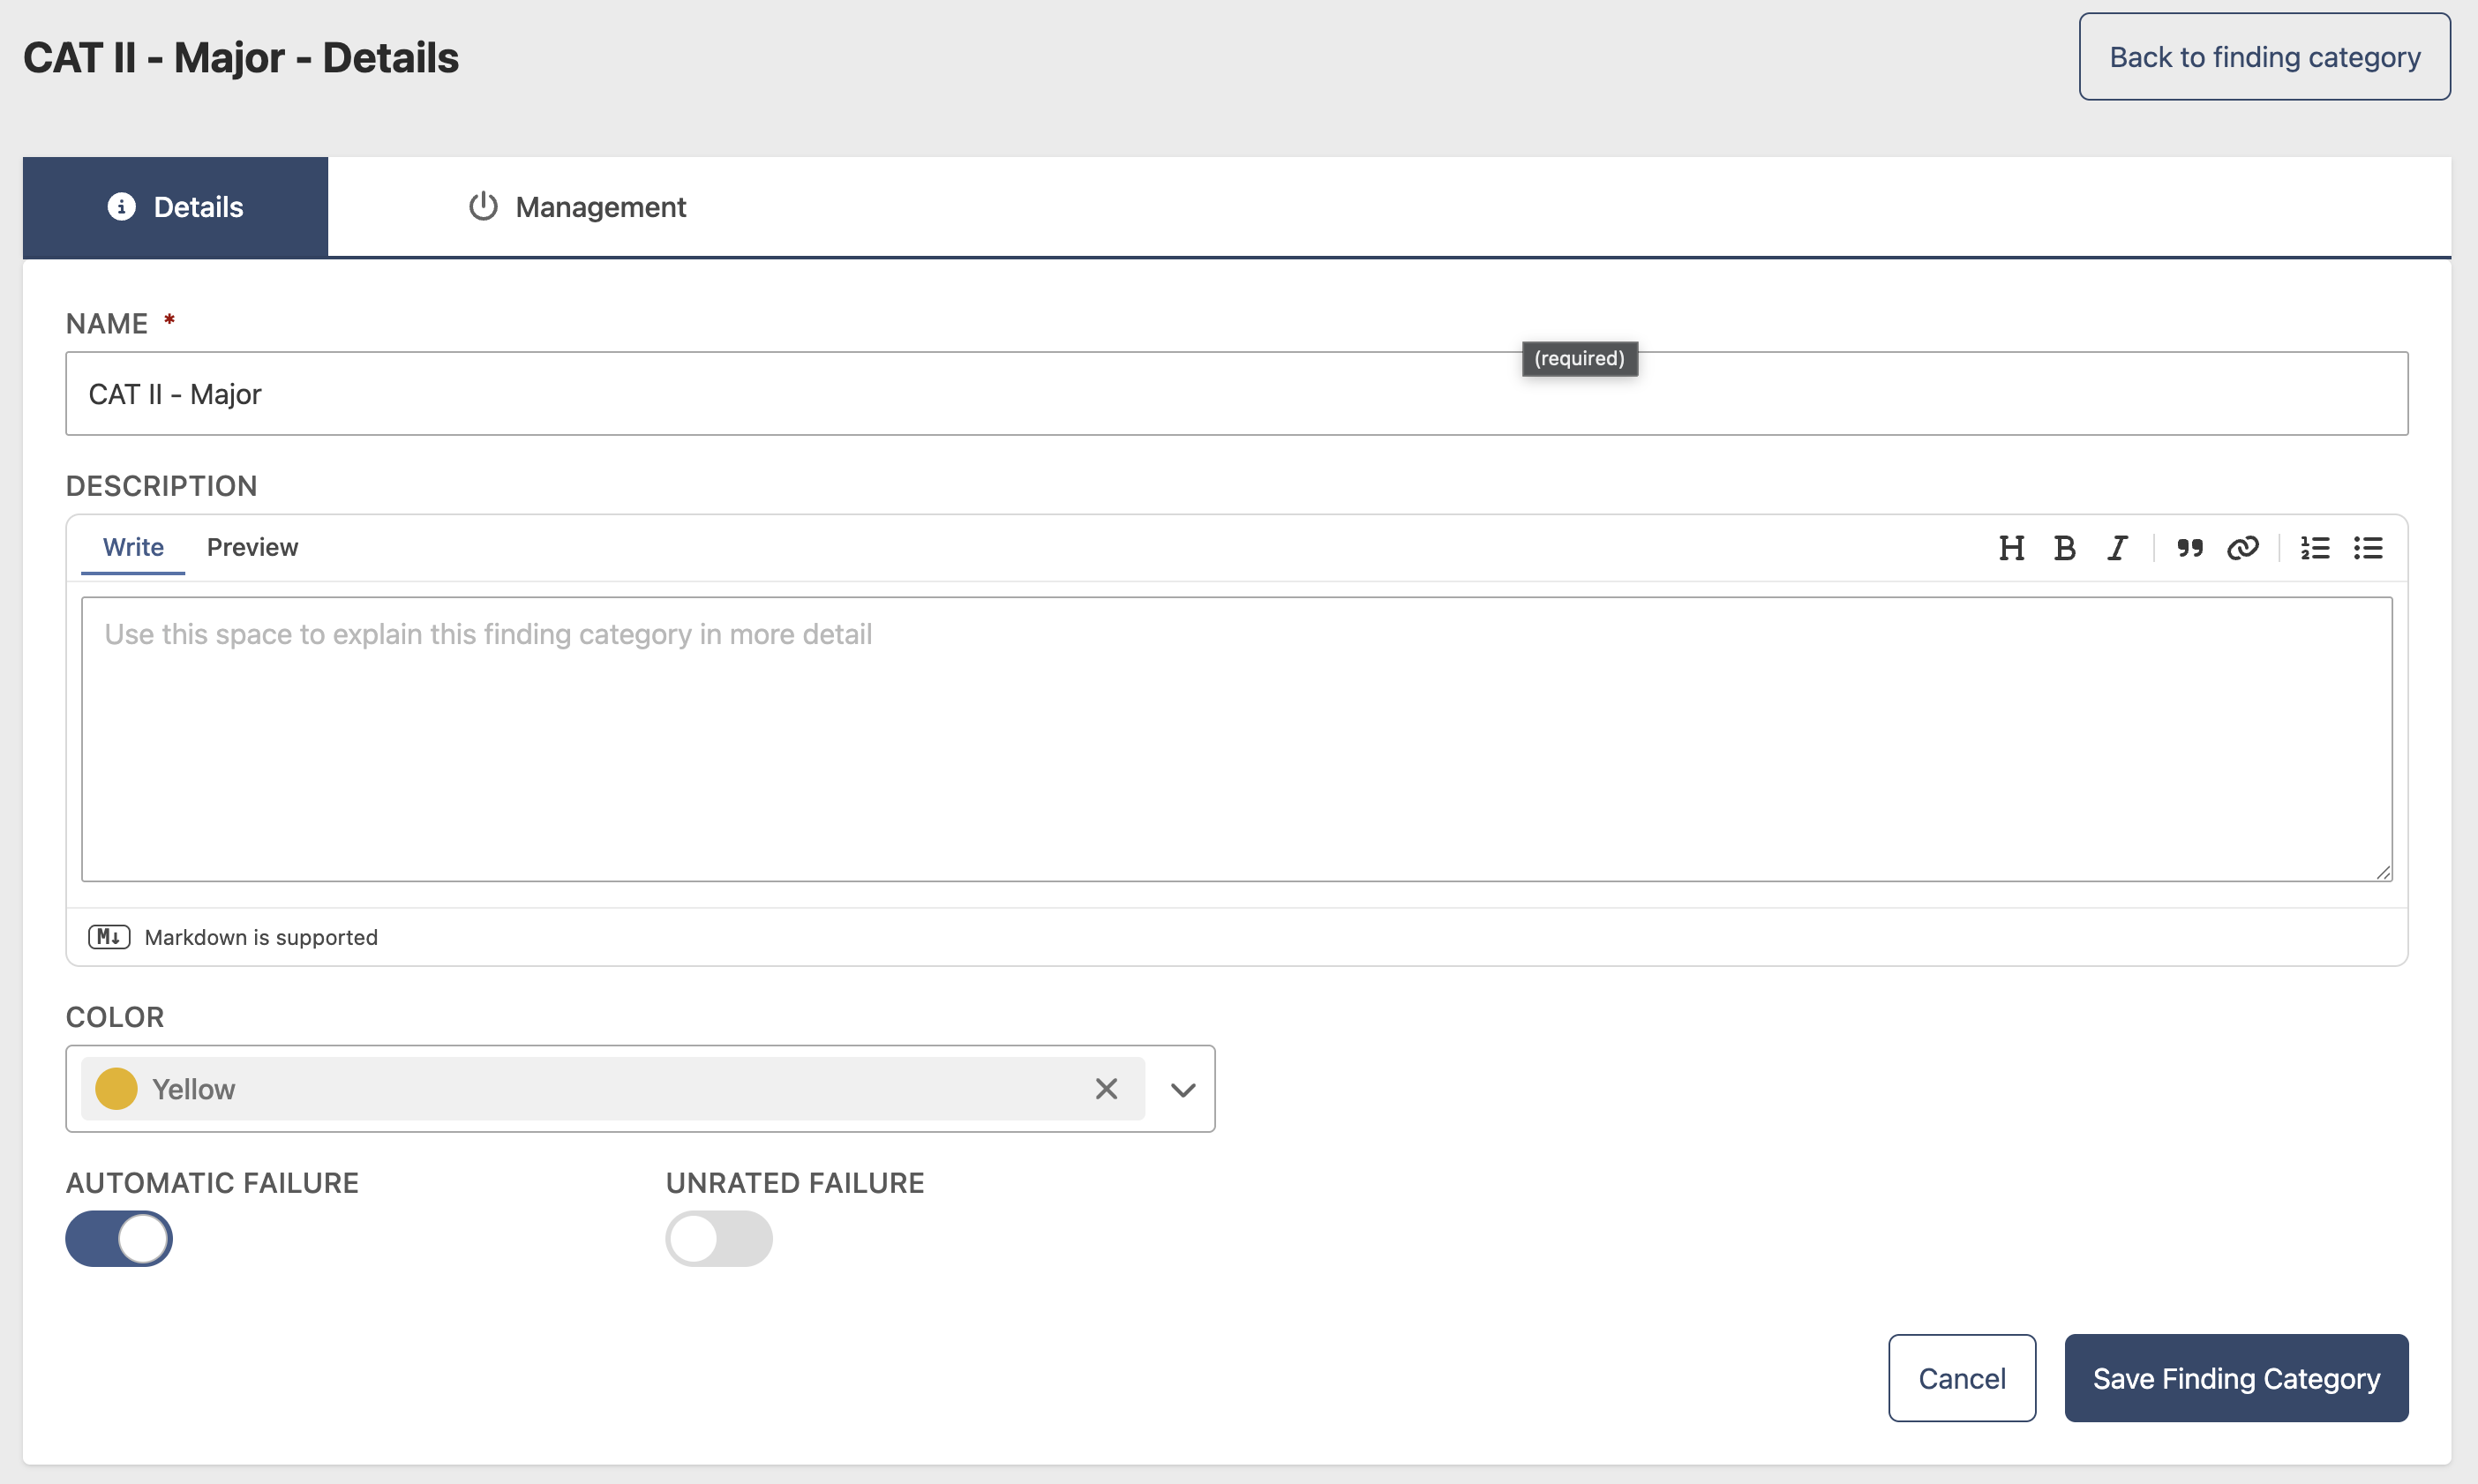
- Update the following fields as needed:
- Name (required)
- Description (optional)
- Color (optional)
- Automatic Failure (optional)
- Unrated Failure (optional)
- Click Save Finding Category
Remove a Finding Category
- Go to Configuration > Finding Categories
- Click the contextual menu (⋯) next to the Finding Category and click View Finding Category
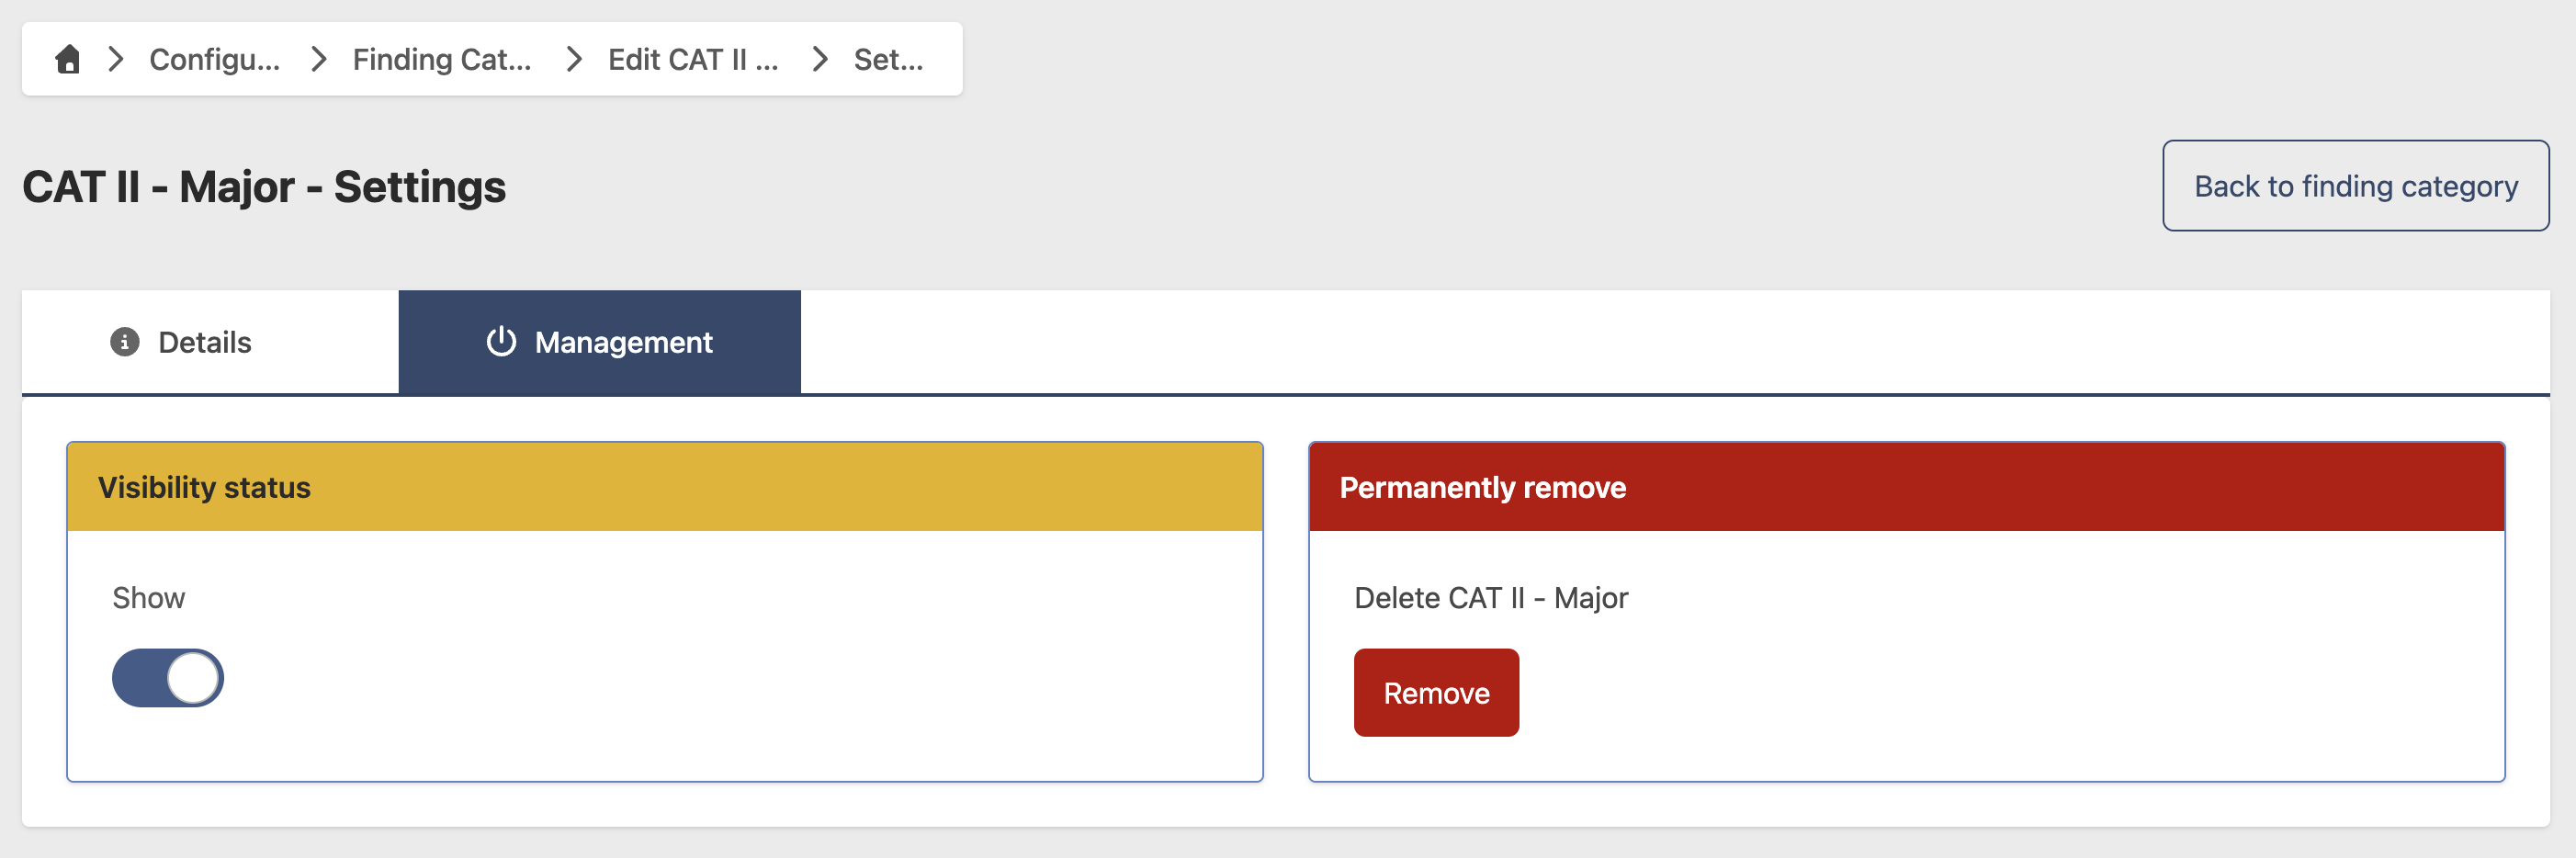
- Click Edit, then go to the Management tab
Hide a Finding Category
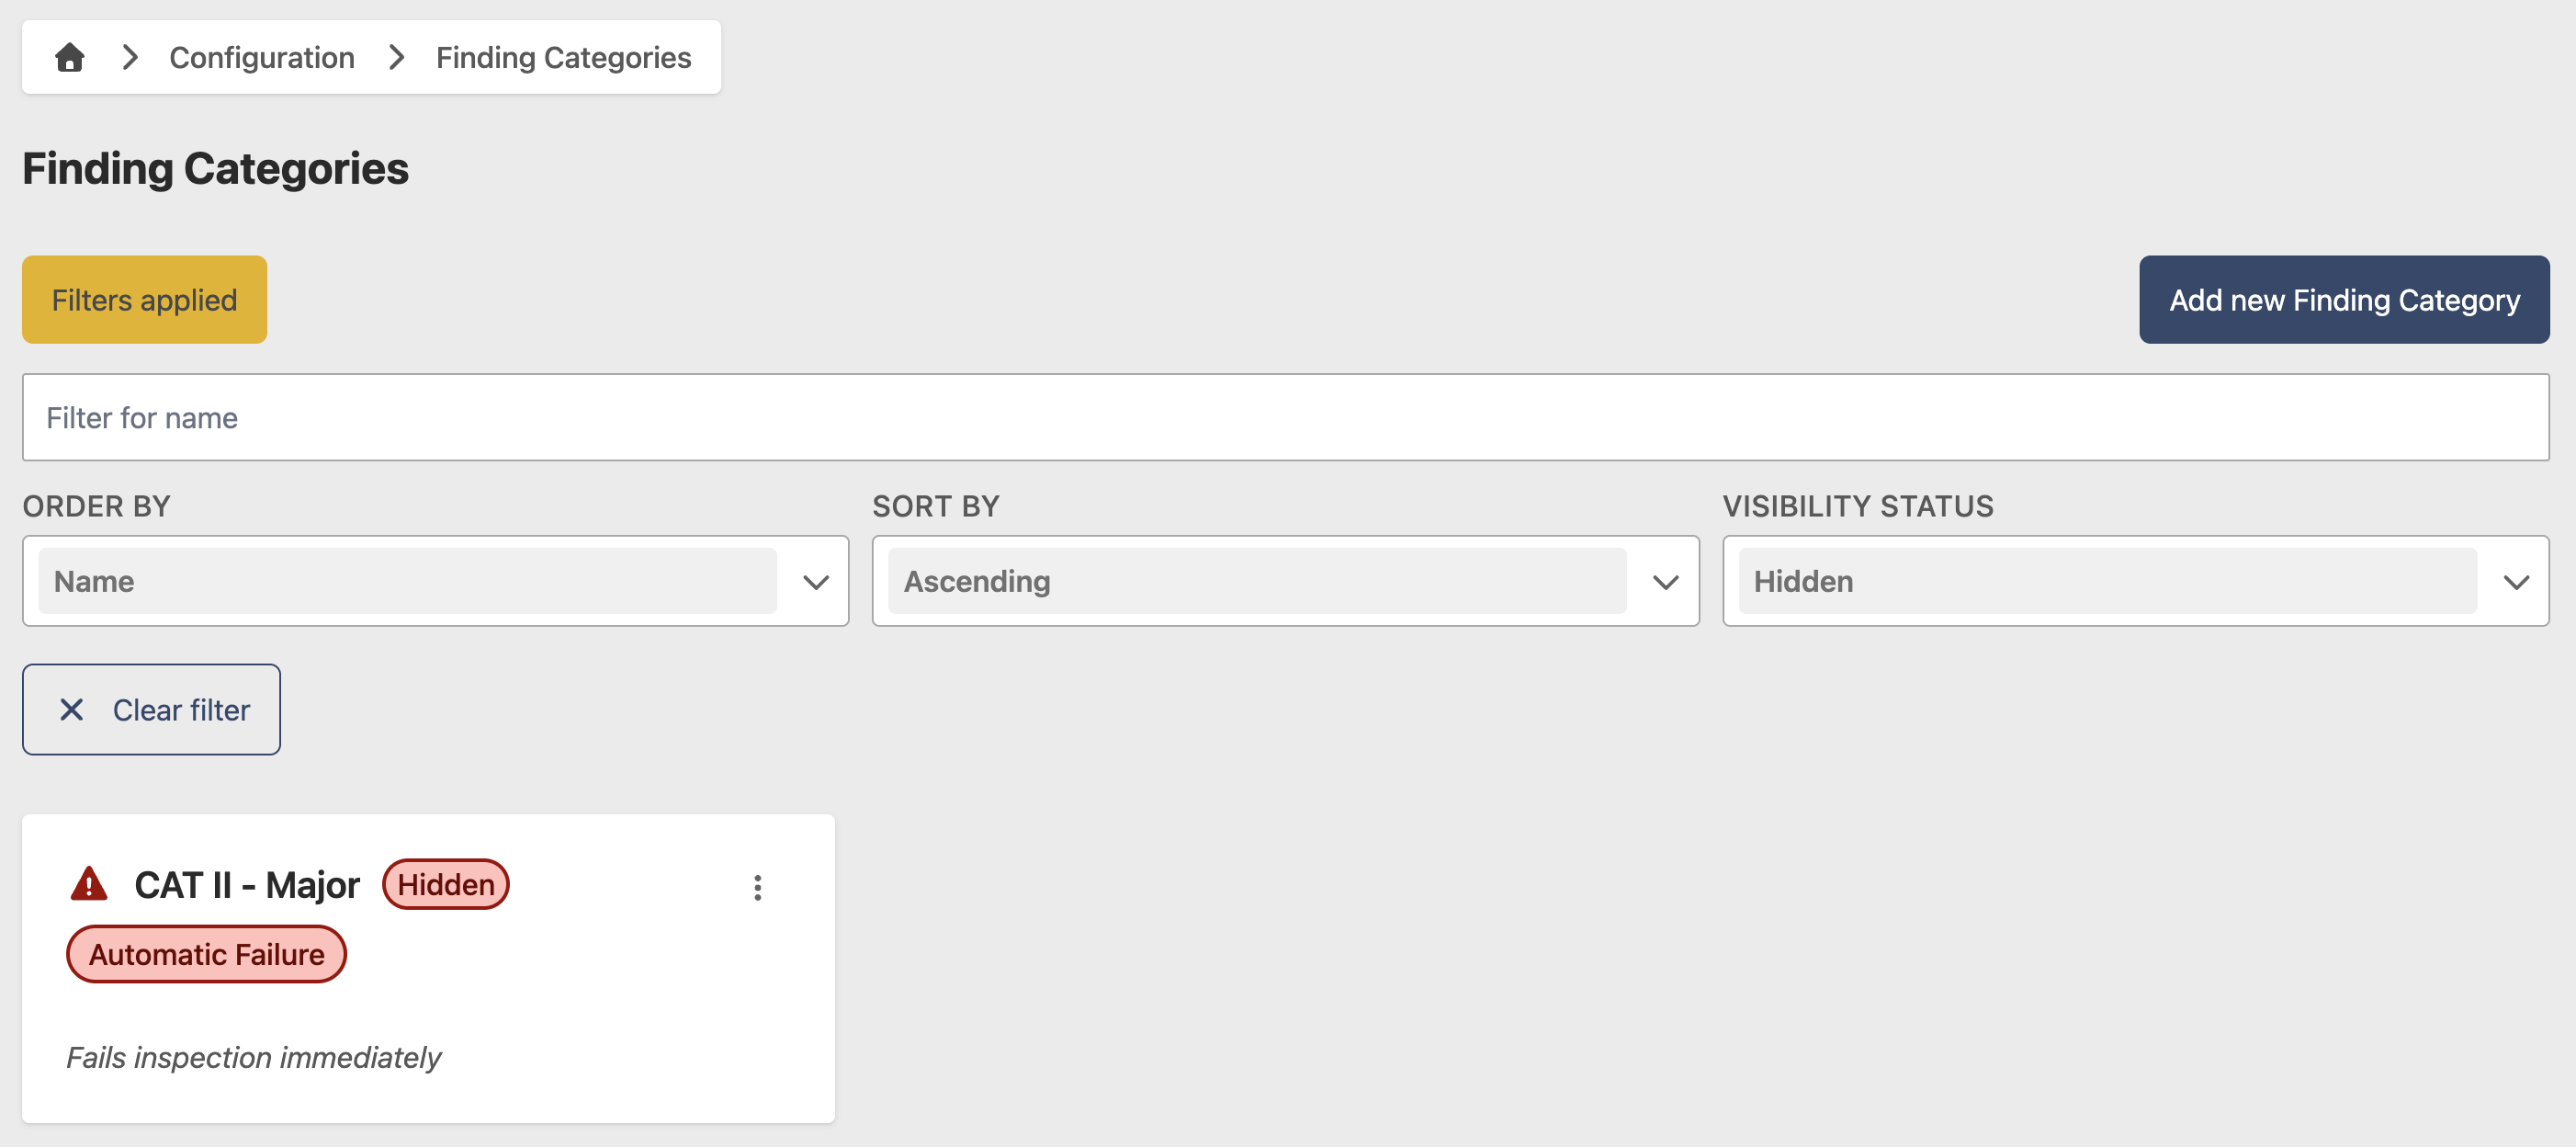
To temporarily hide an Finding Category without deleting it, toggle Show/Hide to Hide. To restore it, filter by Hidden status, open the Finding Category, and toggle Show/Hide back to Show.
Permanently remove a Finding Category
caution
This action cannot be undone. Consider hiding the Finding Category instead if you may need it in the future.
- Click Remove
- Click Yes to confirm